
You've got the guitar, you've got the ambition, but the idea of pricey lessons has you hesitating. So, can you really learn to play with beginner guitar lessons online for free?
Absolutely. As a longtime guitar educator, I’m here to tell you that the internet is overflowing with fantastic, high-quality resources that can take you from square one to playing your first songs—all without opening your wallet. Forget rigid schedules and expensive tutors; the modern way to learn is flexible, accessible, and completely free to start.

Learning guitar can feel like staring up at a huge mountain, but free online resources break that climb down into small, easy-to-manage steps. Think of this guide as your personal roadmap. We're going to get you from fumbling with the fretboard to confidently strumming your favorite tunes.
The old myth that you have to pay a fortune for quality instruction is just that—a myth. Having taught guitar for decades, I've seen firsthand how free platforms have unlocked the world of music for people who might never have had the chance. You get to call the shots, fitting practice in whenever and wherever it works for you.
This isn't just a small trend; it's a fundamental shift in how people learn music. The demand for online guitar lessons has skyrocketed, especially since 2020. Market analysts have tracked the global guitar instruction market from $936.15 million in 2021, projecting it to soar past $1.25 billion by 2025.
What does that mean for you? It means millions of aspiring guitarists just like you are successfully using these tools. The challenge isn't finding lessons anymore; it's piecing them together into a logical plan that actually builds your skills. And that's exactly what we’re going to do here.
As an instructor, my best advice is to embrace the process. Don't aim for perfection on day one. Your goal is consistent, small improvements. A free online lesson is the perfect, no-pressure environment to build those foundational habits.
Kicking off your guitar journey with free online lessons is a smart move. It’s the ultimate low-risk way to test the waters and see if playing guitar is really for you before you invest any serious cash.
Here’s why it works so well:
You can explore the top reasons to get started with online lessons and see just how much they can help you progress.
Eventually, when you feel you're ready to get more serious, a platform with a structured curriculum can make a world of difference. That’s why I always suggest checking out a TrueFire All Access Trial to see how a complete, guided system can put your learning on the fast track.
To get you started right away, I've put together a list of the essential free tools every new guitarist needs. You don't have to spend a cent to get properly equipped for your first week of practice.
| Tool | What It Does For You | Where to Find It for Free |
|---|---|---|
| Online Tuner | Keeps your guitar sounding great. An out-of-tune guitar is impossible to learn on! | Fender Online Tuner or the GuitarTuna app |
| Metronome | Helps you develop a solid sense of rhythm and timing from day one. | Google's built-in Metronome or Pro Metronome app |
| Chord Charts | Visual diagrams that show you exactly where to put your fingers for different chords. | Ultimate-Guitar or Chordify |
| Backing Tracks | Makes practice fun by letting you play along with a virtual band. It's a game-changer for motivation. | YouTube has millions for every genre and key. |
With these tools bookmarked, you have a complete practice station ready to go. They’ll help you build good habits and make your learning sessions far more effective and enjoyable.
Before you can even think about playing your first chord, you need to feel like the guitar is a part of you, not some awkward wooden object you're wrestling with. This is a step so many beginners skip in their rush to make noise, and it almost always leads to frustration and bad habits down the road.
Taking a few moments to get properly acquainted with your instrument builds a solid foundation. Trust me, it makes the whole learning process smoother and way more fun.
Think of it like meeting a new person—you need to learn their name. Knowing the basic parts of the guitar isn't about passing a test; it's about understanding the language. When a tutorial tells you to do something, you'll know exactly what they mean.
Let’s do a quick tour of the essentials:
Once you know these parts, following any beginner guitar lessons online free becomes a million times easier. No more guessing what the instructor is talking about.
Your posture is everything. Seriously. Slouching or holding the guitar awkwardly will lead to discomfort, strain, and maybe even injury—the fastest way to kill your motivation. Good posture, on the other hand, lets you play for hours, relaxed and in control.
If you're sitting down (which you should be at first), let the curve of the guitar's body rest on your right thigh (if you're a righty). Your strumming arm should drape over the top of the body naturally, letting your hand hang right over the strings. The hand doing the fretting just needs to support the neck, not strangle it. Your thumb should rest gently on the back for leverage.
Here's a simple but game-changing tip: Make sure the headstock is pointing slightly up, not down at the floor. This one little adjustment opens up the whole fretboard for your fretting hand and keeps your wrist from getting sore.
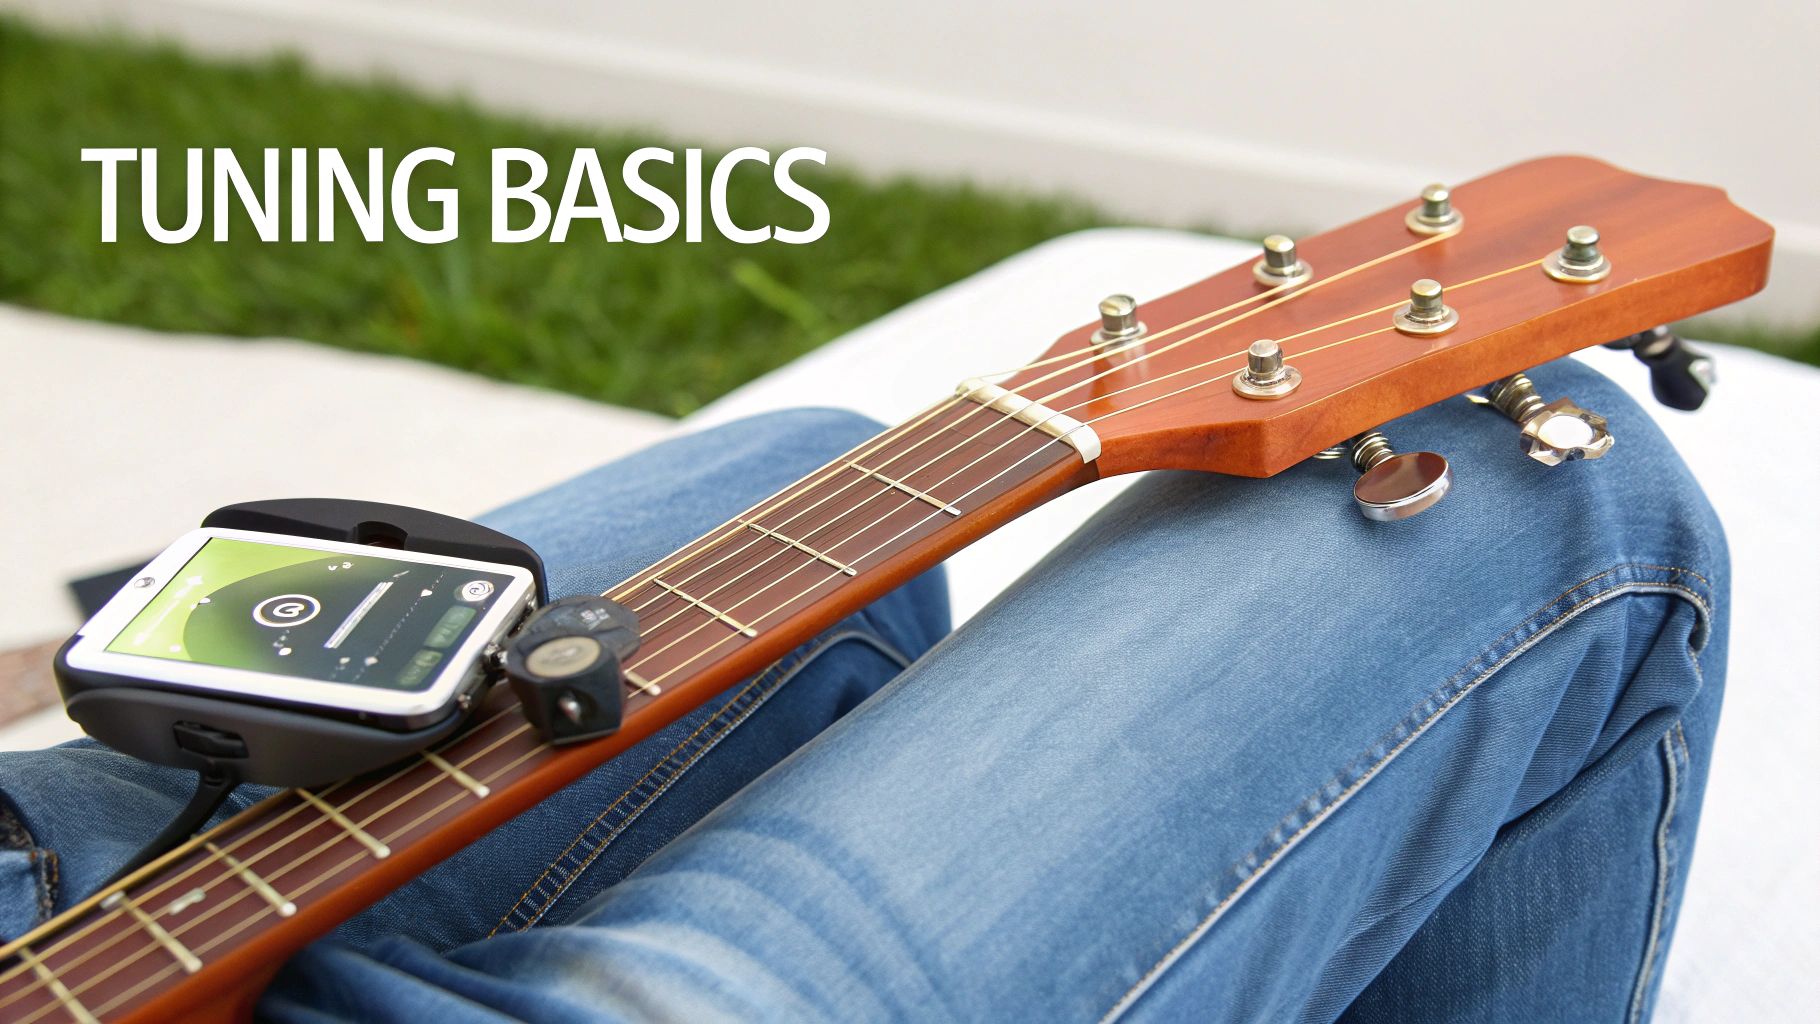
I can't stress this enough: an out-of-tune guitar will make a perfectly played chord sound like a mess. So many new players blame their fingers when the real culprit is their tuning. Learning this skill is absolutely non-negotiable.
Standard tuning, from the thickest string (closest to your face) to the thinnest, is E-A-D-G-B-E. The classic way to remember this is with a silly mnemonic like "Eddie Ate Dynamite, Good Bye Eddie."
Forget about buying a clunky physical tuner. Just grab your phone. There are tons of fantastic free tuner apps like GuitarTuna or websites with built-in tuners that use your device’s mic. Pluck a string, and the app will tell you if it's "sharp" (too high) or "flat" (too low). It’s that easy.
If you want a bit more detail on these crucial first steps, there's a great breakdown covering the first things every beginner should learn on guitar.
That little plastic triangle, the pick (or plectrum), is your key to getting a crisp, defined sound. Picks come in different thicknesses, and each one feels and sounds a bit different.
My professional advice? Start with a medium pick. Hold it between your thumb and the side of your index finger, with just a little bit of the tip showing. That grip gives you the perfect balance of flexibility and control.
Alright, this is where the magic happens. You’ve got the guitar in your hands, it’s in tune, and now it's time to turn those random notes into actual music. We're about to dive into the absolute bedrock of playing guitar: chords and rhythm.
Seriously, this is the fun part.
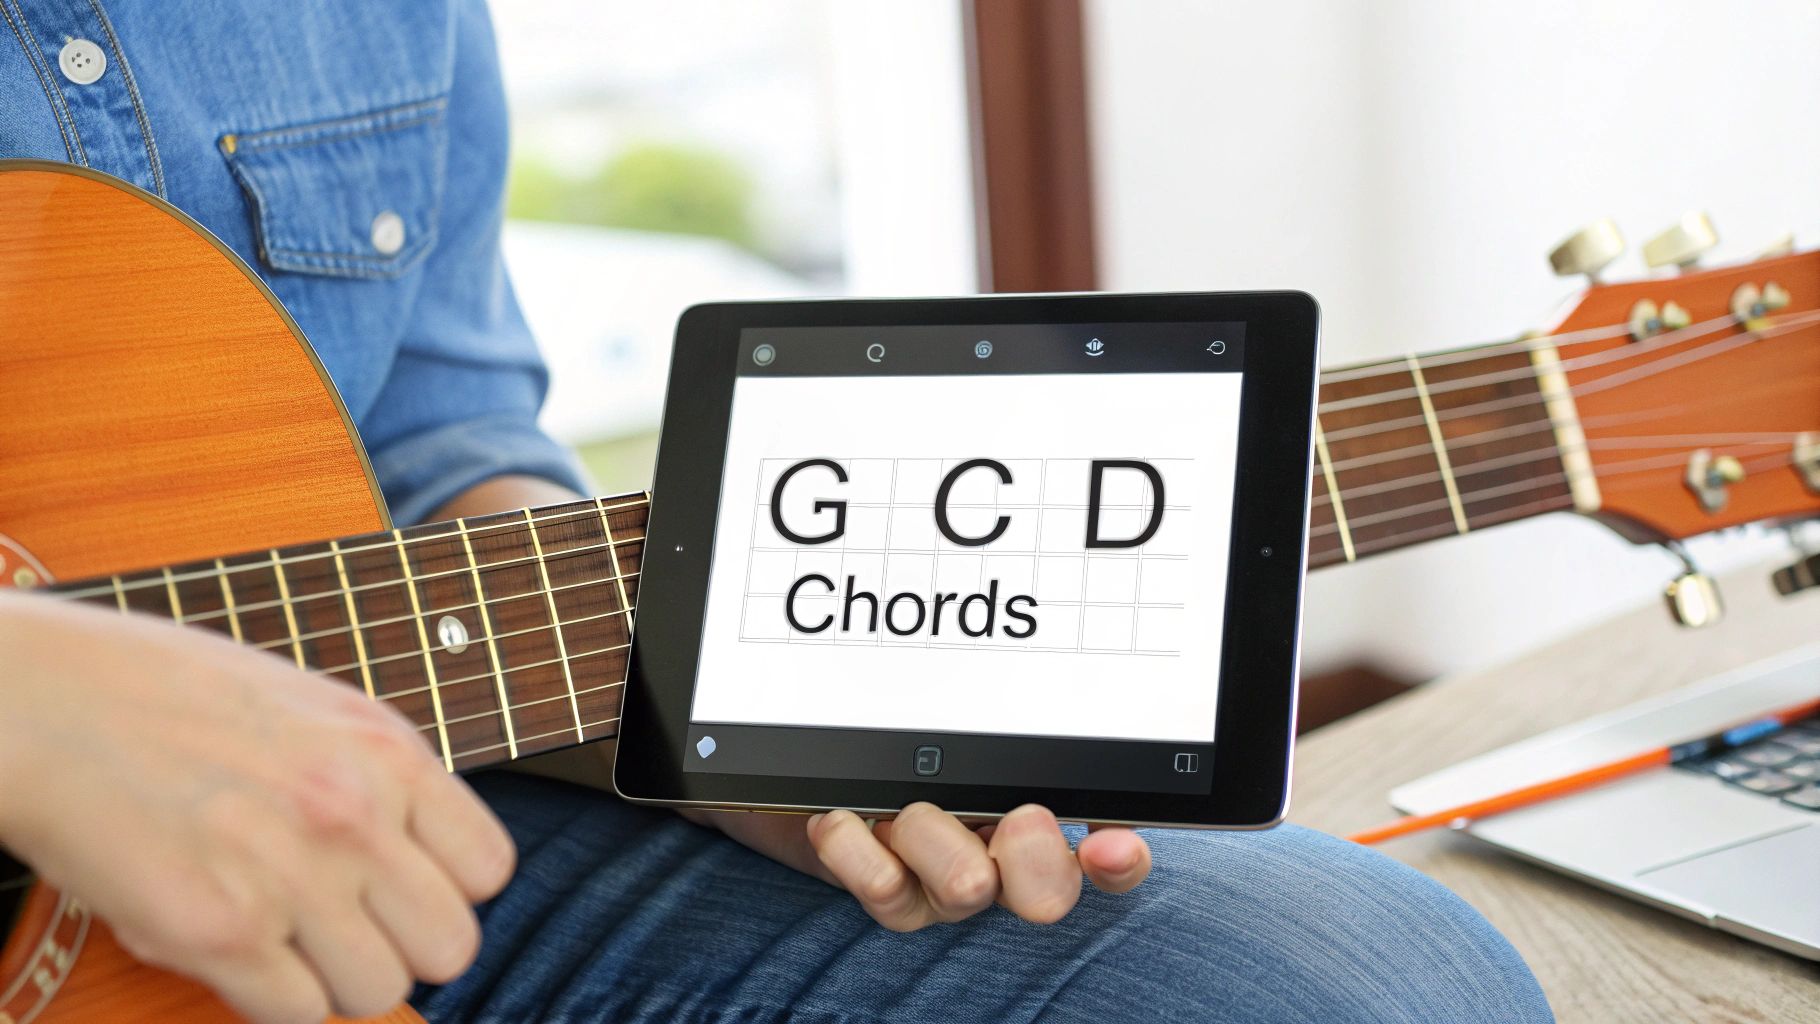
We’re going to focus on a trio of chords that are the foundation for literally thousands of songs. Think of them as your musical primary colors; once you have them down, you can start painting.
If you only learn three chords to start, make them G Major, C Major, and D Major. They sound fantastic together and are ubiquitous in pop, rock, country, and folk music. Your first goal is simple: learn the shape of each chord, which is just a fancy way of saying where to put your fingers.
A chord diagram is basically a map of your fretboard. The vertical lines are your strings (fattest one on the left), and the horizontal lines are the frets. The dots show you where to press down.
Don't even think about speed yet. Your only job right now is to place your fingers precisely and make sure every note rings out clearly.
The most common beginner frustration is hearing a muffled "thud" instead of a clean note. I’ve seen it a thousand times, and it almost always comes down to two simple things: finger placement and pressure.
To fix this, make sure you're pressing down with the very tips of your fingers, not the fleshy pads. You want to curve your fingers into a "claw" shape so they come down vertically onto the strings. This simple adjustment prevents your fingers from accidentally touching—and muting—the strings next to them.
As an instructor, I always tell my students to play a new chord one string at a time. Pluck each string in the chord shape. If one sounds dead, adjust that specific finger until it rings clear. This diagnostic trick saves hours of frustration.
Building the finger strength and precision for clear chords is all about muscle memory. The more you do it, the less you have to think about it. For a deeper dive, check out this guide on how to learn guitar chords quickly by building muscle memory.
Knowing the chords is one thing, but switching between them smoothly is what makes music flow. This is where most beginners get stuck. But here’s the secret: it’s not about lightning speed, it’s about efficiency of movement.
Start by practicing a switch between just two chords, like G and C. Form the G chord, then slowly lift your fingers and move them to the C shape. Your goal is to move all your fingers at the same time, like a single unit. Think about the most direct path each finger can take to its new spot.
The huge growth in online learning has made practicing this easier than ever. The entire online music learning market has exploded, expanding from $12 billion in 2023 to a projected $62 billion by 2032. A massive part of this is driven by new players using beginner guitar lessons online free to master fundamentals like chord changes. You can see more insights on this trend over at Zion Market Research.
Now let’s add some life to those chords with rhythm. Forget the complex stuff for now; we're going to focus on the most fundamental rhythm in music.
The Simple Down-Strum:
Grab a free metronome app and set it to a nice, slow tempo—around 60 BPM is perfect. Hold down a G chord. On every single click of the metronome, strum down across all the strings with your pick. Do that four times, then switch to a C chord and do it four more times.
Your goal here is consistency, not speed. Every strum should be even in volume and perfectly in time with that click. This simple exercise is profoundly important for building your internal clock.
Once you’re comfortable with that, you can introduce the universal strumming pattern that powers countless hits.
The Down-Up Pattern:
This pattern will feel a little awkward at first, but it’s the key to sounding like a real guitarist. The motion should be continuous and relaxed from your wrist, almost like you’re waving goodbye.
Here's how to count it out: "1 and 2 and 3 and 4 and"
Practice this slowly on a single chord until the motion feels totally automatic. Keep your wrist loose and let the pick do the work. Believe me, this rhythm is the engine behind so much of the music you already love.
Mastering these chords and rhythms is a huge milestone. When you're ready to see how these fundamentals fit into a larger, structured learning plan, exploring a TrueFire All Access Trial can show you the clear path forward.
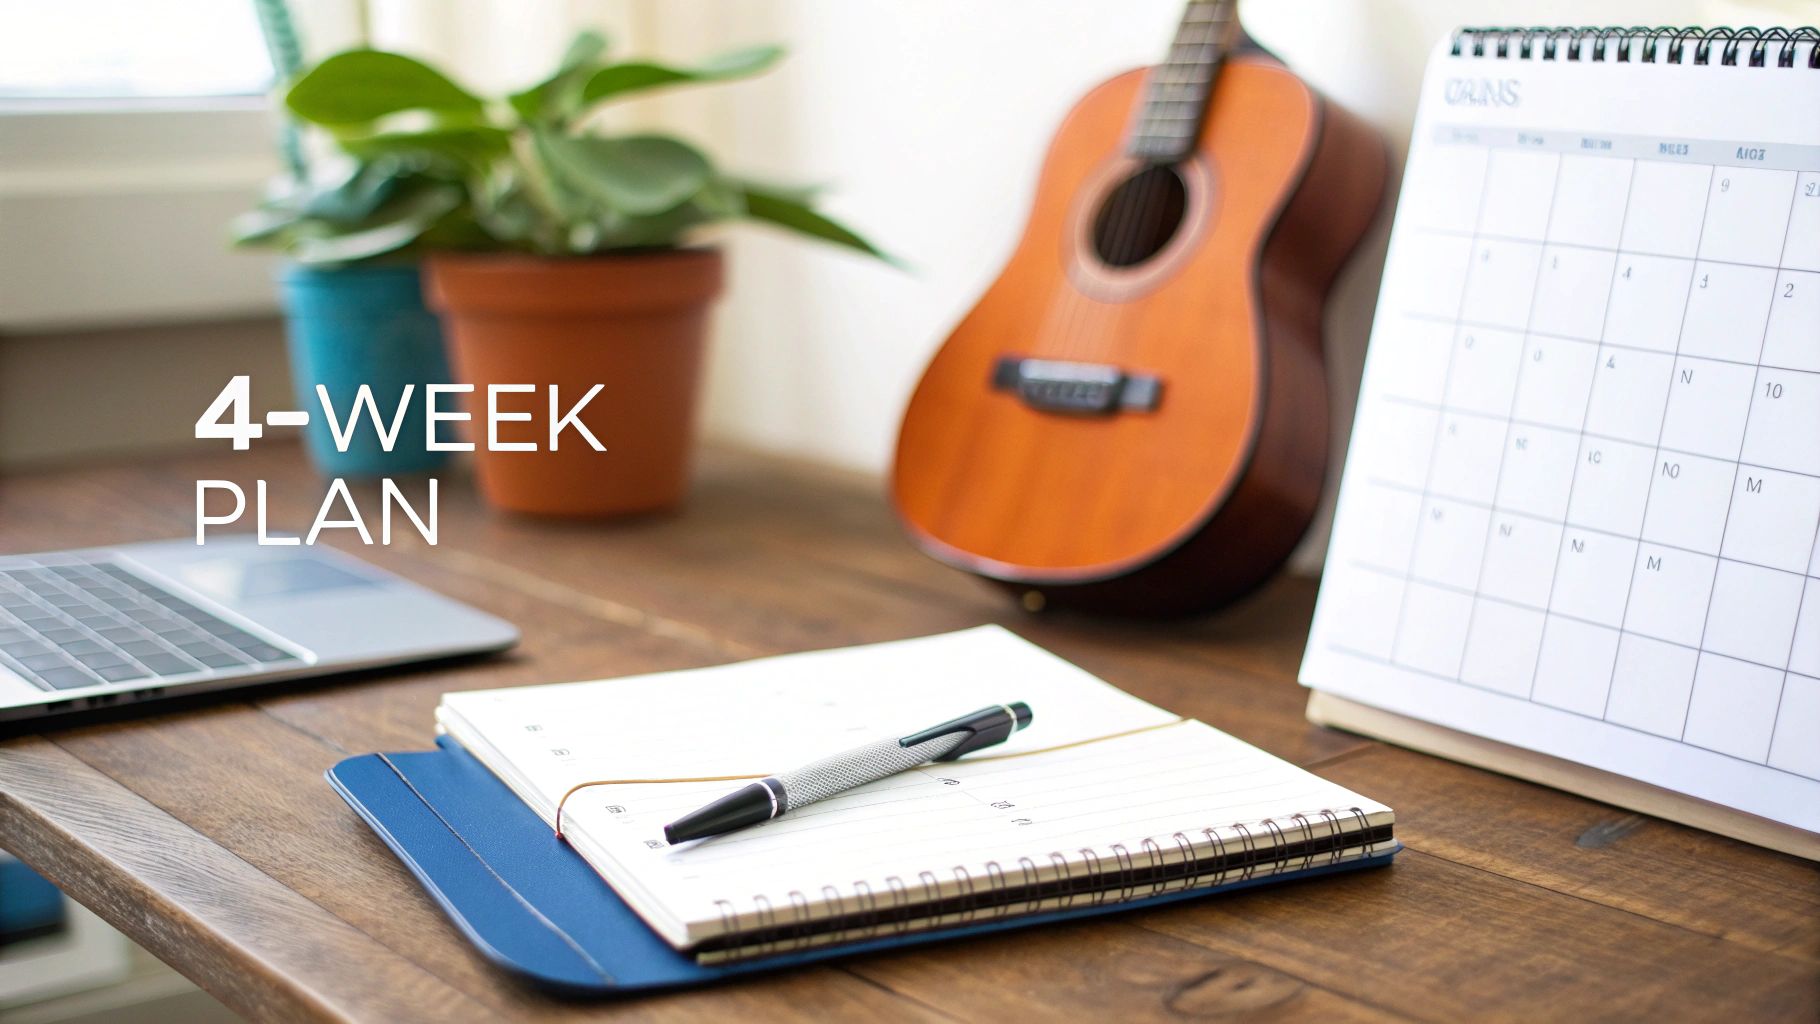
Alright, this is where the theory stops and the real work begins. The single most important thing you can do to learn guitar is show up consistently. To make that easy, I've put together a structured four-week plan that will build real momentum using only free resources.
This isn't about painful, hours-long practice sessions. Forget that. We're aiming for a manageable 20 minutes per day. That's it. This approach builds a lasting habit without the burnout, taking you from zero to playing your first bits of a song in just one month.
Here's a detailed breakdown to get you started. Think of it as your road map for the first month.
| Week | Primary Goal | Key Chords & Skills | Example Song Snippet |
|---|---|---|---|
| 1 | Form clean chords | G, C, D chords. Focus on finger placement & clarity. | N/A - Just make the chords sound good! |
| 2 | Connect the chords | Introduce E minor (Em). Practice transitions & basic down-up strum. | G to C, C to D, G to Em changes. |
| 3 | Build a song progression | Add A minor (Am). Work on the G-D-Em-C progression with rhythm. | Play "Let It Be" or "Zombie" verse progressions. |
| 4 | Play a simple song | Put it all together. Play a G-C-D song from start to finish. | Simplified "Twist and Shout." |
Now, let's dive into what you'll actually be doing each day.
Your only mission this week is to make the G, C, and D chords sound clean. One at a time. Forget speed, forget switching between them—just focus on pure precision. Every time you place your fingers correctly, you're carving pathways into your muscle memory.
Your Daily 20-Minute Routine:
Okay, you've got the basic shapes. Now it's time to actually make some music by connecting them. We'll add a super-easy new chord—E minor (Em)—and introduce the thing that brings it all to life: a simple strumming pattern.
Your goal is to move between G, C, D, and Em without those long, awkward pauses.
Here's the Daily Breakdown:
The most effective practice is intentional. Instead of just mindlessly repeating something, focus on the smallest detail you want to improve—like lifting your fingers less during a chord change. This targeted approach is how you make progress fast.
This week, we're adding another cornerstone chord, A minor (Am), and shifting our focus to playing a real-deal song progression. You'll be working on smoothing out your changes and locking into a steady rhythm—the last pieces of the puzzle.
The big goal for Week 3 is to play the G-D-Em-C progression, one of the most common in all of pop music, with a consistent beat.
Your Daily Session:
This is it. Week four is all about putting everything together. Your objective is to play a simple three-chord song from beginning to end without stopping. We'll use the chords you've totally mastered—G, C, and D—to play a stripped-down version of a classic like "Twist and Shout."
Think of your practice time now as a mini-performance.
Here's the Plan:
By following this plan, you'll have built an incredibly solid foundation and hit a huge milestone. For more great ideas on making your sessions count, you can explore these five smart practice tips for guitar players.
Once you’ve crushed this plan and you're hungry for more, a guided curriculum is the perfect next step. That’s a great time to check out the Learning Paths you can get with a TrueFire All Access Trial.
Every single person who picks up a guitar for the first time hits the same roadblocks. I've seen it thousands of times. It’s practically a rite of passage. But the difference between those who quit and those who stick with it is knowing how to push through those early frustrations. Let's tackle the big ones head-on.
The first complaint is almost always the same: "My fingertips are killing me!" This is completely normal, so don't sweat it. You're asking the soft pads of your fingers to press down on thin steel strings—they're going to protest at first. The goal is to build up calluses gradually, not painfully.
Keep your practice sessions short and sweet, maybe 15-20 minutes at a time. This gives your fingers a chance to toughen up without blistering. If you need more advice, this is a great resource for reducing fingertip pain when learning guitar.
Right after sore fingers comes the dreaded fret buzz. You know the sound—that irritating, metallic rattle that completely kills the note you’re trying to play. This usually happens for one of two reasons: you aren't pressing down quite hard enough, or your finger is in the wrong spot.
Here’s the secret to a clean note: aim to place your fingertip right behind the metal fret wire, not floating in the middle of the space between them. It’s the spot that requires the least amount of pressure for a clear, buzz-free sound.
Try this right now. Form a C chord, and then look at each finger one by one. Is it as close to the fret as it can be without being right on top of it? Making this tiny adjustment will change your sound overnight.
Slow, clunky chord changes are a massive momentum killer. The music grinds to a halt, the rhythm dies, and it’s easy to feel like you’ll never get it. The fix is a simple but incredibly effective exercise I call "one-minute changes."
Set a timer for 60 seconds. Pick two chords you're working on, like G and C. Your only goal is to switch between them as many times as you can before the timer dings. Don't even worry about strumming; just focus on your fretting hand's movement. Count how many clean changes you make. Tomorrow, try to beat your number. This drill builds muscle memory faster than just about anything else.
Finally, let's talk about timing. Playing the right chords is one thing, but playing them in time is what actually makes it sound like music. The single most important tool for this is a metronome, and you can find tons of them online for free.
Start slow. Painfully slow, even. Set it to around 60 BPM and just practice your simple down-up strumming pattern on a single open chord. Focus on making sure your pick hits the strings exactly on each click. I know it's not glamorous, but this is the absolute foundation of good rhythm. A few minutes with a metronome every day builds an internal clock that eventually becomes second nature.
Fixing these common issues is all about targeted practice, not just noodling for hours. Once you feel like you've got these basics under control and you're ready for a more structured path, grabbing a TrueFire All Access Trial can give you the guided lessons and tools to keep you moving forward without hitting these same walls.
So, you’ve put in the work and built a solid foundation with open chords and steady rhythms. Awesome. But where do you go from here? This is your roadmap for making that leap from beginner to intermediate player, where the guitar really starts to feel like an extension of your hands.
The first big mountain to climb is expanding your chord vocabulary. That means it’s time to tackle barre chords. These are the key to unlocking a massive variety of popular songs. Instead of fingering each string individually, you’ll learn to use your index finger to press down all six strings at once, creating a kind of movable capo.
It’s a serious challenge, no doubt about it. But once you get it, the entire fretboard opens up for you.
Beyond chords, it's time to start thinking more melodically. And the absolute best place to start is with your first scale: the minor pentatonic scale.
This simple five-note scale is the secret sauce behind countless rock, blues, and pop solos. Learning its basic shape is surprisingly quick and will immediately give you the tools to start creating your own simple riffs and lead lines.
Another non-negotiable skill is learning to read guitar tablature, or "tabs." Think of it as the universal language for guitarists online. Instead of complex musical notation, tabs give you a visual map of the six strings and tell you exactly which fret to play. Mastering tabs gives you the keys to the kingdom—the ability to look up and learn pretty much any song you can think of.
As a music educator, I've seen countless students hit a wall after learning the basics. The players who break through that plateau are always the ones who move from chasing random free videos to following a structured, progressive path that builds skills logically.
To keep your momentum going, you need a system that grows with you.
Making the switch from hunting down disjointed beginner guitar lessons online free to following a guided curriculum is the single most powerful step you can take at this stage. When you’re ready for that move, I can't recommend enough that you explore the Learning Paths available with a TrueFire All Access free trial. It provides the exact kind of interactive tools and expert instruction you need to become a truly well-rounded guitarist.
Jumping into the world of online guitar lessons can feel like a maze. As a professional guitar instructor, I've heard every question in the book. Let's clear up some of the most common ones I hear from folks just starting their journey.
This is always the first question, and the honest-to-goodness answer is... it depends on you. It's all about consistency.
If you can carve out a focused 20 minutes every day, you'll be surprised how fast you can start strumming simple songs with basic chords—usually within 4 to 6 weeks. But "learning guitar" isn't a race with a finish line; it's a lifelong journey. The real win is enjoying the process and seeing those small, daily efforts stack up into real skill over time.
Yes, one hundred percent. You absolutely do not need a pricey instrument to get started. Plenty of entry-level guitars today, like the Yamaha CG122MSH, are built well and are more than good enough for a beginner.
What's way more important than the brand name is the "setup." A guitar with a comfortable "action"—that's the height of the strings off the fretboard—is your best friend. A poorly set-up expensive guitar will fight you every step of the way, making it much harder to play than a cheap one that's been properly adjusted.
The best beginner guitar is the one that makes you want to pick it up. Comfort and playability are everything. They beat a fancy logo every single time, especially when you're just starting out.
For anyone just starting out, the answer is always chords. No question about it.
Chords are the building blocks of rhythm guitar, which is what you'll use to play about 99% of the songs you love. Your first big mission is to get a handful of open chords (like G, C, D, Em, and Am) under your fingers and learn to switch between them without stopping.
Scales come into play later on when you're ready to tackle melodies, cool riffs, and guitar solos. Think of it like this: chords are the foundation and walls of the house, and scales are the cool furniture and paint you use to decorate it. You've got to build the house first.
Learning online is all about finding a structured path that builds these skills in the right order. When you’re ready to ditch the random YouTube videos for a curriculum that actually works, a platform with a clear plan makes all the difference.
Ready to see how a complete, step-by-step system can put your progress on the fast track? Check out the Learning Paths and interactive tools with a TrueFire All Access Trial.
