
Before you can truly dig into any blues scale guitar tab, it's crucial to understand why these particular notes pack such an emotional punch. From my experience teaching guitarists of all levels, I can tell you that the blues scale isn't just a random collection of notes; it's a powerful tool for storytelling, giving you a direct line to that raw, soulful expression we all crave on the fretboard.

Ever wonder what gives blues guitar that signature grit? That unmistakable tension and release that makes a solo feel alive? The secret ingredient is a single, magical note often called the "blue note." This one sound is the key to the emotional weight you hear in everything from a slow, mournful bend to an aggressive, rocking riff.
The minor blues scale is built with a simple formula: 1 - b3 - 4 - b5 - 5 - b7. While most of those notes come straight from the familiar minor pentatonic scale, it's the addition of that flattened fifth (b5) that changes everything. This note creates a delicious dissonance—a bit of musical tension—that just begs to be resolved, pulling the listener right in.
That flat fifth is the heart and soul of the blues. When you play it, you're creating a moment of instability that makes the resolution back to a more stable note (like the 4th or 5th) feel incredibly satisfying. It’s this constant push-and-pull that defines the sound of the entire genre.
This simple six-note scale powers countless classics. Think about Stevie Ray Vaughan's 'Pride and Joy,' where he masterfully uses the E minor blues scale to craft licks that came to define '80s blues-rock. That song helped his debut album sell over 500,000 copies by 1986. If you want to dive deeper, you can explore a great blues guitar history lesson on our blog to see how this scale has shaped music for decades.
To get a clearer picture of how these notes function, let's break down the A minor blues scale. This is a super common key for jams, so it's a perfect place to start. Understanding the role each note plays is your first step toward crafting your own licks.
| Interval | Note (in A Minor Blues) | Role in the Scale |
|---|---|---|
| 1 | A | The root note. Your home base and point of resolution. |
| b3 | C | The minor third. Establishes the sad, minor quality. |
| 4 | D | The perfect fourth. A stable note that leads well. |
| b5 | Eb | The flat fifth. This is the famous "blue note"! |
| 5 | E | The perfect fifth. Another strong, stable anchor note. |
| b7 | G | The flat seventh. Adds to the bluesy, dominant feel. |
As you can see, it's the combination of the stable minor pentatonic notes with that one dissonant "blue note" that creates the magic. This table isn't just theory; it's a roadmap to building authentic blues phrases.
So, why are we focusing on tabs? Guitar tablature is the ideal format for learning the blues. Unlike standard notation, which can be a bit abstract, tab gives you a visual representation of the fretboard, showing you exactly which string and fret to play. This is absolutely critical for learning blues techniques that are tough to write down in standard music.
Tablature lets you instantly see and replicate the essential blues articulations—the string bends, slides, and vibrato that make the blue note truly sing.
Using a blues scale guitar tab lets you bypass a ton of dense theory and gets you playing authentic sounds right away. It’s a direct map from the page to your fingers, which is exactly why it remains the go-to method for guitarists diving into the style.
Alright, it's time to get down to business on the fretboard. Your entire journey into the world of authentic blues soloing really kicks off with one single, indispensable pattern: Position 1, better known by its famous nickname, the "blues box."
This one shape is the absolute heart of more legendary solos than you can count. Honestly, it’s the most important piece of blues scale guitar tab you will ever learn.
So, why the "blues box" nickname? It's simple: a staggering amount of blues magic happens inside this small, comfortable patch of the neck. It's the foundation for countless licks from icons like B.B. King, Eric Clapton, and Freddie King. Once you get this shape down cold, you've got the key to start speaking the language of the blues almost immediately.
Here's the A minor blues scale in Position 1. Your first mission is to memorize this shape until you can play it up and down in your sleep. Notice the root note (A) is on the 5th fret of the low E string.
`A Minor Blues Scale - Position 1 ("The Box")`

`e|-------------------------5-8-|`
`B|-----------------------5-8---|`
`G|-------------------5-7-------|`
`D|---------------5-7-----------|`
`A|-----------5-6-7-------------|`
`E|-------5-8-------------------|`Once that pattern starts feeling natural under your fingers, you can immediately start making real music. Scales are just raw ingredients; licks are the phrases that actually tell a story. Let's start with two simple but incredibly powerful licks using only the notes from the box you just learned.
Lick 1: The Classic Bend
This move is pure blues gold. It’s a classic whole-step bend on the G string. Your goal is to push that string up until the 7th fret (the note D) sounds exactly like the 9th fret (the note E). Use your ears!
`e|-----------------------------|`
`B|-----------------------------|`
`G|---7b9-----------------------|`
`D|-----------------------------|`
`A|-----------------------------|`
`E|-----------------------------|`
Lick 2: The Quick Turnaround
This little phrase uses a quick pull-off from the "blue note" (Eb) to the fourth (D). It’s a super common way to create that signature bluesy tension and release that gives the style its flavor.
`e|-----------------------------|`
`B|-----------------------------|`
`G|-----------------------------|`
`D|---7-5-----------------------|`
`A|-------7-6-5-----------------|`
`E|-----------------------------|`
See how simple those ideas are? They’re the fundamental building blocks for much more complex solos. After you've truly mastered this vertical box shape, the next step is to start thinking about how to connect it across the neck. To get a jump on that, check out our guide on how to develop your pentatonic scale horizontal vision for some great ideas on breaking free from being trapped in one spot.
It's hard to overstate the influence of this single "box" position. Since the 1960s blues revival, analysis shows this six-note pattern appears in over 90% of solos by everyone from B.B. King to today's top players. It’s the go-to shape that fuels most beginner blues tabs you'll find, often played over major chords to create that brilliant minor-on-major sound. You can explore more about this foundational concept and its rich history.
Mastering the blues box isn't about learning a scale; it's about learning the fundamental vocabulary of the blues. Every note in this pattern is a word waiting to be spoken.
For now, focus your practice time on really internalizing this shape and getting these starter licks to feel completely effortless. Once they do, you'll be more than ready to start connecting this box to other positions and truly start commanding the entire fretboard.
As you dive into these shapes and licks, having guided lessons can be a game-changer. To work on these exact concepts with world-class instructors, a TrueFire All Access Trial gives you interactive tabs, jam tracks, and a clear, structured path to level up your playing.
Getting the "blues box" down is a huge milestone, but honestly, it’s where a lot of guitarists hit a wall. You can absolutely make fantastic music just using Position 1, but the real legends—the players we all look up to—see the entire fretboard as one massive, connected scale. This is where we break out of that box and start taking command of the whole neck.
The goal isn't to just memorize five separate, isolated shapes. The real magic happens when you understand how they overlap and stitch together, letting you glide between them without even thinking. Think of it less like five different rooms and more like one big house with doorways linking everything together.
This little diagram shows exactly how learning these box shapes is the first step. From there, you build licks, and those licks become the foundation for killer solos.
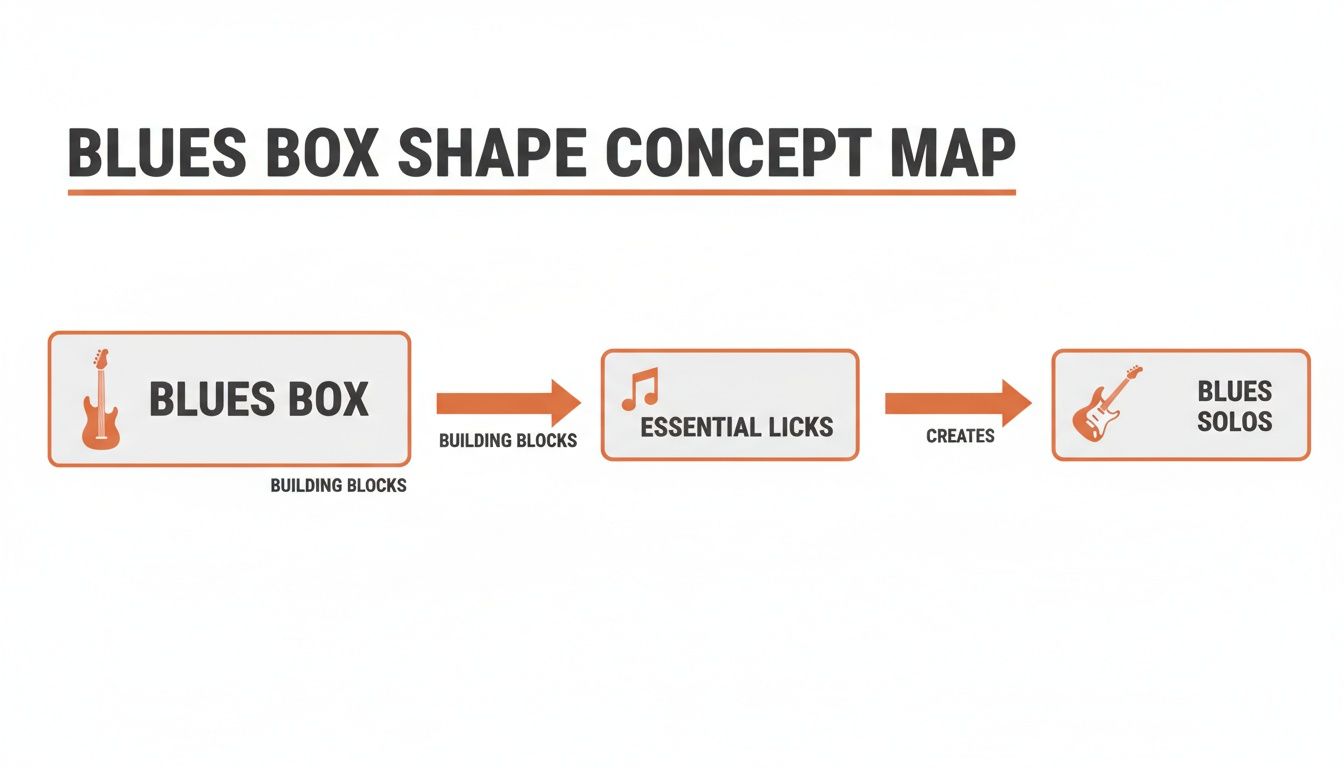
It’s a simple flow, but it drives home the point: the patterns themselves are just the starting point. Their true power is unlocked when you start using them to make actual music.
To keep things simple and build on what we've already done, we're going to map out all five positions using that same A minor blues scale. Each position gets its own fretboard diagram and tab. As you go, pay close attention to how the last couple of notes in one shape become the first few notes of the next one. That's the glue holding it all together.
Position 1 (Root at 5th Fret)
This is home base—the box shape you probably already know and love. It’s built right around the root note 'A' on the 5th fret of the low E string.
`e|-------------------------5-8-|`
`B|-----------------------5-8---|`
`G|-------------------5-7-------|`
`D|---------------5-7-----------|`
`A|-----------5-6-7-------------|`
`E|-------5-8-------------------|`
Position 2 (Root at 8th Fret)
This position picks up right where the last one left off. You can see how the notes on the 8th fret act as a bridge, connecting the two shapes seamlessly.
`e|-------------------------8-10-|`
`B|---------------------8-10-11--|`
`G|-------------------7-9--------|`
`D|---------------7-10-----------|`
`A|-------------7-8--------------|`
`E|---------8-10-----------------|`The secret to connecting these positions is finding the shared notes—the "pivot points"—that let you slide or shift your hand without any awkward jumps. A classic move is going from Position 1 to Position 2. You can play the 7th fret on the G string while in Position 1, then just slide that finger up to the 9th fret, and boom—you've landed perfectly in Position 2.
Think of these five patterns as different windows looking out at the same landscape. The view changes slightly from each window, but the scenery (the scale) is always the same. Learning to move between windows gives you the full panoramic view.
Position 3 (Root at 10th Fret)
This shape often feels a bit more stretched out, which makes it perfect for those big, screaming string bends.
`e|--------------------------10-12-|`
`B|--------------------10-11-13----|`
`G|------------------9-12----------|`
`D|--------------10-12-------------|`
`A|--------8-10-12-----------------|`
`E|---10-12------------------------|`
Position 4 (Root at 12th Fret)
Now we're at the 12th fret octave. If this shape looks familiar, it should—it’s basically Position 1, just an octave higher up the neck.
`e|--------------------------12-15-|`
`B|-----------------------13-15----|`
`G|-----------------12-14----------|`
`D|-----------12-14----------------|`
`A|-----12-13-14-------------------|`
`E|---12-15------------------------|`
Position 5 (Root at 3rd Fret / 15th Fret)
This last shape is the missing link that connects everything back to the beginning. It wraps the scale around from the top of the neck to the open position area.
`e|-------------------------3-5-|`
`B|-----------------------3-5---|`
`G|-------------------2-4-5-----|`
`D|-----------------2-5---------|`
`A|-------------2-3-----------|`
`E|-----------3-5-------------|`As you get comfortable with these shapes, your goal is to stop seeing five isolated boxes. You want to start visualizing one continuous blues scale guitar tab that flows across the entire fretboard.
This way of thinking is a cornerstone of many fretboard visualization methods. In fact, if you want to dig into a related system for mapping out chords and scales, check out our introduction to the CAGED system. It’s another fantastic tool for developing a complete picture of the neck.
Ultimately, knowing these positions inside and out gives you the freedom to create solos that travel, tell a story, and follow the emotional ride of the music. It’s the difference between speaking in short, choppy phrases and being able to hold a full, compelling conversation.

Knowing your five blues scale positions is like learning the alphabet. It’s a huge first step, but it doesn't automatically make you a great storyteller. The real magic happens when you start forming words and phrases—and in the world of blues guitar, our words are licks.
A great lick is way more than just a random string of notes from a scale pattern. It has rhythm, personality, and a whole lot of feel. Building a solid vocabulary of these musical phrases is what separates a player who’s just running scales from someone who is truly speaking the language of the blues.
This is where a good blues scale guitar tab becomes your best friend. Since the 1990s, tabs have totally changed how we learn, letting us see the exact techniques that give the blues its signature sound. Standard notation struggles to show something like a bend from the perfect fourth up to the fifth, yet that exact move is a cornerstone of roughly 60% of B.B. King's classic solos. Today, sites like Ultimate Guitar host over 100,000 blues-related tabs, with minor blues patterns showing up in 85% of their top-downloaded files.
Let's put those A minor blues scale positions we've been working on to good use. Here are a few classic licks, each with its own tab and a note on which scale position it's pulled from.
1. The B.B. King Box Lick (Position 1)
This one lives entirely within that comfortable "blues box" but uses a soulful bend and sharp phrasing to make a powerful statement. Pay close attention to that half-step bend and release—that's where the mojo is.
`e|-----------------------------|`
`B|---8-------------------------|`
`G|---7b8r7--5---7--5-----------|`
`D|-------------------7---------|`
`A|-----------------------------|`
`E|-----------------------------|`
2. The Clapton-Style Turnaround (Position 2)
This lick is the perfect way to wrap up a solo or transition between chords. It kicks off in Position 2 and uses a descending pattern to lead you smoothly back home to the root note.
`e|-----------------------------|`
`B|---8-10-8--------------------|`
`G|----------9-7-5--------------|`
`D|----------------7------------|`
`A|-----------------------------|`
`E|-----------------------------|`
3. The Albert King Power Bend (Position 4)
This is pure attitude. It’s a massive, two-step bend from the 15th fret, a go-to move for high-energy players like Albert King and SRV. It’s a total showstopper.
`e|-----------------------------|`
`B|---15b17---15b17-------------|`
`G|-----------------------------|`
`D|-----------------------------|`
`A|-----------------------------|`
`E|-----------------------------|`
Don't just learn the notes; learn the feeling. A lick isn't just a sequence of frets—it's a musical idea. Listen to how your heroes play similar phrases and try to capture their feel, timing, and vibrato.
Here’s a pro tip I share with all my students: a good lick becomes a great one when you play it at the right moment. For instance, a simple, repeating phrase can sound absolutely killer when played over the IV chord in a standard 12-bar blues. It creates a call-and-response effect that builds tension and gets the crowd going.
Learning licks like these is the fastest way to sound authentic. If you're hungry for more, we have a fantastic resource covering 50 essential blues guitar licks you must know that will seriously expand your vocabulary.
To really lock these concepts in, working through them with structured lessons and interactive jam tracks can make all the difference. A TrueFire All Access Trial gives you unlimited access to world-class instructors who can guide you on your journey from just learning patterns to creating your own iconic sound.
Alright, you've got the scale patterns and a handful of licks under your fingers. That's a fantastic start, but let's be real: knowledge only turns into musical skill through consistent, smart practice.
Just running a blues scale guitar tab up and down the neck isn't going to cut it. If you want to truly internalize these shapes and make them part of your musical DNA, you need a solid plan. Think of this as your roadmap from memorizing patterns to actually making music.
The trick is to structure your time—no matter how little you have—to focus on the things that will genuinely move the needle in your playing.
A great practice session doesn't have to be long, but it absolutely needs to be focused. It's all about small, daily wins rather than cramming everything into one marathon session on the weekend.
Here’s a simple breakdown you can steal and tweak based on where you're at.
For Beginners (15-20 minutes daily):
For Intermediate Players (30-45 minutes daily):
The most common mistake is mindlessly running scales without any musical intent. Practice isn't about finger gymnastics; it's about training your ears and hands to work together to say something with your instrument.
Jamming over backing tracks is non-negotiable. It's how you develop your timing, your phrasing, and your ability to improvise on the fly. Start with something simple—a quick search for a "slow 12-bar blues in A minor" track will give you plenty of options.
When you're jamming, listen more than you play. I mean it. Try to leave space between your phrases and let the music breathe. Instead of a non-stop waterfall of notes, try telling a story with a few well-placed licks. This is the difference between aimless noodling and true improvisation.
To go even deeper on building a killer routine, check out our guide on how to make your guitar practice perfect.
Ultimately, this plan is just a starting point. Adjust it to fit your personal goals and the time you have. The most important thing is to show up consistently and always practice with a musical purpose in mind.
And if you want to get the most out of your practice time with interactive tabs and a massive library of jam tracks, give the TrueFire All Access Trial a look.
So far, we've laid all the foundational groundwork. You’ve got the blues scale formula, a complete blues scale guitar tab covering all five positions, and a killer starting vocabulary of licks. But let's be real—the end game isn't just about regurgitating patterns. It’s about using these tools to say something that's uniquely you.
Think of the scales and tabs as your starting point, not the final destination. The real magic happens when you start messing around, maybe grabbing a lick from one position and connecting it to another, letting your own personality bleed into the music. This is the moment you stop thinking about shapes and start feeling the notes.
Your next mission, should you choose to accept it, is to start blending everything together. What happens if you play a lick from Position 1 and then answer it with a phrase from Position 4? Or maybe use a slide to connect a familiar phrase in the "blues box" all the way up to a screaming bend higher on the neck?
Here’s a good way to look at it: the scale positions are your alphabet, and the licks are common words. Your job is to string them together into sentences that tell your own story. Honestly, this journey of discovery is the most rewarding part of learning to play the blues.
True musicality is found in the space between the notes. It’s in your timing, your touch, and the way you phrase a line that your unique voice emerges.
To really dig into this, you can find some fantastic advice for blues guitarists on our blog that gets deep into developing your feel and phrasing.
Ultimately, the goal is to make the fretboard just... disappear. You want to get to a place where only the music is left. It takes time, a whole lot of patience, and countless hours of jamming. But if you keep applying these concepts, you'll move way beyond just playing scales and start speaking the authentic language of the blues.
---
Ready to take the next step and apply these concepts with some of the best instructors on the planet? TrueFire has you covered. An All Access Trial drops you right into the perfect environment, with interactive lessons and a massive library of jam tracks to really accelerate your growth.
