
If you want to play songs on the guitar, this is where the magic really starts. Forget the dense music theory for a minute. Let's get our hands on the fretboard and learn the actual shapes that power thousands of songs you already know and love.
This is your real beginning.
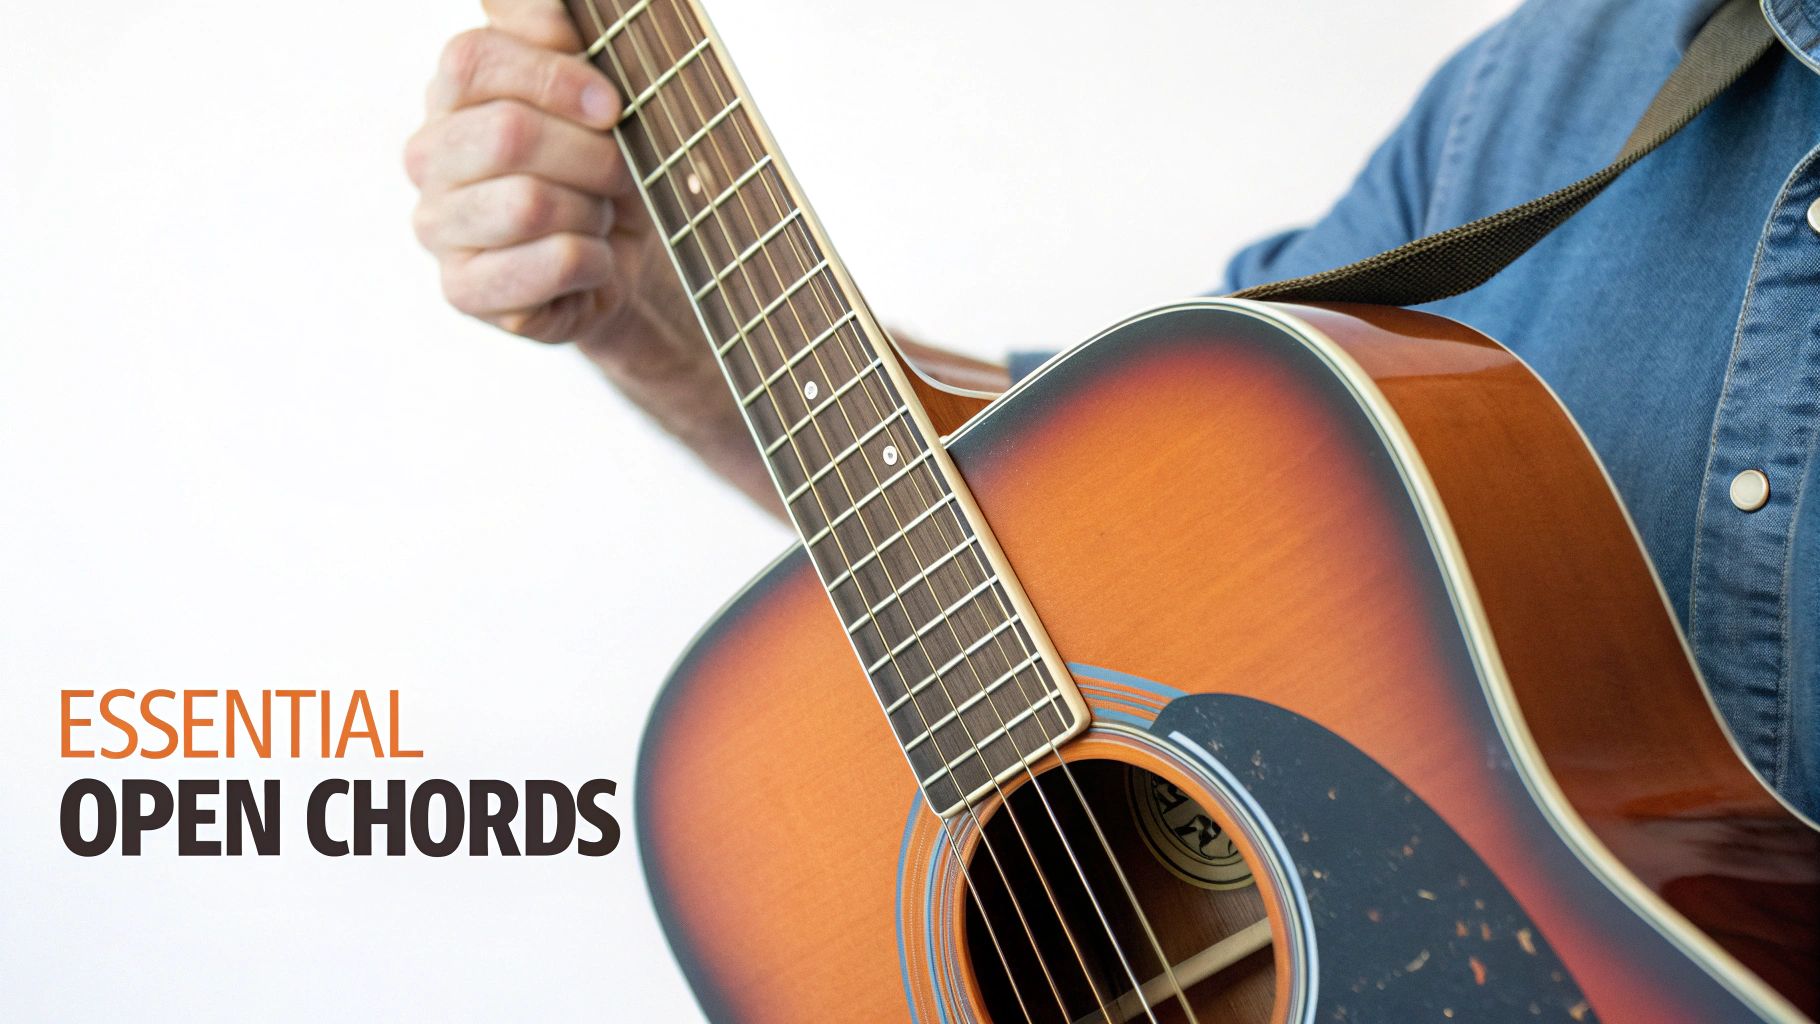
We're starting with what are known as "open chords." They get their name because they use one or more open strings—strings you don't press down. This is what gives them that big, ringing sound that's perfect for strumming on an acoustic guitar. Think of these as the fundamental words of your new musical language.
The main goal here is to build muscle memory. You want these shapes to feel as automatic as signing your name. It won't happen instantly, but with a little practice each day, your fingers will start finding their way home without you even thinking about it.
Let's focus on just five of the most common, most versatile open chords in all of music. Getting these five down will unlock a shocking number of songs. Meet your new best friends:
As an instructor, I always drill this into my students: make every note ring out cleanly before you even think about speed. Fret a chord, strum it once, and listen closely. Is a note buzzing or muted? Adjust your finger pressure or angle. Quality first, always.
Before you know it, you'll be stringing these shapes together into guitar chord progressions for beginners. Don't get overwhelmed! Just work on one or two at a time until they feel comfortable under your fingers.
To help you on your way, we've put together a quick guide to these essential shapes. This table breaks down not just the chord, but the feeling it often creates and a classic song where you can hear it in action.
| Chord Name | Common Feeling or Sound | Iconic Songs Using This Chord |
|---|---|---|
| G Major | Bright, happy, open | "Sweet Home Alabama" - Lynyrd Skynyrd |
| C Major | Grounded, resolved, classic | "Let It Be" - The Beatles |
| D Major | Warm, powerful, uplifting | "Wonderful Tonight" - Eric Clapton |
| E minor | Melancholy, serious, moody | "Losing My Religion" - R.E.M. |
| A minor | Reflective, dramatic, tense | "Stairway to Heaven" - Led Zeppelin |
See? You're already familiar with the sound of these chords. Now it's just a matter of teaching your hands to make them. For a complete visual guide to these shapes and many others, you can always reference the ultimate guitar chord chart to keep your practice focused.
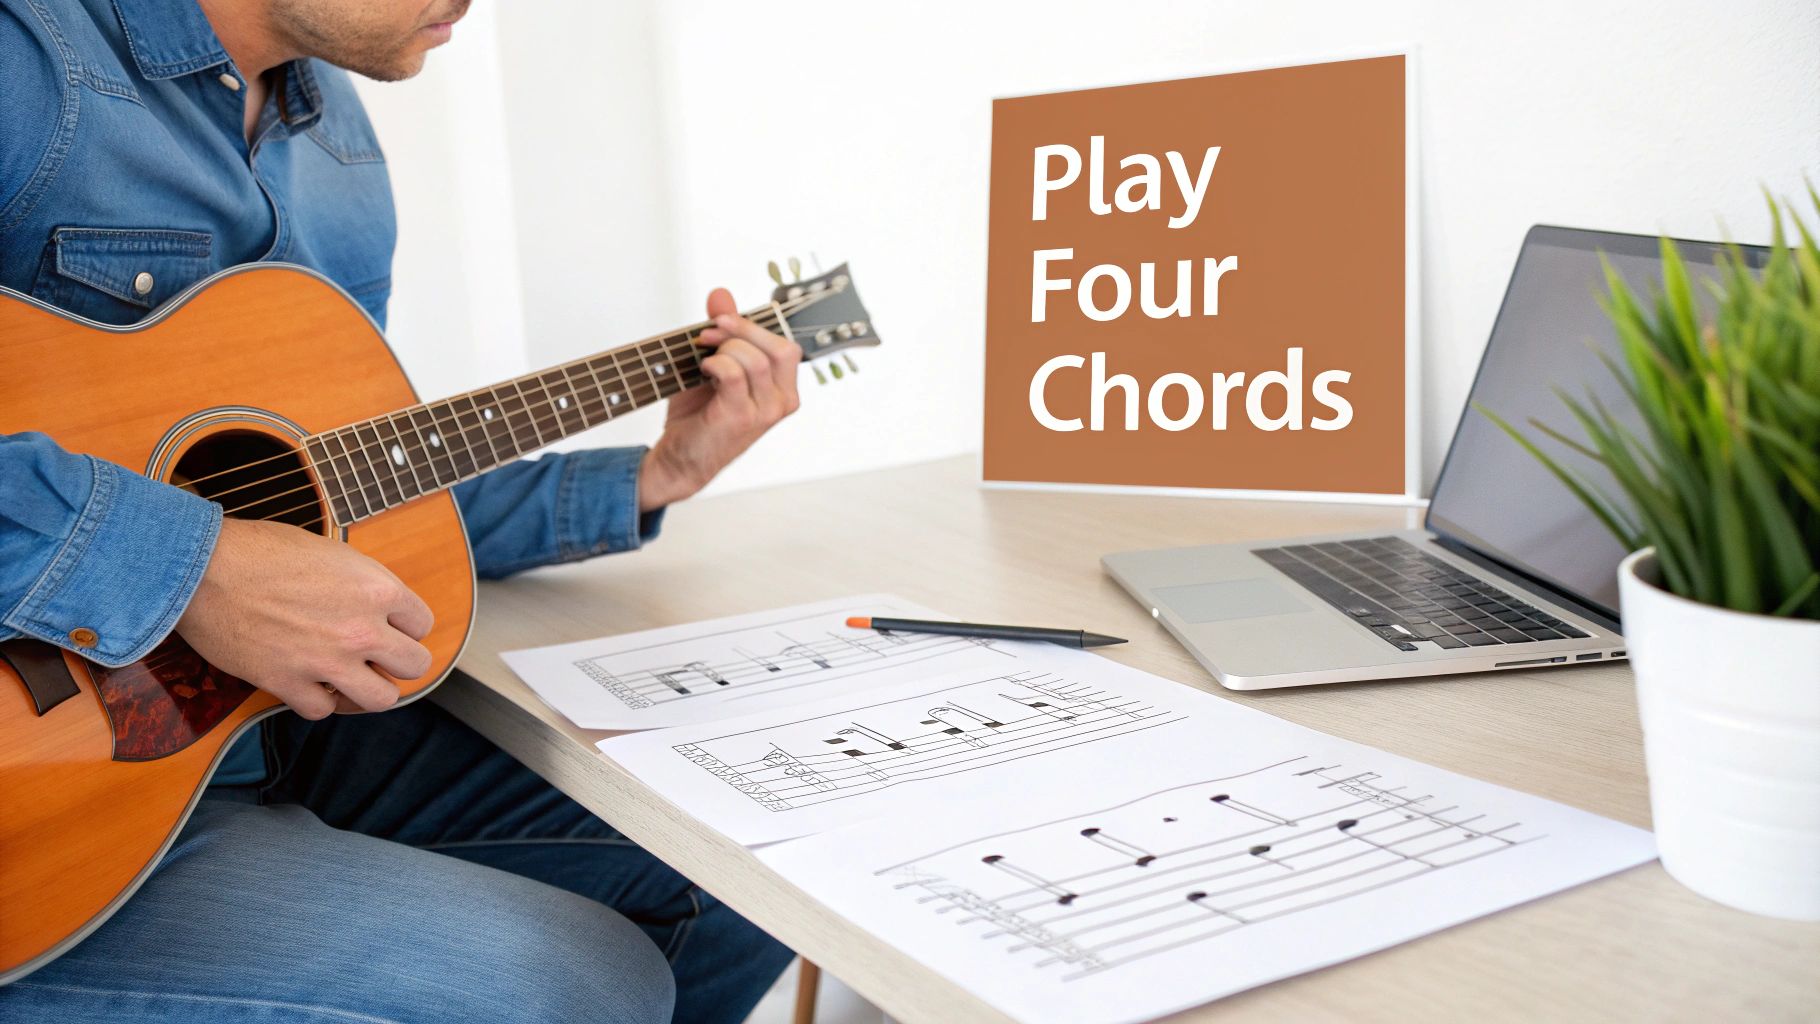
The most exciting part is realizing you don't need to learn 50 chords to play real music. Many of the biggest hits ever written use just three or four chords—often from this exact list. This is what gives you those quick wins that keep you motivated and coming back for more.
If there's one "secret" every aspiring guitarist needs to know, it's this: you don't need to learn dozens of complicated chords to play real, actual music. Not even close.
In fact, one of the most common guitar chord progressions for beginners is all it takes to unlock a massive library of songs you already know and love. This isn't some gimmick; it's the key to getting that immediate, satisfying feeling that you're really playing the guitar.
We're talking about the legendary I–V–vi–IV progression. Don't get hung up on the Roman numerals. They're just a simple way of describing the relationship between chords in any key. Think of it like a recipe for a song that's guaranteed to sound great.
Let's make this real. We can build this progression using the simple open chords we've already covered. In the key of G Major, the I–V–vi–IV progression translates to these four chords:
Go ahead and strum each chord four times before moving to the next one: G - D - Em - C. Hear that? It's the sound of countless hit songs. This single progression is a powerhouse because it creates a perfect loop of tension and release that our ears just naturally love.
From years of teaching, I can tell you that the moment a student cleanly plays G-D-Em-C in time is a huge turning point. It's the first time they truly feel like a musician, not just someone practicing shapes. It's the sound of possibility.
Knowing the chord shapes is just the first step. The real goal is switching between them smoothly and in time. Those awkward, clumsy pauses between chords are the number one giveaway of a beginner.
Let's kill those pauses with a couple of my favorite drills.
The "Look Away" Drill:
Fret your G chord and give it four strums while looking right at your hand. Now, switch to the D chord and do the same. On the next round, try to make that change from G to D without looking at the fretboard. This is how you force your hand to learn the shapes by feel, building that all-important muscle memory.
The "One Strum" Challenge:
Grab a metronome and set it to a nice, slow tempo—something like 60 BPM. The goal here is simple: play one clean strum right on the downbeat of each measure, then use the rest of that measure to get ready for the next chord (G... D... Em... C...). This drill is all about timing and accuracy, not speed. You'll quickly see that how to learn guitar chords quickly with muscle memory comes down to slow, deliberate repetition.
Once you're feeling good about the changes, it's time for the real fun: playing along with actual songs. Here's just a tiny taste of iconic tracks that use this exact G-D-Em-C progression:
Playing along with these artists is the ultimate payoff. You're not just practicing anymore—you're making music.
While that four-chord wonder (the I–V–vi–IV) is a total workhorse, it's just one flavor on a massive menu. To really grow as a player, you've got to start exploring other chord combinations that create different moods and unlock entire genres.
Think of it like adding new colors to your paint set. These new sequences are the backbone of countless tunes across blues, rock, soul, and jazz. Learning them gives you the keys to a whole new library of songs and a much deeper feel for how music actually works.
Let's start with the one. The big one. The I–IV–V progression is arguably the most foundational sequence in all of Western pop music. It's direct, it's powerful, and it has driven everything from '50s rock and roll to modern country anthems.
In the key of C Major, this progression is built from three simple chords:
Try strumming C for a full measure, then switch to F for a measure, then G, and finally resolve back home to C. You'll recognize that classic, satisfying sound immediately. This progression is your ticket to playing songs like "La Bamba," "Twist and Shout," and "Wild Thing."
That F chord can be a real pain for beginners since it's often taught as a full barre chord. My advice? Don't even start there. Just play the simplified 'mini-F' by fretting only the top four strings. You'll get the sound you need without all the frustration, which means you can start playing songs right away.
Next up is the timeless "doo-wop" progression: I–vi–IV–V. It's a subtle twist on the four-chord progression we already know, but that one little change gives it a distinctly nostalgic, soulful feel that literally defined an entire era of music.
Sticking with the key of C Major, the sequence is:
This one has a beautiful, flowing quality you've heard in classics like "Stand By Me" by Ben E. King and even "Every Breath You Take" by The Police. It's perfect for adding a bit of emotional depth to your playing. If you want to dig into the theory behind why these chords work so well together, our 7-step chord progression theory guide is a great next step.
If you've ever been curious about those sophisticated, smooth sounds of jazz, the ii–V–I (pronounced "two-five-one") is your gateway. This is, without a doubt, the most important chord movement in all of jazz harmony.
In C, this progression uses some chords that might be new to you, but just for context, here they are:
Don't let those "7th" chords intimidate you. For now, just listen to the sound of the movement from a D minor, to a G, to a C. You can hear that smooth, jazzy resolution. It's a more complex sound, but just knowing it exists is a huge step toward more advanced playing.
Adding these three vital progressions to your practice routine will dramatically expand your musical vocabulary. You'll start hearing them everywhere, and your confidence on the fretboard will soar.
Knowing the shapes for a few beginner guitar chord progressions is a great start, but let's be honest—the real music happens in the space between the chords.
Making those transitions seamless is what separates someone who sounds like they're practicing from someone who sounds like they're playing a song. This is all about the mechanics of movement.
The single biggest hurdle I see beginners face is that frantic, all-at-once lifting of the fingers when it's time to change chords. This creates awkward pauses, a ton of string noise, and a whole lot of frustration. The secret is to move with economy and intention. We want to eliminate every bit of wasted motion.
One of the most powerful techniques I can teach you is the concept of an anchor finger. This is a finger that stays planted on the same string—or at least the same fret—when you switch between two chords. It acts as a pivot point, guiding the rest of your hand exactly where it needs to go.
Let's look at the classic change from a C Major to an A minor.
By keeping those two fingers anchored, the change becomes incredibly small, efficient, and fast. Start looking for these shared notes in all your chord changes. They are your secret weapon for building both speed and accuracy.
Here's another great technique that you can do completely away from the guitar. We call them "air changes." Simply hold your fretting hand out in front of you and form the shape of a G chord in the air. Then, slowly and deliberately, move your fingers to form the shape of a C chord.
My favorite drill for this is the "one-minute change." Set a timer for 60 seconds and count how many clean switches you can make between two chords, like G and D. Write down the number. Tomorrow, try to beat it by just one. This simple exercise gives you clear, measurable progress that keeps you motivated.
I know it might feel a little silly at first, but you're training your muscle memory without the distraction of trying to get a clean sound. You can do this for a few minutes while watching TV or waiting for the bus. You're building the neural pathways that will eventually make these changes feel completely automatic.
When you get back to practicing on the guitar, always prioritize accuracy over speed. A slow, clean change is infinitely better than a fast, sloppy one. Focus on getting all your fingers to land at the exact same time. For more ideas on making your practice time count, check out these 5 smart practice tips for guitar players.
Putting these focused drills into your routine will absolutely transform your playing. Before you know it, you'll be flowing through progressions without a second thought, freeing you up to concentrate on what really matters: the rhythm and the feel.
So far, we've been hanging out with open chords, and they're essential for building a solid foundation. But what happens when you're ready to break away from the first few frets? This is where the fretboard really opens up, and it's simpler than you might think. We're about to dive into a concept that will completely change your relationship with the guitar: moveable shapes.
Instead of trying to memorize dozens of individual chord fingerings, you learn one simple shape and just slide it wherever you need it. As a teacher, I can tell you this is a huge lightbulb moment for students. It's the point where the fretboard stops feeling like a confusing puzzle and starts looking like a map you can actually read.
We'll kick things off with the most versatile and beginner-friendly moveable shape there is: the power chord. A power chord is a lean, mean, two-note (or sometimes three-note) version of a chord that only contains the root note and the fifth. This stripped-down structure is exactly what gives it that punchy, aggressive sound you hear all over rock, punk, and metal.
This infographic breaks down the essential practice steps to make any new technique, including power chords, feel automatic.
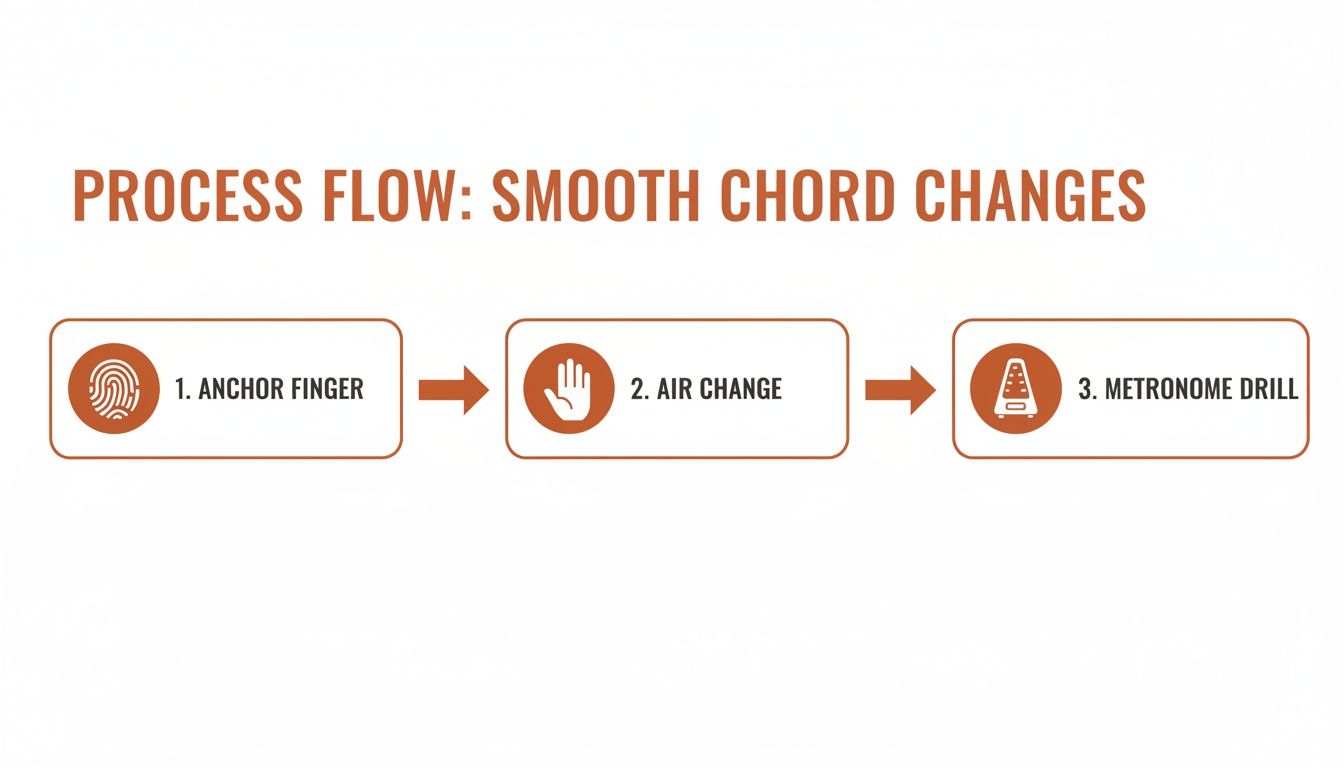
The flow here—anchoring your fingers, practicing "air changes," and locking it in with a metronome—is a proven method for building clean, fast muscle memory.
To play a power chord, you typically only need two fingers. Place your index finger on any note on the low E string (the thickest one). This is your root note, and it's what gives the chord its name. Then, place your ring finger on the A string (the next one down), two frets higher up the neck. Strum just those two strings, and you've got it.
For example, give this a try:
Now, without lifting your fingers, slide that entire shape up two frets so you're on the 7th and 9th frets. You're now playing a B power chord. It's really that easy. This one shape lets you play entire guitar chord progressions for beginners all over the fretboard.
This approach of using moveable shapes drastically simplifies the instrument. Instead of memorizing isolated chords, you learn systems. Once you know the notes on your E and A strings, you can play any major or minor power chord progression anywhere on the neck.
It's no wonder that instructional sites often recommend power chords as a primary tool for new electric guitarists. They're fully moveable and use only a few notes, which makes them perfect for playing with distortion. It's estimated that emphasizing moveable shapes can reduce the cognitive load of memorizing chords by up to 50%. You can learn more about why power chords are great for beginners and see how they open up countless songs.
To really get these shapes under your fingers and learn how to apply them musically, a structured learning path is your best friend.
You've got the essential building blocks down. By now, you can form the open chords that are the heart and soul of countless songs and you understand the powerful patterns that turn them into real music. The goal now is to keep that momentum going and start transforming that knowledge into genuine musicality.
This next phase is all about connecting what your hands can do with what your ears can hear. Start really listening to the music you love, but with a new mission. Can you hear the classic I–IV–V progression in an old blues track? Can you pick out that familiar G–D–Em–C sequence in a modern pop hit? This is more than just an exercise; it's the beginning of ear training, a skill that turns you from someone who just plays chords into a musician who truly understands them.
One of the simplest yet most powerful tools you can own is a capo. Think of it as a moveable finger that can hold down all the strings for you at any fret. When you clamp it on, it raises the pitch of all the open strings, instantly changing the key of the song without you having to learn a single new chord shape.
For example, if you play that same G–C–D progression with a capo on the second fret, you're not in the key of G anymore—you're actually playing in the key of A. This little gadget unlocks the ability to play thousands of songs in keys that would otherwise require tricky barre chords, making it an absolute must-have for any guitarist.
As an instructor, I've seen it time and time again: the fastest way to get better is to follow a structured path. Messing around on your own is fun, but guided learning stops you from hitting frustrating plateaus and fills in the gaps you don't even know you have. It ensures every new skill is built on a rock-solid foundation.
Consistent, structured practice is what separates the players who get stuck from those who keep getting better. This is where finding a clear learning path becomes a game-changer. Maybe you're ready to tackle more complex strumming patterns, dive into fingerpicking, or finally conquer those dreaded barre chords. Having a roadmap keeps you focused and moving forward.
There are a few ways to get that structure, but working with a teacher or following a proven online curriculum is the most direct route to seeing real improvement. If you're considering one-on-one lessons, it's worth checking out how to find the right guitar teacher for you to make sure you find someone who clicks with your goals. The right guidance can make all the difference.
To truly build on what you've learned here, exploring guided learning paths with world-class instructors and interactive jam tracks is the perfect environment to grow.
See the difference a structured approach makes. Start building your skills with the world's best instructors on TrueFire and explore thousands of lessons with an All Access Trial.
