
Guitar plucking patterns are what happen when you stop strumming and start giving each of your picking-hand fingers a specific job. Instead of a wash of sound from a strummed chord, you get individual notes ringing out, creating melody and rhythm at the same time. This is the key that unlocks everything from delicate folk arpeggios to the driving, syncopated pulse of country and blues.
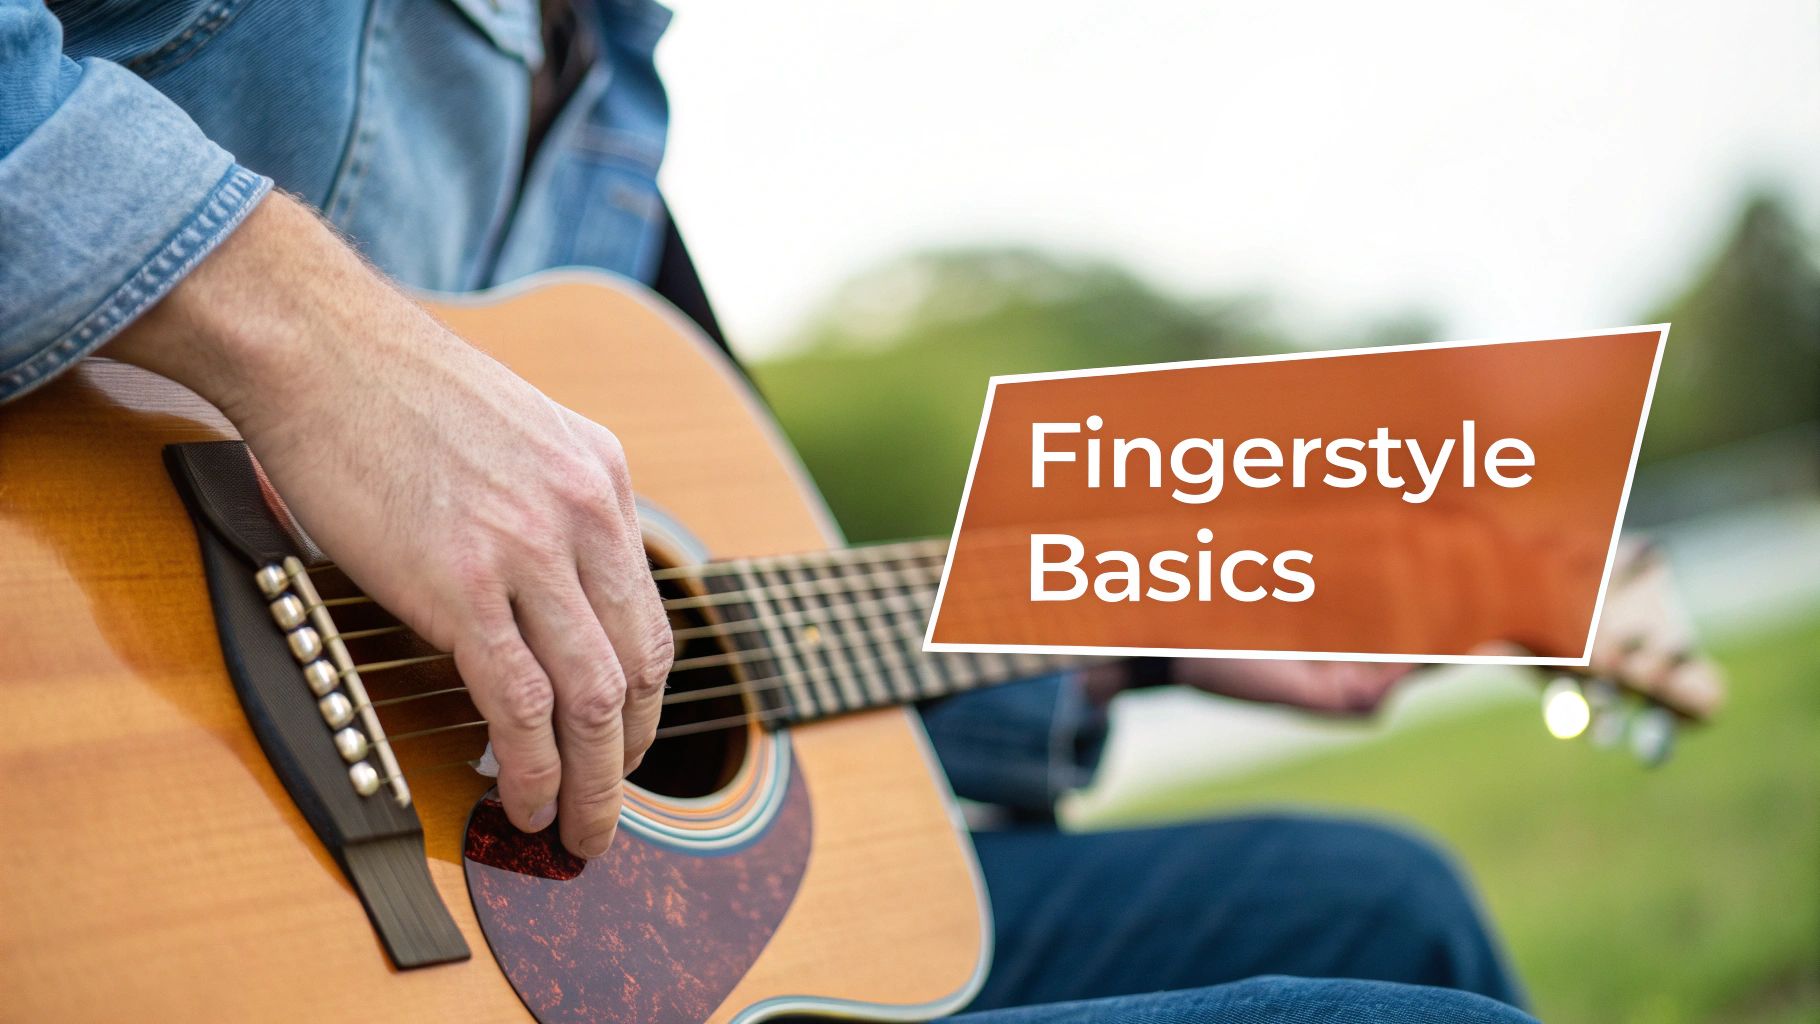
Alright, let's get our hands dirty. Welcome to the world of fingerstyle, where your picking hand becomes the entire rhythm section. Think of this as your launchpad into the art of plucking patterns, where we'll establish the core mechanics that every other technique builds upon.
We're not going to get bogged down in complex theory right now. Our only focus is on pure physical technique and building muscle memory. The goal here is simple: forge an effortless, intuitive connection between your brain and your picking hand.
This whole journey kicks off with a universal system that fingerstyle players have relied on for centuries. It’s called PIMA. It's just a simple Spanish abbreviation for your picking-hand fingers:
Internalizing this system is the secret to playing practically any pattern you come across with real precision and control.
At its core, the PIMA system gives your fingers a default "home base." Sure, rules are made to be broken later on, but this fundamental assignment creates incredible efficiency and takes the guesswork out of playing. No more getting your fingers tangled up in complex patterns.
Here’s the breakdown: your thumb (P) is the workhorse. It typically handles the bass notes on the lower three strings (E, A, and D), laying down the rhythmic foundation. Meanwhile, your index (I), middle (M), and ring (A) fingers take care of the higher strings—G, B, and high E, respectively.
This division of labor is what makes fingerstyle so powerful. It lets your thumb hold down a steady, independent bass line while your other fingers are totally free to play melodies, harmonies, and fills on top.
This image really clarifies the three-step process for getting this foundational technique down cold.
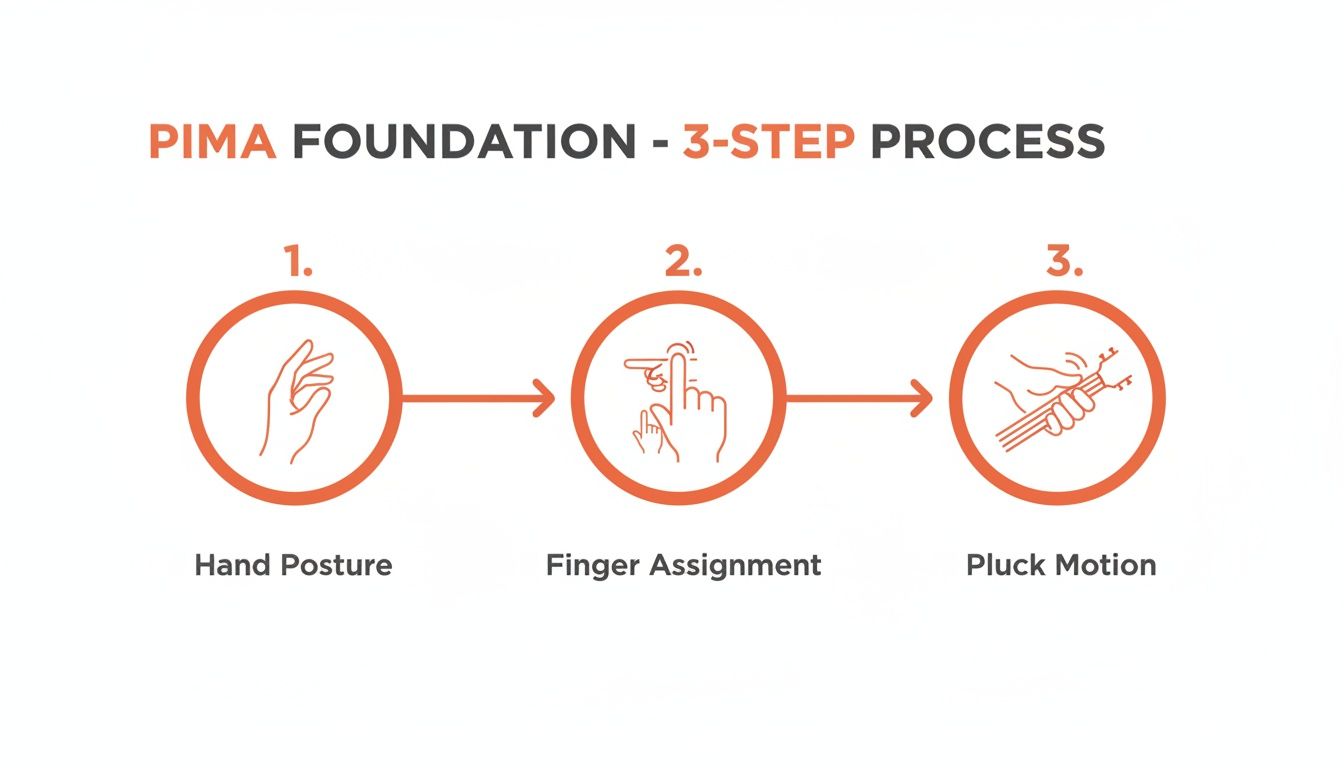
As you can see, it all starts with good hand posture, flows into clear finger assignments, and results in a clean, consistent plucking motion. Getting this right is absolutely non-negotiable for clean, expressive playing.
A relaxed hand is a fast hand. Before you even play a single note, just make sure your picking hand is free of tension. Your wrist should have a slight, natural arch, and your fingers should be gently curved, hovering right over their assigned strings.
For a deeper dive into nailing this crucial first step, check out our guide on essential right-hand pattern exercises.
Before we move on to the actual patterns, take some time to really internalize this PIMA framework. A great way to do this is to simply place your fingers on their assigned strings without even plucking them. Just feel it out. Building this initial muscle memory will make learning every single pattern in this guide so much easier.
Below is a quick reference table that breaks down the standard finger assignments. Mastering this is your first real step toward fingerstyle fluency.
This table breaks down the standard finger assignments used in most guitar plucking patterns. Mastering this is your first step to fingerstyle fluency.
| Finger | Abbreviation (PIMA) | Primary String Assignment | Common Role in Patterns |
|---|---|---|---|
| Thumb | P | E, A, D (6th, 5th, 4th) | Plays steady bass notes, establishes the rhythm |
| Index | I | G (3rd) | Handles melody and harmony notes on the G string |
| Middle | M | B (2nd) | Handles melody and harmony notes on the B string |
| Ring | A | High E (1st) | Handles melody and harmony notes on the high E string |
Once you've got this down, you're ready to start putting it into motion with some real patterns.
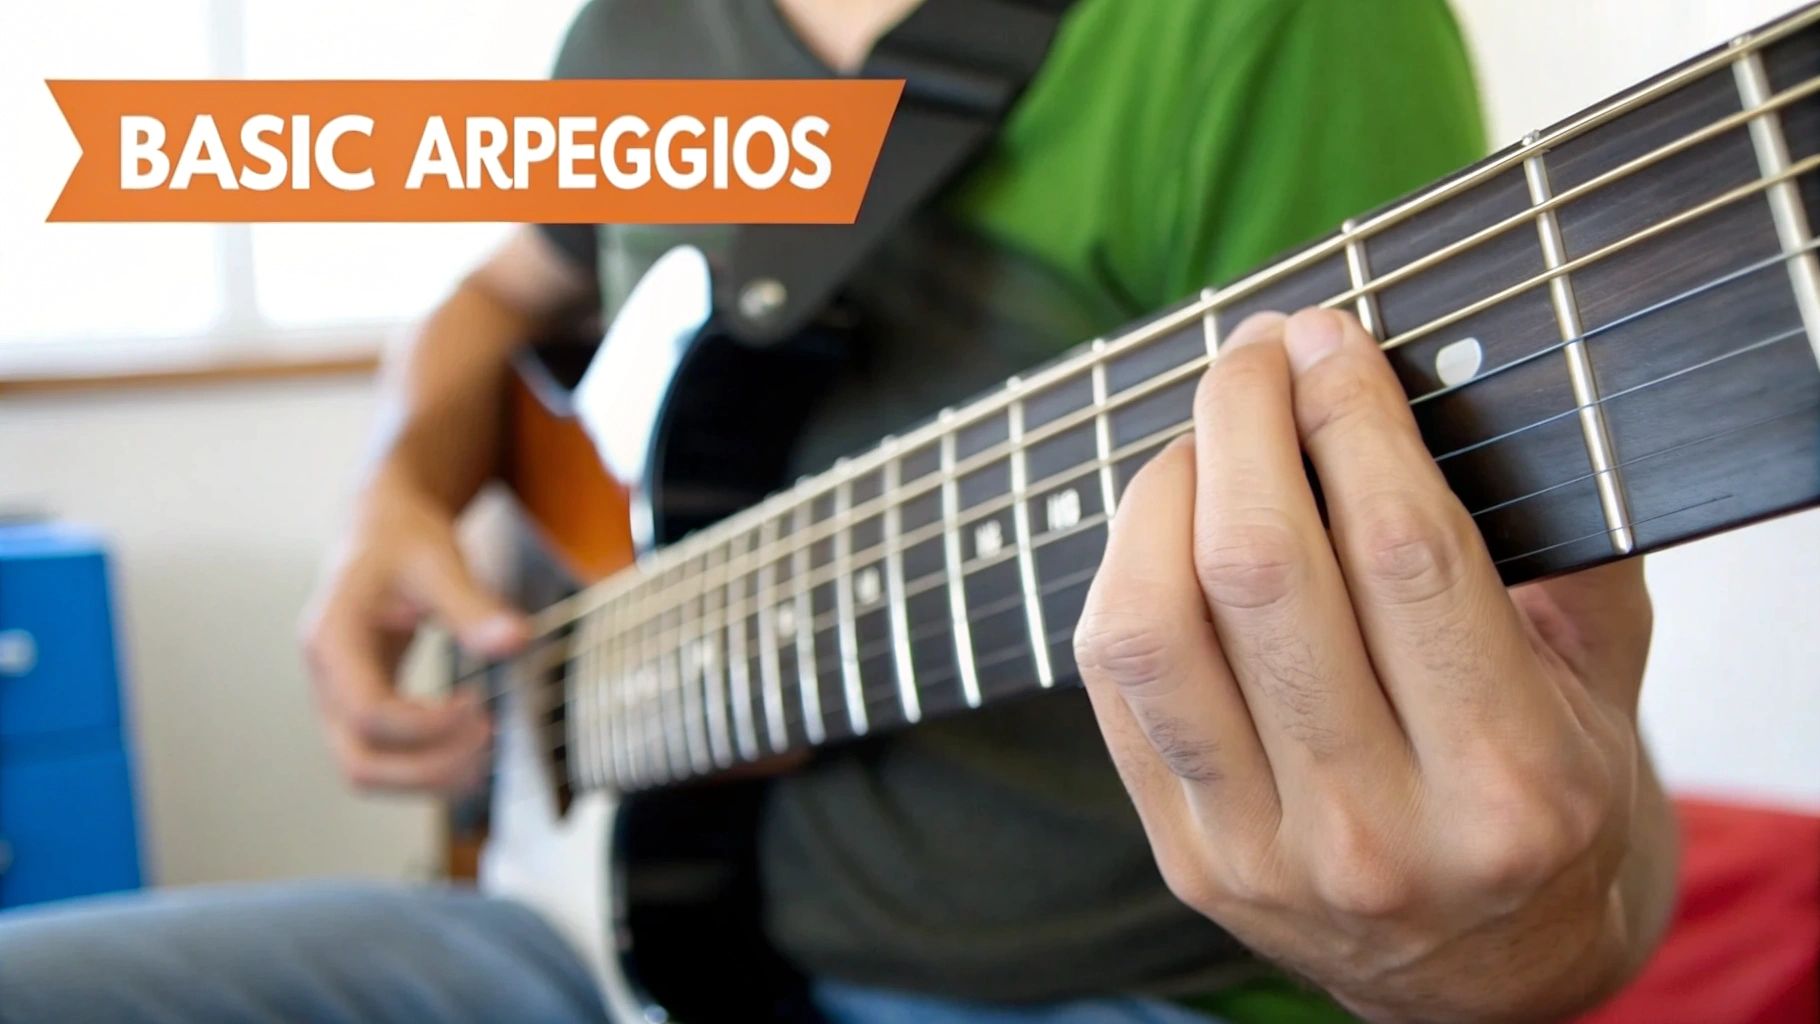
Alright, you've got the PIMA foundation down. Now for the fun part: making some actual music. This is where we stop thinking about chords as static blocks of sound and start turning them into flowing, melodic ideas. We'll kick things off with arpeggios—the simplest, most elegant guitar plucking patterns out there.
An arpeggio is just a "broken" chord, meaning you play the notes one at a time instead of all at once. That's it. This one concept is the secret ingredient behind countless iconic songs, from delicate folk ballads to the intricate textures of classical guitar. By plucking the notes of a chord in a specific order, you create a sense of movement and add some serious emotional depth.
Our goal here is to lock in three key things: a clean, consistent tone from each finger, rock-solid timing, and fluid muscle memory that you don't have to think about. You'll be amazed at how quickly these simple patterns can make even a basic C-G-Am-F progression sound absolutely captivating.
The first pattern just about everyone learns is the forward roll. This is your bread-and-butter move, a versatile tool that works over pretty much any chord you throw at it. It follows a dead-simple, logical sequence using your PIMA assignments.
Let’s use a standard open G major chord for our example.
The pattern is simply P-I-M-A, played as four even notes. Think of it as just walking up the strings, from low to high. It creates this rising, optimistic sound that really pushes the music forward. Once this feels natural, you can start exploring ways of colorizing chords with more advanced voicings to add even more texture.
Got the forward roll down? The next logical step is to just flip it. The reverse roll is exactly what it sounds like—you play the notes backward, which creates a descending, resolving kind of feel.
Using that same G major chord, the pattern becomes P-A-M-I.
This descending motion can give your music a more reflective or settled vibe. Switching between forward and reverse rolls is a killer way to add variety without having to learn a totally new, complicated pattern.
Pro Tip: Don't get stuck thinking of these as two separate patterns. The magic happens when you start blending them. Try a pattern like P-I-M-A-M-I. That little "up-and-down" motion creates a beautiful, rolling sound that’s all over acoustic music.
To really burn these patterns into your muscle memory, you need a disciplined approach. And the single most important tool for that is a metronome. Seriously, it's non-negotiable if you want to build a professional sense of time.
Here's the exact method I give all my students:
This slow, methodical practice builds precision right into your hands. If you rush this stage, you're just practicing your mistakes, and unlearning bad habits is a nightmare. Stick with it, and these foundational guitar plucking patterns will become second nature.
For an even deeper dive into making these patterns your own, you can explore thousands of song lessons and technique breakdowns with a TrueFire All Access Trial.
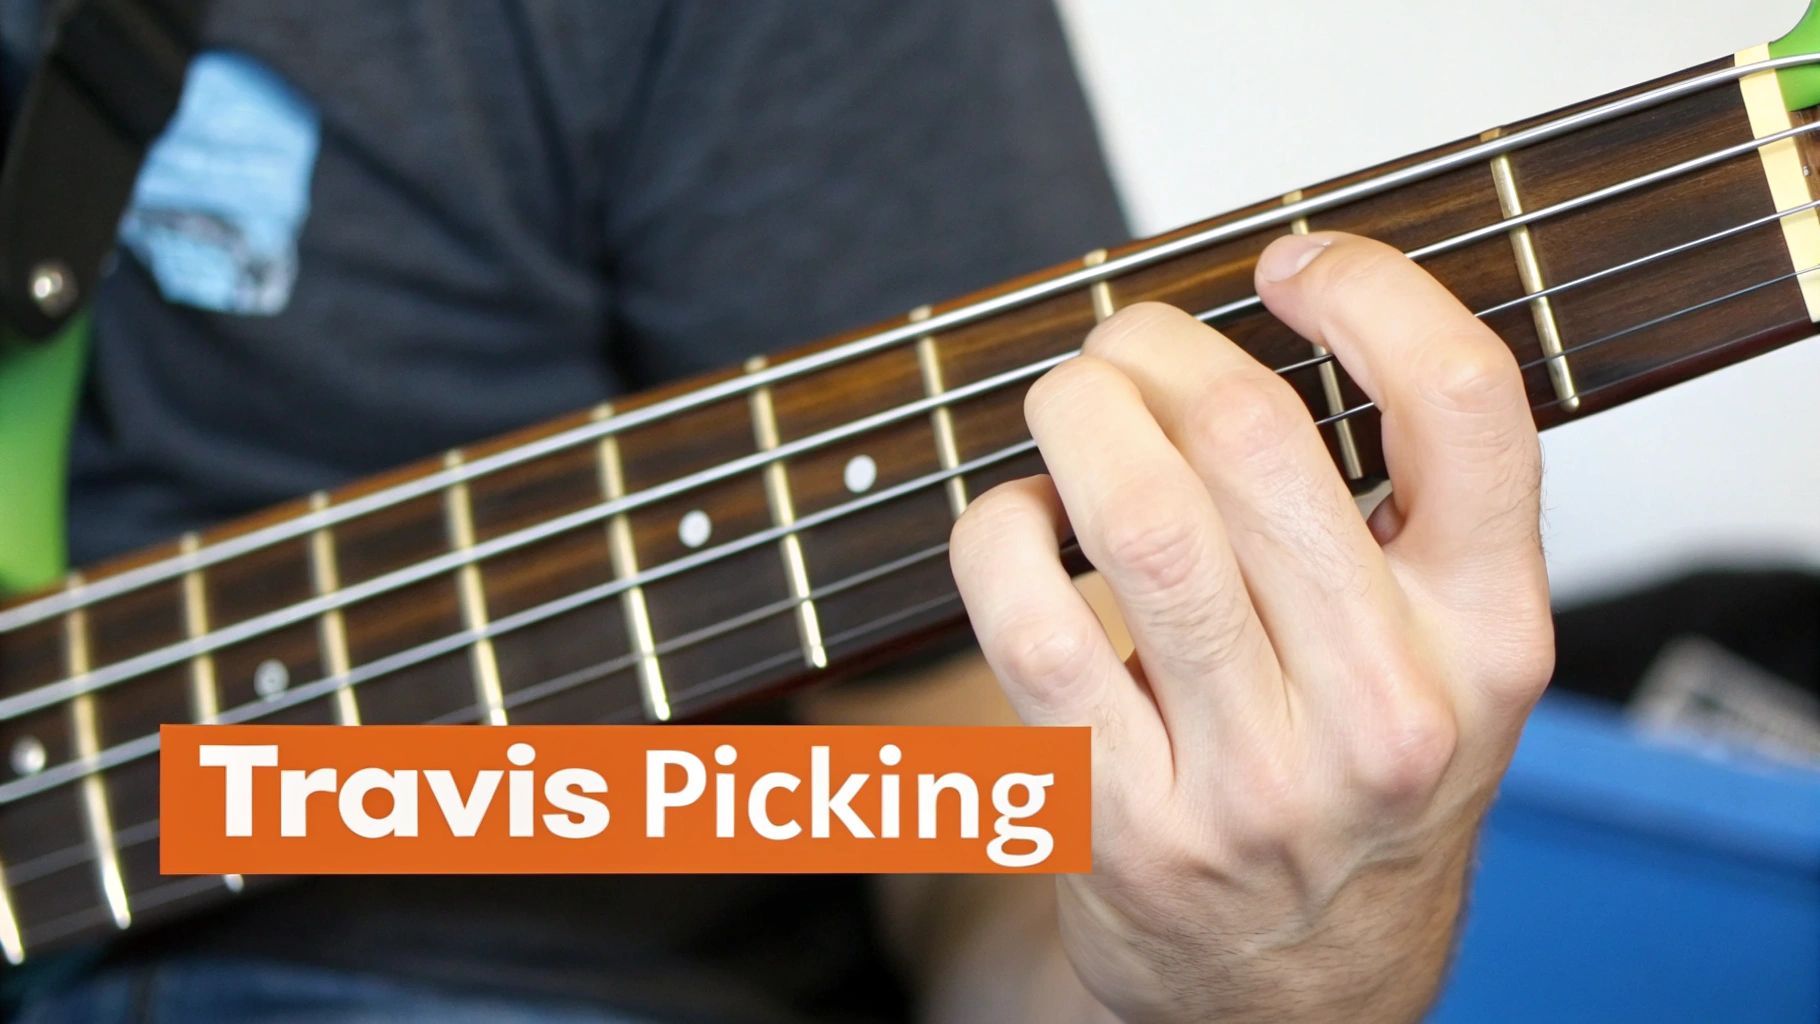
Once you get comfortable with arpeggios, you’re ready to dive into one of the most iconic and satisfying guitar plucking patterns out there: Travis picking. This isn't just another technique; it's a complete rhythmic engine that lets a single guitar sound like a whole band. It’s the signature sound of legends like Merle Travis and Chet Atkins, and you hear it all over folk, country, and blues.
The real magic of Travis picking is the independence it demands. Your thumb holds down a steady, alternating bass line on the lower strings, essentially acting as your own personal bass player. While it’s doing that, your fingers are free to weave syncopated melodies on the higher strings, giving the music a lively, rolling feel.
The absolute heart of this style is your thumb. Don't even think about adding melodies until you can get your thumb moving on autopilot. The classic pattern is a simple “boom-chick” rhythm where your thumb bounces between two bass strings.
Let's use a C major chord as our practice ground.
This steady, quarter-note pulse is your foundation. You need to practice this over and over on that C chord until your thumb can do it without you having to think about it. Your brain will want to fight this at first, but repetition is the only way to lock it in and get true thumb independence.
Okay, once your thumb is cruising along with its steady pulse, it's time to bring in the melody notes. This is where that cool syncopated sound comes from, as the melody notes often land between the thumb's bass notes.
Sticking with our C chord and the alternating bass on the A and D strings, let’s add a simple melody note with the index finger (I) on the G string (3rd string).
The pattern looks something like this over four beats:
| Beat | 1 | & | 2 | & | 3 | & | 4 | & |
|---|---|---|---|---|---|---|---|---|
| Thumb (P) | A | D | A | D | ||||
| Index (I) | I | I |
So, your thumb plays on beats 1, 2, 3, and 4. Your index finger plucks the G string on the "and" of beats 2 and 4. This "pinch" motion, where the thumb and a finger play close together, is a cornerstone of the style.
Crucial Tip: The number one mistake beginners make is letting their thumb stutter when a finger comes in. Your thumb’s rhythm has to stay rock-solid. Practice this slowly with a metronome, focusing completely on keeping that bass line unwavering.
From here, the sky's the limit. You can build more complex rhythms by bringing your middle finger (M) into the action. A really common and versatile Travis picking pattern uses both the index and middle fingers.
Let's try a full pattern on our C chord:
This creates a much richer, more complete sound. When you change chords, your thumb just follows the new root notes. For a G chord, your thumb might alternate between the low E and D strings. For a D chord, it would bounce between the open D and A strings.
Getting this core concept down opens up a massive vocabulary of guitar plucking patterns. To see these ideas broken down even further, you can check out some in-depth lessons on the fundamentals of Travis-style picking over on TrueFire.
The key is to start simple, nail that thumb independence first, and then slowly layer in the melody. It’s a challenge, for sure, but it’s an incredibly rewarding skill that will completely change how you play acoustic guitar.
Alright, once you’ve got a handle on arpeggios and the steady thumb of Travis picking, you’re ready to really open up your expressive toolkit. The next few guitar plucking patterns are all about adding new textures, dynamics, and a layer of sophistication to your playing. We’re moving beyond simple alternating notes into techniques that can create huge swells of sound and intricate melodic lines.
These patterns are less about rigid formulas and more about concepts you can twist and adapt to your own style. They'll demand a bit more coordination, but the payoff is a massive expansion of your musical possibilities.
Block chord plucking is a gorgeous technique that delivers a "harp-like" effect. Instead of picking out notes one by one, you pluck multiple strings at the exact same time, creating a lush, orchestral swell of sound.
Think of it as the fingerstyle equivalent of a strum. It's the perfect tool for adding emphasis to a chord change or building a dramatic moment in a song. The real trick is to pluck the strings with equal force so every note rings out clearly and evenly.
A go-to application is plucking the bass note with your thumb (P) while simultaneously plucking the top three strings with your index (I), middle (M), and ring (A) fingers. This creates a full, rich chord voicing that can be incredibly powerful.
Cross-string patterns are where fingerstyle starts to feel like composing on the fly. This technique involves crafting melodic lines by plucking notes across different strings, often in a way that feels non-linear at first. It’s a fantastic way to weave a melody through a chord shape, often using open strings as drones to fill out the sound.
This isn't like running a scale, where you're just moving up and down one or two strings. Instead, you might play a note on the B string, then jump to one on the D string, then pop up to the high E.
Believe it or not, the evolution of guitar strings was a huge enabler for these complex techniques. The shift to metal strings around the 1750s increased string tension by 30-50% and brightness by 40%, making faster, more articulate fingerpicking possible. You can dig deeper into how these historical changes shaped modern guitar playing.
Now we get to a true secret weapon for so many guitarists: hybrid picking. This technique is exactly what it sounds like—you use a flatpick combined with your remaining free fingers to pluck the strings. Most players hold the pick between their thumb and index finger for bass notes or chunky rhythms on the low strings, leaving the middle and ring fingers free to handle melodies and chords on the higher strings.
This approach gives you the sharp, percussive attack of a pick alongside the nuance and multi-string reach of fingerstyle. It's an absolute game-changer in genres like country, rockabilly, jazz, and even modern rock.
By combining a pick and fingers, you can instantly switch between aggressive, driving rhythms and delicate, intricate melodies without ever changing your hand position. It’s the ultimate tool for dynamic control.
To get your feet wet, hold your pick like you normally would and use it to play a steady bass line on the low E and A strings. Then, practice plucking the G, B, and E strings with your middle and ring fingers. It's going to feel awkward at first, but with a little practice, it becomes an incredibly efficient way to play. For some fantastic exercises to get you rolling, check out these hybrid picking guitar lessons from Andy Wood.
These advanced patterns definitely demand some patience, but they reward you with a much richer musical vocabulary. To really see how the pros integrate these techniques, a TrueFire All Access Trial gives you a front-row seat to lessons from world-class artists, letting you slow down and loop their examples until they become part of your own playing.
Alright, let's tackle those nagging little issues that creep into everyone's fingerpicking. No matter how long you've been playing, we all hit these walls. When it comes to plucking patterns, these roadblocks usually pop up as small but frustrating mistakes that can completely sabotage your sound.
The good news? These problems are super common, and fixing them is all about targeted practice and maybe a small tweak in how you approach the strings. Think of me as your personal tech on this one. We'll diagnose the most frequent culprits—like uneven volume and sloppy timing—and I'll show you the exact exercises I give my own students to build a clean, pro-sounding fingerstyle technique.
One of the first hurdles every fingerpicker faces is getting a consistent volume. You know the sound: your thumb booms over your fingers, or maybe your middle finger plucks way too hard, making one note jump out of the chord awkwardly. This just robs your music of its smooth, controlled vibe.
Nine times out of ten, the root cause is an inconsistent attack. You might be pulling away from the strings with different amounts of force or at slightly different angles. A truly balanced tone doesn't come from muscle; it comes from precision.
To get this sorted, try this little exercise:
This exercise forces you to rely on the feel of each pluck. It helps you recalibrate the pressure from your thumb and each finger until they're perfectly matched.
Your ears are your best friend here. If it sounds uneven, it is. A great trick is to record yourself playing a simple pattern on your phone and listen back—you'll immediately hear which finger is the troublemaker.
Another classic problem is a rhythm that starts to drift, especially when you're changing chords or tackling a more complex pattern. This usually happens because your brain is juggling too much at once: the left-hand chord change, the right-hand pattern, and keeping time.
The secret is to isolate the problem. Your picking hand needs to become an automatic, rock-solid timekeeper, almost like a drum machine that runs on its own. This frees up your brainpower to focus on the chord changes and actually making music.
The best tool for this is a metronome, but let’s use it with a twist. Instead of just playing along with the click, try to make the click disappear. Your goal is to play so perfectly on the beat that your note completely hides the sound of the metronome. This is a powerful way to train your hand to lock into a groove with dead-on precision.
Finally, let's talk about those distracting scrapes, buzzes, and ringing open strings that sneak in. This "collateral noise" can make even the prettiest plucking patterns sound messy and amateur. It’s usually caused by your fingers accidentally brushing against adjacent strings or lifting off in a hurry.
Proper nail care can make a huge difference. A slightly jagged edge on a fingernail is guaranteed to catch on a string and create a nasty scraping sound. Keep your nails short, smooth, and just a little rounded using a fine-grit file.
Also, get in the habit of "planting" your fingers. Before you start a pattern, lightly rest your P, I, M, and A fingers on the strings they're about to play. This simple act of preparation makes your playing way more accurate and deliberate, drastically cutting down on accidental noise.
Nailing these fixes just takes a bit of patience, but the payoff is a clean, articulate sound that lets your playing truly shine. To see how top-tier players maintain flawless technique in real-time, checking out the lessons inside a TrueFire All Access Trial can offer some incredible insights.
Alright, you’ve put in the work and have a solid library of guitar plucking patterns under your fingers. That’s huge. But the real fun begins when you stop seeing them as exercises and start using them as creative tools. This is where the mechanics disappear, and the music truly comes alive.
The goal is to shift your mindset from "Am I playing this pattern right?" to "How can I make this pattern serve the song?" That's the leap from being a technician to being an artist.
A single arpeggio can tell a dozen different stories just by changing how you play it. You don't have to alter a single note—just the emotion behind them. This is where your personality gets to shine.
Let’s grab a simple forward roll (P-I-M-A) over a C major chord and see what we can do.
The notes are just a roadmap; your touch is what makes the journey interesting. Mess around with how hard you pluck, where you pluck (closer to the bridge for a brighter, snappier tone, or up by the neck for a warmer one), and how you connect one pattern to the next.
Songs don't always live in a neat and tidy 4/4 world. A great player knows how to tweak their favorite guitar plucking patterns to fit any rhythmic pocket. For instance, if you run into a song in 3/4 time—like a waltz—that standard four-note pattern is going to feel clunky.
Instead of P-I-M-A, you could adapt it to a three-note pattern like P-I-M. It's a simple change, but it allows you to keep that beautiful fingerstyle texture while perfectly locking into the song's waltzy groove.
From there, you can start combining techniques. Try playing a verse with a soft, delicate arpeggio, then kicking into a driving Travis picking pattern for the chorus to really lift the energy. To get a better feel for how this works in real songs, check out these excellent practice songs for great fingerpicking technique. There’s no faster way to learn than by seeing how patterns are used in the wild.
Of course, the best way to really speed up this process is to see how the pros do it. A TrueFire All Access Trial gives you a front-row seat to see how GRAMMY-winning artists apply these exact patterns. Their interactive tools let you practice in a real musical context, which is the absolute fastest way to make these skills your own.
As you start digging into the world of fingerstyle, you're bound to have some questions. It's totally normal. Here are the answers to the ones I hear most often from students just starting out.
There's no magic number here, but I can tell you one thing for sure: consistency always beats intensity. Seriously, a focused 15-20 minutes every single day will build that crucial muscle memory way faster than a marathon session once a week.
Most folks get the hang of basic arpeggios within a few weeks. But getting that thumb totally independent for rock-solid Travis picking? That's a longer game. Expect to put in several months of dedicated work before it feels truly automatic.
Nope. This is probably the biggest myth in fingerstyle guitar. The truth is, it’s all about the tone you’re after—it's a personal choice.
Mess around with both and see what you like the sound of. The real key isn't how long your nails are, but having a consistent point of contact on the string with every pluck.
The golden rule for building both speed and accuracy is to start painfully slow. I can't stress this enough. Speed is just a byproduct of precision, and you can only be precise at a tempo where your brain isn't lagging behind your hands.
Always practice new patterns with a metronome, but set it to a tempo where you can play them perfectly with zero tension. Only after you can loop a pattern flawlessly should you even think about bumping up the tempo—and only by a mere 5 BPM at a time. This methodical approach is how you bake clean technique right into your muscle memory.
Honestly, the fastest way to get these skills down is to learn them in a real musical context. With a TrueFire All Access Free Trial, you can dive into thousands of lessons from world-class players, complete with slow-motion and looping tools to help you nail every single pattern.
