
Building guitar calluses is a rite of passage for every player. It's all about consistent, patient practice. The secret isn't some magic trick; it's simply applying repeated pressure to your fingertips over several weeks. This signals your skin to thicken up, creating a natural shield over the sensitive nerves underneath and paving the way for pain-free playing.
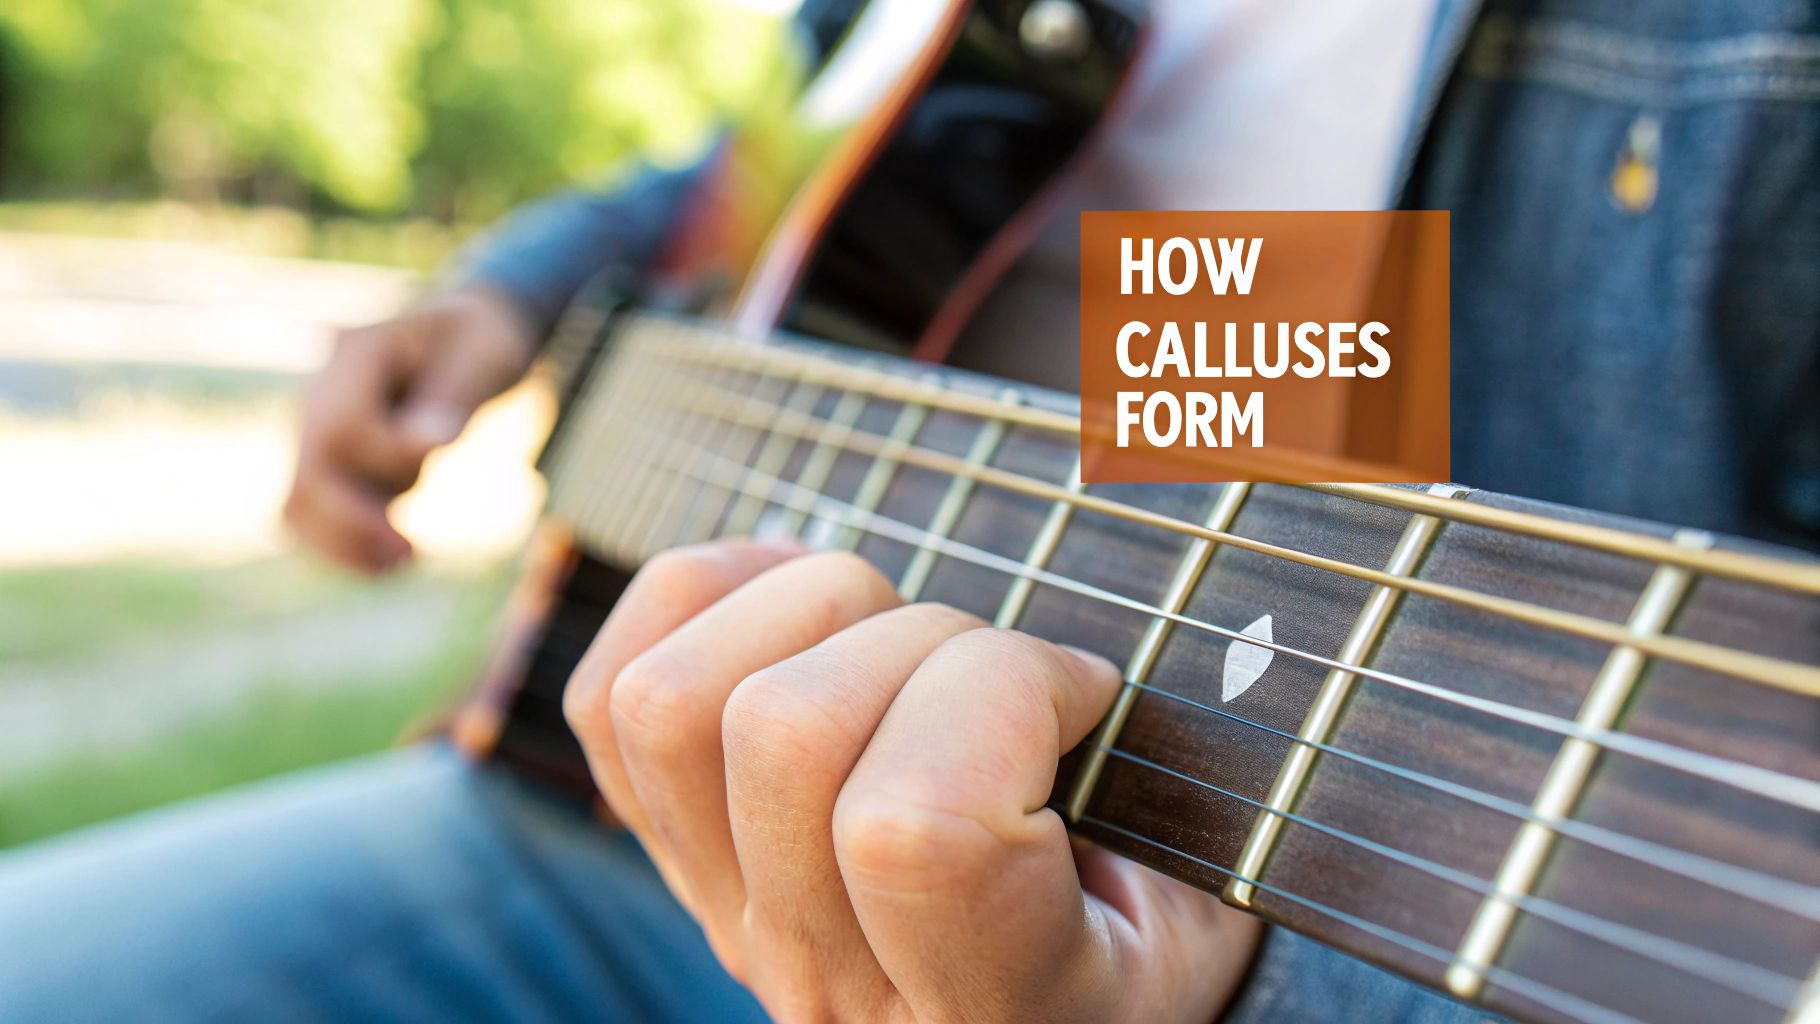
Every guitarist remembers the sting in their fingertips when they first started. That soreness isn't a sign you're doing something wrong—it's the first step in a biological process that's actually designed to protect you.
When you press a steel or nylon string against the fretboard, you're putting a ton of friction and pressure on a tiny spot of skin. Your body's response? It builds tougher, thicker layers of skin, a.k.a. a callus, to shield the nerves from this new, recurring stress.
Think of it as your body's own built-in armor. Without it, the constant pressure would just lead to pain and blisters, making it impossible to play for more than a few minutes. Seeing it this way turns the initial discomfort from a frustration into a necessary and rewarding part of your guitar journey.
So, how long does this whole transformation take? While everyone's body is a bit different, there's a general timeline most new players can expect if they practice consistently.
This visual breaks down the typical progression, from the initial "ouch" phase to fully hardened calluses over about four weeks.
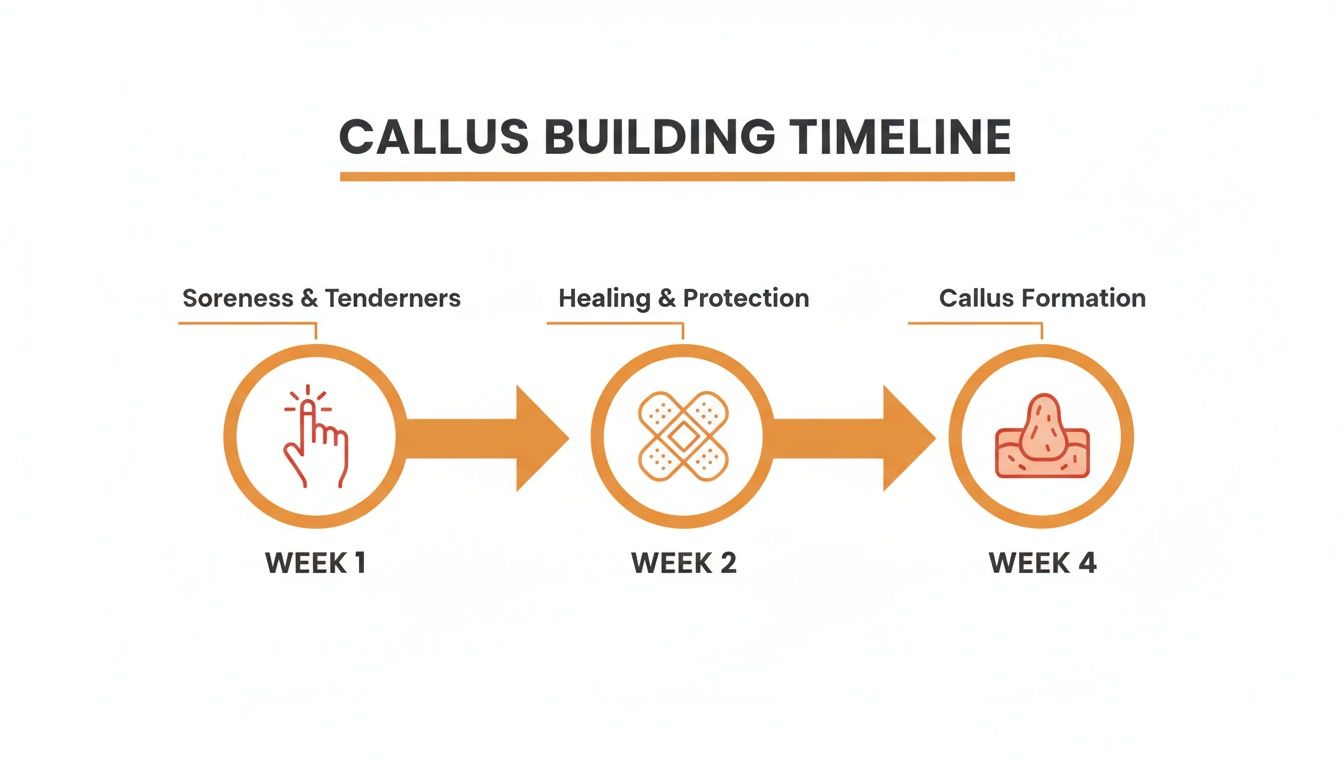
As you can see, the most intense discomfort is front-loaded. You'll notice a huge improvement after just the first couple of weeks.
Here's a realistic breakdown of what you can expect as your calluses form with consistent daily practice.
| Phase | Typical Duration | What You'll Feel | Your Main Focus |
|---|---|---|---|
| The Ouch Phase | Days 1-7 | Tenderness, redness, and maybe slight swelling. You'll see grooves from the strings. | Short, frequent practice sessions. Stop before it hurts too much. Focus on clean notes. |
| The Peeling Phase | Days 8-14 | Skin might start to feel tough but may also peel or flake. Pain lessens significantly. | Pushing your practice time a bit longer. Keep fingertips dry and avoid picking at them. |
| The Hardening Phase | Weeks 3-4 | Noticeably harder skin. You can play longer with little to no pain. The tips look shiny or yellowish. | Working on bends and slides. Maintaining your new calluses becomes the priority. |
| The Maintenance Phase | Week 4+ | Fingertips feel like tough leather. Playing is comfortable. | Consistent playing to keep them tough. You've earned them, don't lose them! |
Remember, this is a marathon, not a sprint. Stick with it, and you'll get there.
It usually takes about two to four weeks of daily playing for solid calluses to form on your fretting fingers. Beginners who stick to a structured practice plan for 30–60 minutes daily often report 70% less finger soreness after just 14 days.
The goal is not to power through excruciating pain. It's to apply consistent, manageable pressure. If you feel a sharp, stabbing sensation, that's your body screaming "stop!"—so listen to it and take a break. Productive soreness is more of a dull, tender feeling, not a sharp one.
Proper technique is absolutely crucial during this phase. Focusing on correct fretting hand form ensures you're pressing the strings with the very tips of your fingers, which is the fastest way to build effective calluses and sets you up with great habits for the future.
Here's a secret every seasoned guitarist knows: building lasting calluses isn't about grinding through marathon practice sessions that leave your fingers shredded. The real key is consistency, not intensity. Pushing too hard, too fast is a surefire way to get painful blisters, forcing you to take unwanted days off and actually slowing your progress down.
There's a smarter way. It involves short, frequent, and focused practice. This approach builds resilience in your fingertips without causing that deep tissue soreness that makes you want to hang up the guitar for good. You're aiming to create a sustainable habit that toughens your skin while sharpening your technique at the same time.
Forget the old "no pain, no gain" mindset. When you're developing calluses, your fingertips will thank you for breaking things up. This strategy maximizes your contact time with the strings over the course of a day while giving your skin crucial recovery time between sessions.
A great starting point is what I call the 15/3 rule:
This approach keeps your fingertips in the "productive stress" zone, which is the sweet spot that signals your skin to toughen up without ever pushing it to the breaking point. Trust me, it's a much more efficient path to tough calluses than one punishing daily session.
Right now, the goal isn't to nail complex solos; it's to get your fingertips used to the feel of the strings. Simple, repetitive exercises are perfect for this. They let you concentrate on clean fretting and consistent pressure—two things that are fundamental to both callus formation and good playing habits.
A fantastic exercise for this is the chromatic scale drill. It's as simple as it sounds: just play one note after another up a single string, using one finger per fret. For instance, start on the low E string:
Then, just move to the next string and do it all over again. This simple drill ensures all four of your fretting fingers get equal work. And don't forget to warm up properly first; you can find some great guitar warm-up exercises to get your hands ready.
Pro Tip: Your fretting technique matters—a lot. Focus on using the very tip of your finger, not the fleshy pad. Aim for a light but firm touch, just enough pressure to get a clear note without any buzzing. Pressing too hard is one of the most common beginner mistakes, and it just causes unnecessary pain.
This kind of mindful practice builds more than just skin; it builds muscle memory for efficient, relaxed playing. You're training your hands to be both strong and economical. Before you know it, you'll be playing for hours, not because you endured the pain, but because you built your foundation the right way.
Let's be honest: finger pain can kill your motivation faster than a broken string. The early days of building calluses are a delicate dance. You have to push your fingertips just enough to convince the skin to toughen up, but not so hard that you get painful blisters that put you on the bench for a week.

The trick is learning to listen to your hands. There's a huge difference between the dull, deep ache of progress and the sharp, stinging pain that screams a blister is coming. Productive soreness is just that—a sign you're doing the work. Sharp pain is your skin waving a white flag. Time to stop.
After a solid session, your fingertips are going to feel warm and tender. What you don't do now is just as important as what you did during practice. The goal is to soothe the discomfort without undoing all your hard work by softening up those budding calluses.
Here's a simple post-practice routine I swear by:
Following these simple steps will help you manage the soreness and protect the time you've invested. For a deeper dive, some seasoned instructors have put together excellent tips on reducing fingertip pain while learning guitar that are well worth a read.
The most critical skill you'll develop in these early stages isn't a chord or a scale—it's knowing when to rest. Ignoring your body's warning signs is the fastest way to get a nasty blister that will sideline you for a week or more.
A blister is your body screaming that it needs more recovery time. That little bubble of fluid means the deeper layers of skin are damaged. Playing through it is not only agonizing but also risks infection and seriously delays healing.
If you feel that sharp, burning sensation or see a blister starting to form, stop playing immediately. No exceptions. Give that finger a day or two off. You can still practice! Use the time to focus on your picking hand, work through some music theory, or practice exercises that don't involve that finger.
This isn't a setback; it's a strategic move. It ensures you can get back to building strong, tough calluses much faster in the long run.
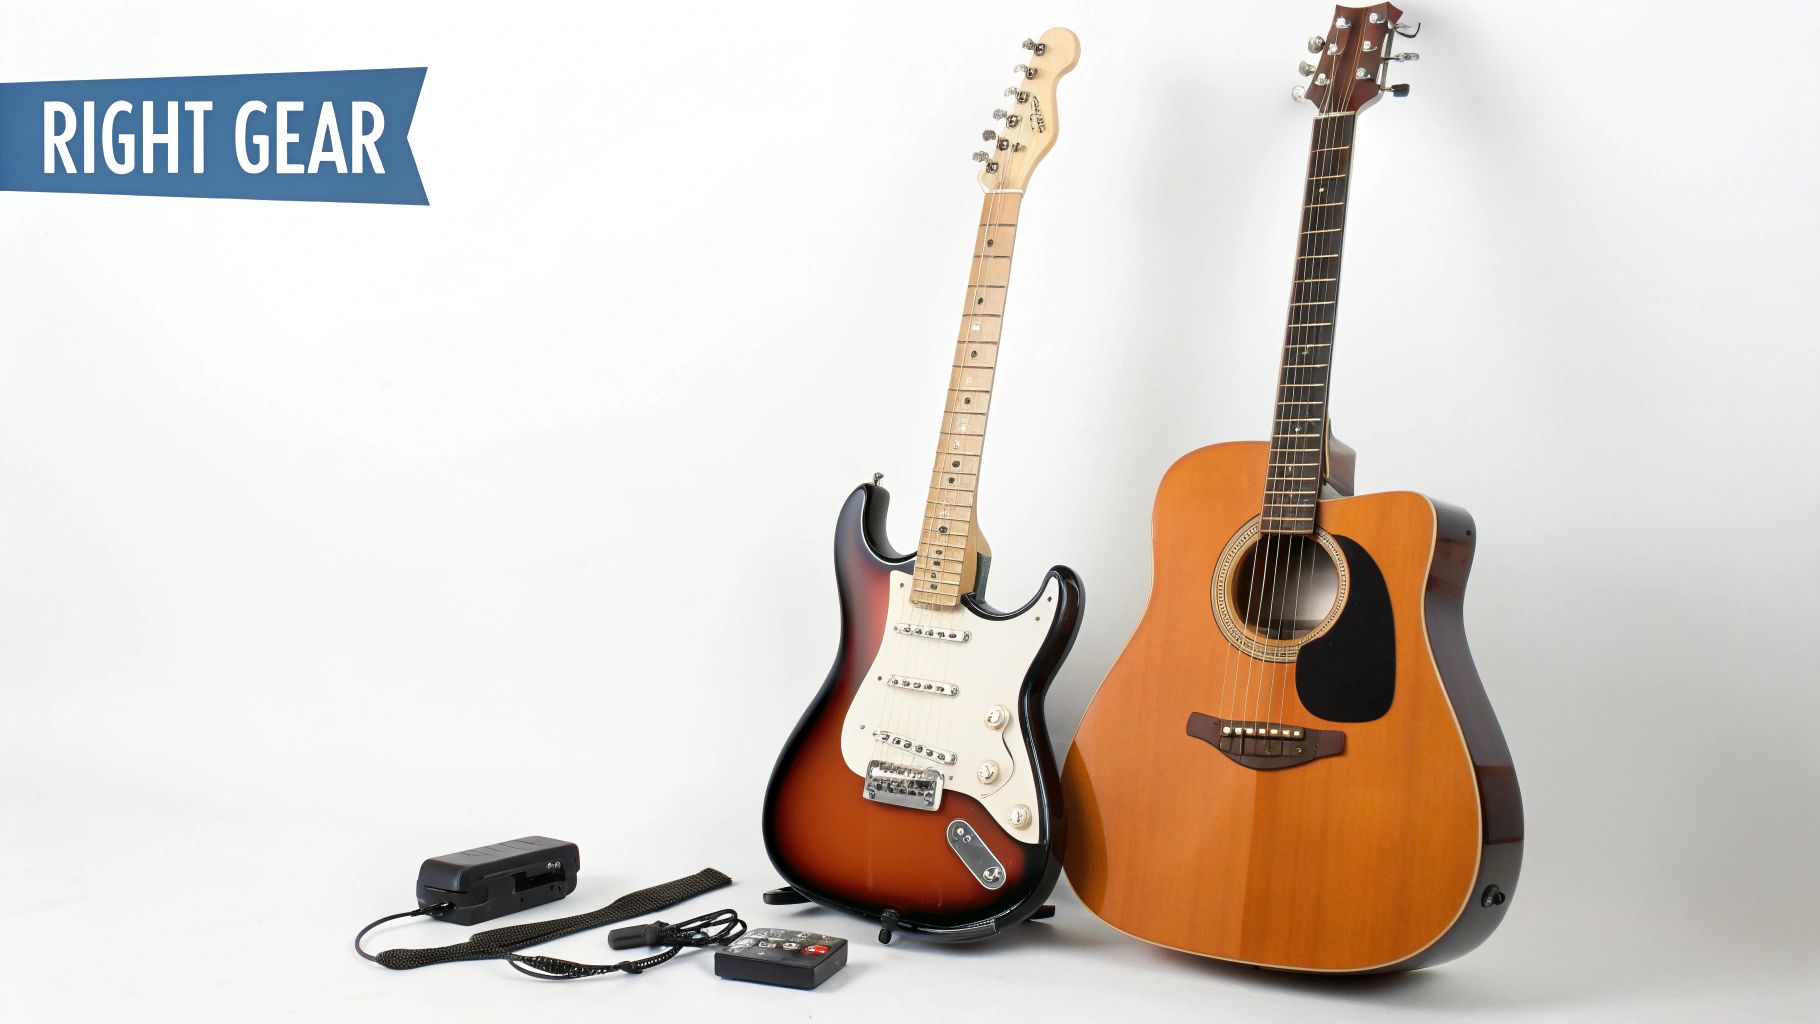
Think of your guitar as your partner in crime for building calluses. The kind of guitar you play, the thickness of its strings, and even its basic setup can completely change how your fingertips feel day-to-day. If you make a few smart choices upfront, the road to tough calluses will be a whole lot smoother and less painful.
A lot of new players don't realize their instrument might be working against them. If a guitar has high "action"—that's the distance between the strings and the fretboard—it takes a ton more finger pressure just to get a clean note. All that extra force just leads to more pain and a higher chance of blisters, which will stall your progress fast.
The thickness of your strings, what we call the gauge, has a direct impact on your fingers. It's pretty straightforward: heavier gauge strings are thicker, they're under more tension, and they demand more pressure to fret. Lighter gauge strings are the opposite—thinner, more flexible, and way gentler on fingertips that are still getting used to the work.
It might be tempting to slap on some heavy strings to "toughen up faster," but trust me, that usually backfires. A much smarter move is to start with a lighter gauge, like a set of .010s or .011s on an acoustic guitar. This lets you build up a solid foundation of calluses without all the unnecessary pain, which means you can practice longer and more consistently.
The type of guitar you're learning on creates a totally different callus-building experience. Each one has a unique level of tension and texture that your fingers will have to deal with.
If you're starting out on an acoustic, that's a fantastic way to build up some seriously robust calluses. For anyone really struggling with finger pain, learning how to choose the best acoustic guitar for a beginner can be a game-changer, since some models are specifically built to be easier to play.
A professional setup is one of the best investments a new guitarist can make. A guitar tech can adjust the "action" of your guitar, lowering the strings so they are closer to the fretboard. This simple adjustment can reduce the amount of pressure you need by up to 50%, making your guitar feel dramatically easier to play.
At the end of the day, the best guitar is the one that makes you excited to pick it up every single day. By starting with lighter strings and making sure your instrument is properly set up, you're creating a much more comfortable environment for your hands. That way, you can focus on the music while your calluses form naturally from all that enjoyable practice.
So, you've made it through the fire. The toughest part is over, and you've built a solid set of calluses. Think of them as your hard-earned playing permits—now the goal shifts from building to maintaining.
These hardened pads of skin aren't permanent. They need consistent attention to stay tough and ready for action. The good news is, a few simple habits are all it takes to keep your fingers prepared, whether you're grabbing your guitar for a quick practice session or settling in for a long gig.
Once your calluses are established, a whole new set of rules comes into play. You're no longer just trying to build up skin; you're preserving it. This is less about intense practice sessions and more about smart daily habits that protect your investment.
Here are the essential rules I share with all my students for long-term callus health:
Life happens. Sometimes you have to step away from the guitar for a week, a month, or even longer. When you do, your calluses will gradually soften and may even disappear completely. Don't panic—this is normal.
The great news is that rebuilding them is always faster the second time around. Your skin has a kind of "memory" of the process. When you start playing again, you'll probably feel some initial tenderness, but you'll find the calluses return in a fraction of the time it took to build them from scratch. Just be sure to ease back in with shorter sessions to avoid blisters.
Consistency is what keeps calluses in peak condition. Even just 10-15 minutes of playing every other day is often enough to maintain the toughness you've worked so hard to achieve, preventing the need for a full rebuild.
This kind of consistent playing is also the key to improving your skills. For some great exercises to keep your hands in shape, check out these tricks for building speed and stamina—they'll help maintain your calluses while sharpening your technique.
Let's clear the air on some of the most common questions I get from new players. When you're in the trenches toughening up your fingertips, it's totally normal to wonder if what you're feeling is part of the process. Here are some quick, no-nonsense answers to guide you.
Lots of new guitarists are always looking for a shortcut, a way to fast-track the whole "paying your dues" part of building calluses. That usually leads to one question in particular...
Please don't. I know you've probably heard stories about pro guitarists using super glue or nail hardeners for a last-minute fix before a big show, but that's an emergency patch-up, not a long-term strategy.
Here's the deal: using that stuff can seriously mess up your skin. It traps moisture, which is the enemy of a good callus, and stops the tough, resilient layers of skin from forming the way they're supposed to. Your body already has a perfectly good system for building calluses—it's called playing your guitar. Trust the process.
Yes. One hundred percent. Think of a blister as a bright red stop sign from your body telling you you've gone too far, too fast. Pushing through and playing on a blister is a recipe for serious pain, potential infection, and a much, much longer recovery time.
A blister isn't a setback; it's a strategic pause. Stop playing immediately. Let it heal, which could take a few days. Slap a bandage on it if it's open, and use this downtime to work on other things—your right-hand picking, rhythm exercises, or even a little music theory.
Calluses aren't for life. If you put the guitar down for a few weeks or months, you'll notice them getting softer and eventually disappearing. Your fingertips will just go back to normal because they don't need that extra layer of armor anymore.
But here's the cool part: they come back way faster the second time around. It's like your skin has muscle memory. Once you start playing again, you'll find those calluses rebuild in a fraction of the time it took originally.
Alright, we've covered the theory. Now it's time to actually get those fingers on the strings and start playing. This whole journey isn't just about toughening up your fingertips; it's about getting lost in the process of learning to play this incredible instrument.
The best way to build calluses, honestly, is to get so wrapped up in playing that you barely notice it's happening. Following a clear, engaging path is what gets you through that initial discomfort. It turns practice from a chore you dread into something you genuinely look forward to. For any new player, having that kind of guidance can make all the difference.
When your focus shifts from the sting in your fingertips to the actual music you're making, that's when the magic happens. You're not "building calluses" anymore—you're just playing guitar. The calluses just become a welcome side effect of all that dedication and fun.
Instead of just mindlessly drilling exercises, a good learning path keeps your eyes on the prize: making music. You'll be so focused on learning your next favorite song, nailing a cool new technique, and hearing yourself get better day by day, that the physical stuff just sort of happens in the background. Your calluses will build themselves, naturally, as a byproduct of your musical journey.
I always point my students toward a TrueFire All Access Trial. With thousands of lessons from legit, world-class instructors, you're bound to find a path that gets you excited to pick up the guitar every single day. Learn more and grab your TrueFire All Access Trial.
