
Holding a guitar the right way is simple at its core: you balance the instrument on your leg and against your body, keep your back straight, and let both hands float freely without having to support the guitar's weight.
This basic setup is the key to comfort and preventing injury, but it also gives you total freedom to move up and down the neck. Getting this right from day one is probably the single best thing you can do for your playing. As a guitar educator, I've seen firsthand how a solid foundation in posture accelerates a student's progress and prevents years of frustration.
Before we get into the nitty-gritty of hand positions and how to sit, we need to talk about why any of this matters. Learning how to hold a guitar isn't just about looking the part; it's the absolute bedrock of everything you'll ever play. Your tone, your speed, your stamina—it all starts here.
More importantly, good posture is your best defense against aches and pains. I've seen far too many experienced players who had to spend months unlearning bad habits that led to chronic wrist, back, or shoulder pain. Nail this stuff from the beginning, and you can focus on what you're really here for: making music.
Shrugging off good posture isn't a small mistake; it can cause real problems down the line. The number of guitarists dealing with playing-related injuries is surprisingly high. In fact, some studies have shown that over 61% of guitarists in popular music styles report dealing with pain from playing. That number alone should tell you how critical a good setup is from the start.
You can learn more about the stats and science behind it in this research on guitar-related injuries, but the takeaway is clear.
Think of it this way: your body is your real instrument, and the guitar is just an extension of it. If your body is tense and uncomfortable, your music will sound that way, too. The goal is always relaxation and efficiency.
A solid, relaxed posture is the platform for your entire technique. When your hands aren't busy propping up the guitar, they're free to do their actual jobs.
Here's a quick look at what you get from a good setup.
Here's a quick look at the direct benefits you'll gain by mastering how to hold the guitar correctly.
| Area of Improvement | Benefit of Correct Posture | Consequence of Poor Posture |
|---|---|---|
| Dexterity | Fingers move freely and accurately without supporting the guitar. | Sluggish, clumsy fretting as hands are forced to do double duty. |
| Tone | A relaxed picking hand and arm deliver controlled, nuanced sound. | A tense picking hand creates a harsh, inconsistent, and weak tone. |
| Endurance | Reduced muscle strain means you can play longer without fatigue. | Quick burnout, cramping, and potential for long-term strain injury. |
| Injury Prevention | A neutral, aligned body prevents chronic pain in the back/shoulders. | Leads to chronic pain in the wrists, shoulders, neck, and back. |
Ultimately, putting in the effort to master your posture now is an investment that pays off for your entire musical life. It helps you dodge painful setbacks and gives you a rock-solid technical base for every chord, scale, and song you'll ever learn.
This focus on building great habits from the ground up is exactly what we teach in our lessons. If you want to see how world-class instructors instill these fundamentals, check out the TrueFire All Access Trial.
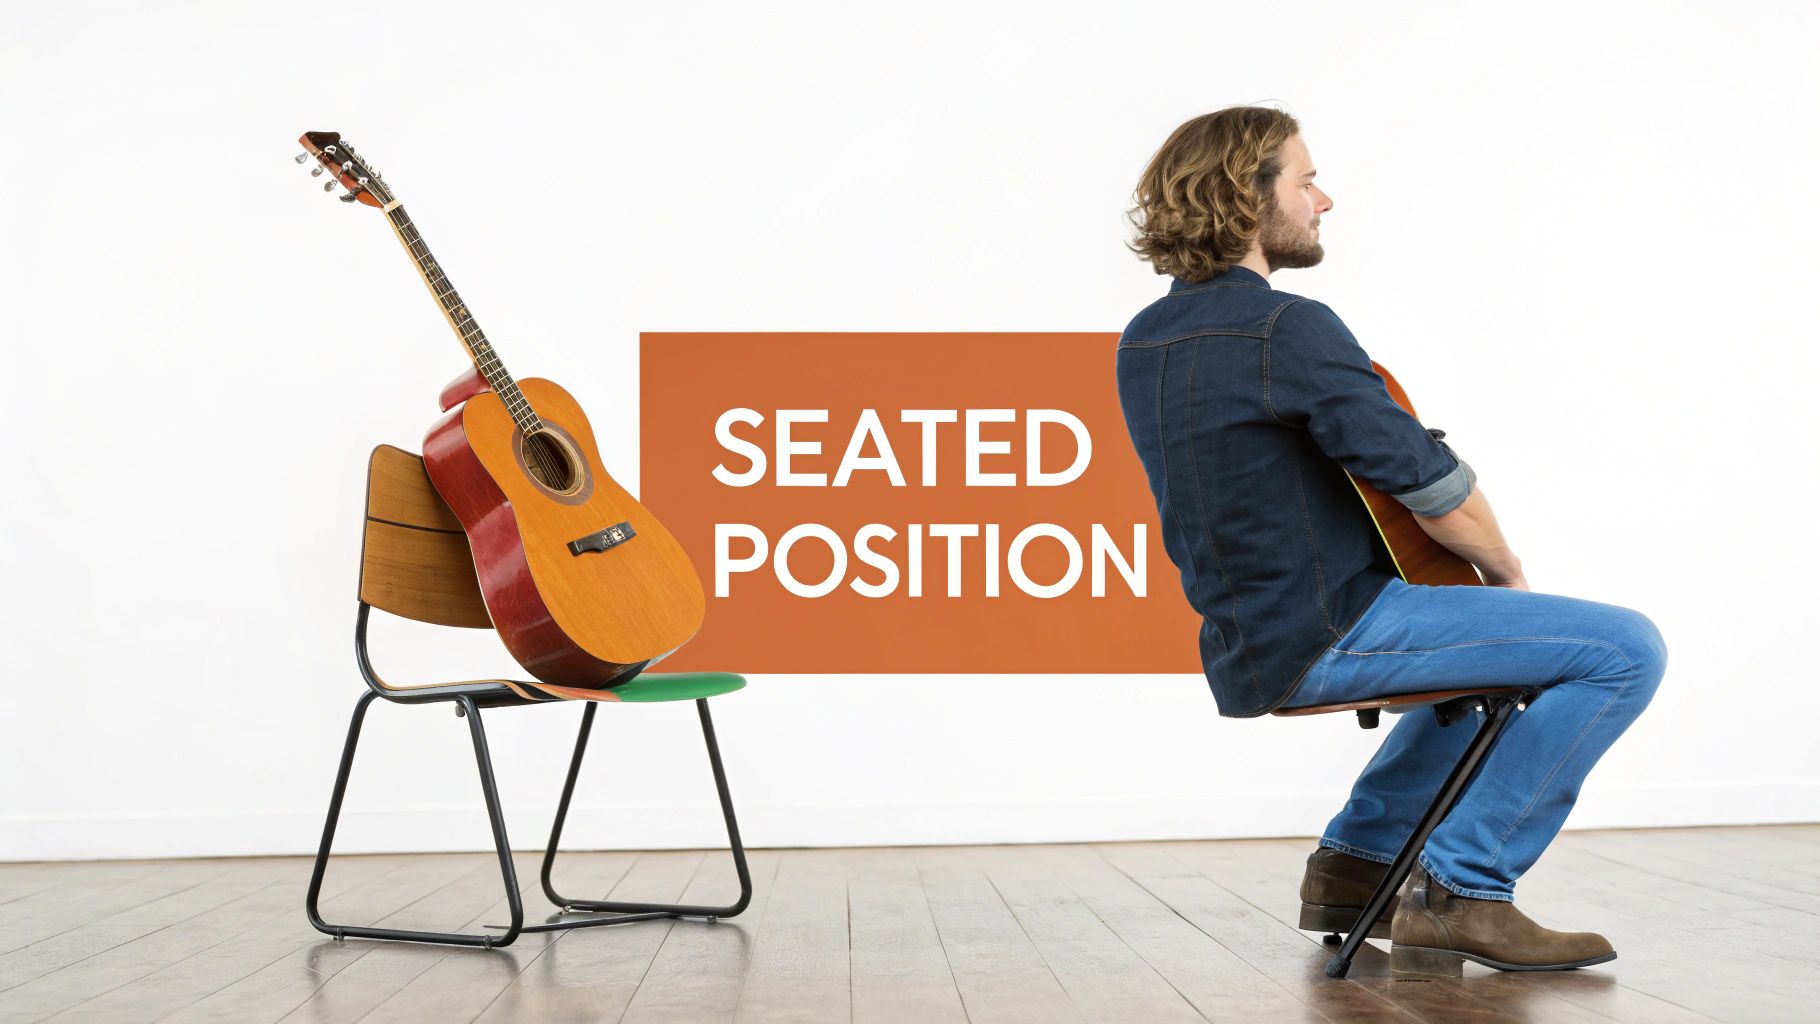
Before you even think about hitting the strings, let's dial in your seated position. This is more than just getting comfortable—it's about building a solid foundation that lets your arms and hands move freely. The goal here is simple: the guitar should feel like a part of you, balanced securely against your body without needing your hands to prop it up.
Believe it or not, the chair you pick matters. A lot. Go for something firm and flat, and make sure it's without armrests. Trying to play on a cushy sofa or a chair with arms will just twist you into awkward angles, creating tension before you've even played a note. Scoot toward the front edge of the chair, plant both feet flat on the floor, and sit up straight but relaxed.
This is the classic, go-to posture most players start with. It's intuitive and works great for just about anything, from strumming acoustic tunes to cranking out rock riffs on an electric guitar.
This position keeps the guitar mostly horizontal and is fantastic for long, comfortable practice sessions. It's the posture you'll see most often in popular music for a reason.
Here's the acid test: let go with both hands for a second. The guitar should stay put, perfectly balanced on your leg and against your body. If it starts to tilt or slide, you'll need to adjust your posture until it feels secure on its own.
Don't let the name fool you. While it's the standard for classical and flamenco players, this position offers huge ergonomic advantages for any guitarist. By raising the neck, you get incredible access to the whole fretboard and encourage a much straighter wrist angle for your fretting hand. For intricate fingerstyle work, it's a total game-changer.
You'll want a small footstool for this one, placed under your left foot to raise your thigh by about four to six inches.
This might feel a little strange at first, but it aligns your body beautifully and can actually prevent a lot of bad habits from forming. Getting these seated positions down is one of the most essential first steps for any beginner, as it quite literally sets the stage for everything else.
No matter which style you adopt, the fundamentals don't change: shoulders relaxed, back straight, and let the guitar balance itself.
Moving from a seated position to standing up with your guitar is a liberating moment. Suddenly, you can move around, engage with an audience, or just feel the music differently. But your strap is way more than just a piece of leather keeping your prized instrument off the floor—it's a critical tool for maintaining solid technique.
A lot of players, especially when they're starting out, get tempted by that "low-slung rockstar" look. While it might look cool on stage, hanging your guitar down by your knees is one of the fastest ways to absolutely wreck your technique. It forces your fretting hand into a painful, sharply bent-wrist position and makes your picking arm work way harder than it needs to. This is not the path to precision or a long, injury-free playing career.
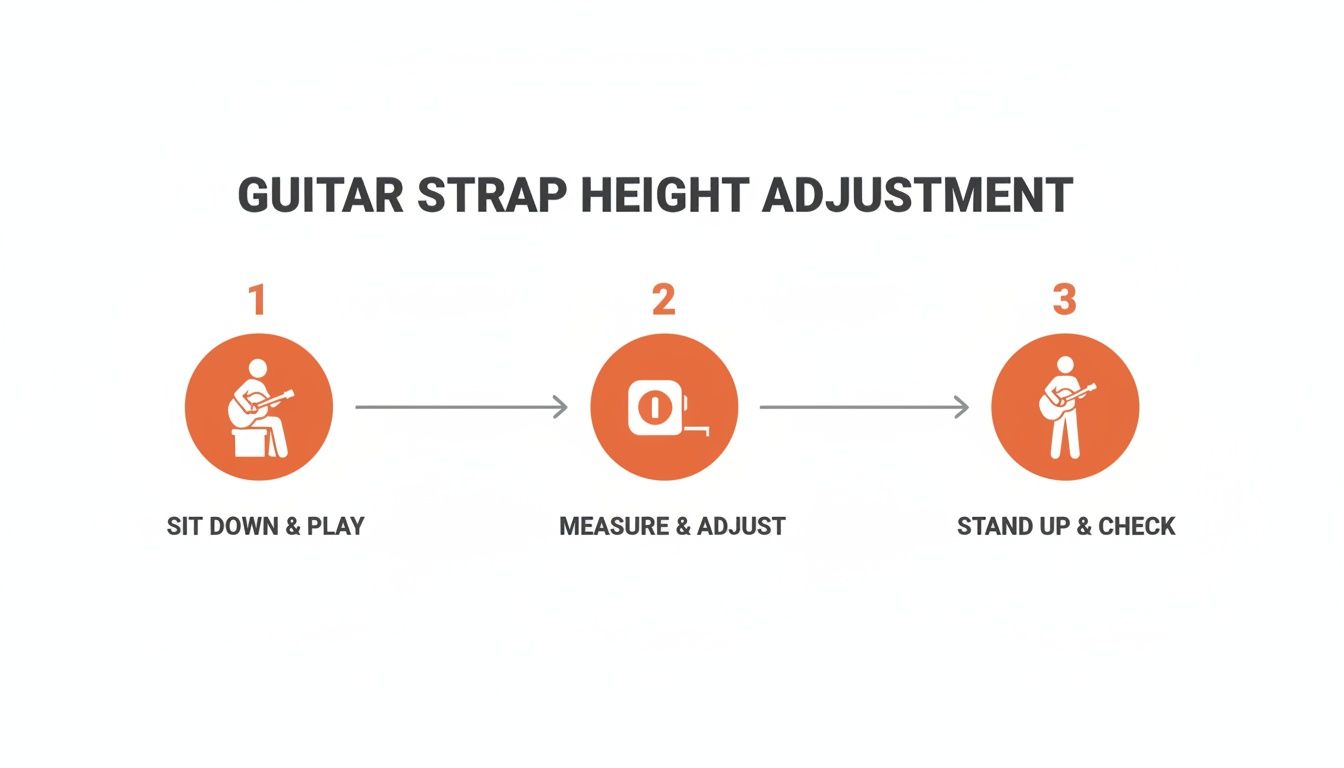
The single most important goal for setting your strap height is consistency. You want the guitar to hang in almost the exact same position whether you're sitting or standing. Why? Because this builds powerful muscle memory, ensuring your hands and arms always know where to go, no matter your stance.
Think of it like this: your body has already learned the correct angles and relaxed postures from the seated positions we just covered. When you stand up, your strap should simply replicate that same setup. This means every chord shape, scale pattern, and picking motion feels identical, which leads to more reliable and effortless playing.
The perfect strap height isn't about looking cool—it's about ergonomics and muscle memory. The goal is to make the transition from sitting to standing completely seamless for your hands.
Finding this sweet spot is a pretty simple process. Follow these steps to get a good baseline, and then feel free to make minor tweaks until it feels just right.
If you nailed it, the guitar should feel familiar and easy to play. If your fretting wrist is bent at a sharp angle or your picking shoulder feels hiked up, you'll need to make small adjustments until it feels natural again. A comfortable, wide strap can also make a huge difference here, as it distributes the instrument's weight more evenly across your shoulder, preventing fatigue during long gigs or practice sessions.
Mastering this transition is a huge step toward becoming a versatile player. To see how pro instructors apply these ergonomic principles in real-time lessons, check out the multi-angle videos included with a TrueFire All Access Trial.
Now that your body and the guitar are in a good, stable spot, we can zero in on where the real action happens: your fretting hand. This is the place where so many players—from total beginners to seasoned pros—unwittingly store up tension that kills their speed and leads to burnout.
The trick is to stop thinking about gripping the neck. Instead, imagine you're creating a relaxed, natural cradle for it. Your hand should naturally form a gentle 'C' shape, with your fingers curved and ready to go. Try to keep your knuckles mostly parallel to the fretboard and make sure your wrist stays relatively straight. A sharp, bent wrist is a recipe for trouble; a straight wrist lets your fingers do all the heavy lifting with way more efficiency.
If I had to point to one thing that unlocks speed and fluid movement, it's getting your thumb in the right place. So many beginners make the classic mistake of wrapping their thumb all the way over the neck, like they're grabbing a baseball bat. This "baseball bat grip" is a huge source of tension, seriously limits how far your fingers can reach, and makes chord changes feel clumsy and slow.
Your thumb should act more like a pivot point, just resting gently on the back of the neck. For most playing, you'll want it sitting somewhere behind your index or middle finger. This gives you a solid anchor point, which frees up your other fingers to move across the fretboard without a fight.
The best fretting technique uses the absolute minimum amount of pressure needed to get a clean note. Squeezing too hard just wastes energy, slows you down, and can even pull your notes sharp. Think of it as a light pinch between your fingertip and your thumb.
This image breaks down how to get your guitar into that perfect playing position, whether you're on a stool or standing up.
The big idea here is consistency. When your guitar feels the same whether you're sitting or standing, you're building reliable muscle memory that you can count on.
Getting these hand movements right isn't just about sounding better—it's basically targeted physical training for your hands. The connection between practicing structured finger movements and developing your neuromuscular pathways is incredibly strong.
In fact, one study showed that giving specialized guitar lessons to chronic stroke patients helped them regain hand function at a level similar to traditional occupational therapy. It's pretty amazing stuff, and you can read the full research about this guitar therapy study if you're curious.
This just goes to show that learning how to hold a guitar properly is also an exercise in building real-world dexterity and coordination. If you want to go even deeper on refining your technique, our guide on essential left-hand positioning tips has more advanced insights to check out.
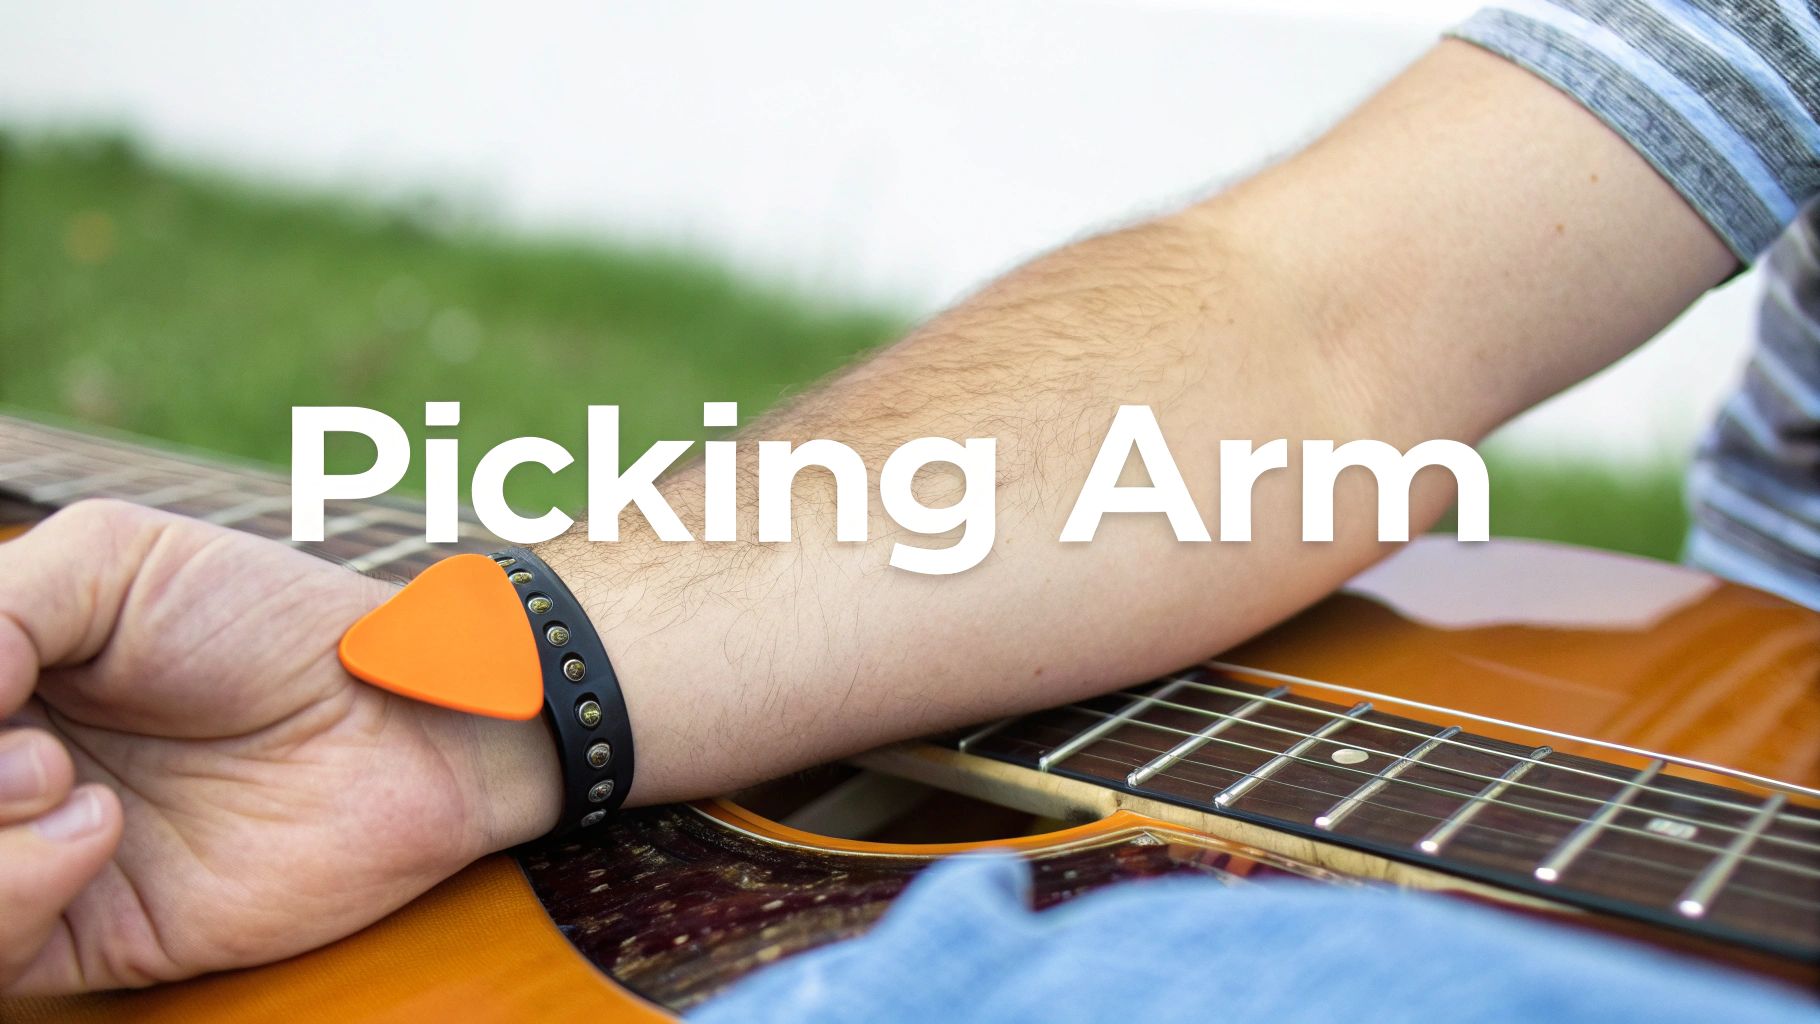
While your fretting hand is busy making shapes, your picking arm is the engine. It's what drives your rhythm, controls your dynamics, and ultimately shapes your tone. A tense, awkward picking arm will always hold you back, leading to a thin sound and capping your speed. Let's fix that.
First things first, find your anchor point. Go ahead and rest your forearm gently on the upper bout of the guitar's body—that's the top curve. This single point of contact gives you a ton of stability, which lets your wrist and hand move freely without having to support the weight of your whole arm. Make sure your shoulder stays down and relaxed, not hunched up by your ear.
Once you're anchored, your picking motion comes from two main places: your wrist and your elbow. Figuring out which one to use, and when, is a huge step toward becoming a more dynamic player.
A huge mistake I see all the time is players using their elbow for everything. This makes your playing sound stiff and robotic, and it makes fast alternate picking feel impossible. Your first job is to isolate that wrist movement; it's the bedrock of a truly refined technique.
Now for the final piece of the puzzle: your hand. Make a loose fist, then just open your thumb and index finger enough to hold the pick. Your other fingers can either curl in gently or rest lightly on the pickguard for an extra bit of stability.
The pick should feel like a natural extension of your hand—held firmly, but not in a death grip. Try angling the pick slightly so you aren't hitting the strings completely flat. This subtle adjustment, often just 10-15 degrees, is a pro tip for getting a warmer, fuller tone and cutting down on that scratchy pick noise.
If you really want to dive deep into this crucial part of your playing, there are some great lessons out there on improving your right-hand guitar technique.
Remember, the goal here is always relaxation. Tension is the mortal enemy of good tone and fluid playing. By anchoring your arm correctly and learning to use the right combination of wrist and elbow, you're building a rock-solid foundation for every strum and note you'll ever play.
You've got the blueprint. You know what proper guitar posture looks like and how it feels. The real challenge now is making it all second nature—turning conscious, clunky effort into a habit that just happens. This is where world-class instruction can completely change the game for you.
Here at TrueFire, our courses are built from the ground up with ergonomics and solid technique in mind. It's one thing to read about proper form, but it's another thing entirely to see it. Our multi-angle video lessons let you watch exactly how the pros position their hands and bodies to play so fluidly. You can slow things down, loop a tricky section, and really analyze their movements to get it right yourself.
Don't let small, unnoticed habits limit your long-term potential. Consistent, correct practice is what separates good players from great ones. An expert eye can spot issues you'd never notice on your own.
If you're thinking about finding a one-on-one instructor, we've put together a guide on how to find the right guitar teacher for you. The right guidance can be a massive boost for both your technique and your confidence.
We invite you to start a TrueFire All Access Trial and see for yourself how the best instruction out there can help solidify your skills for good.
Even with the best instructions, a few questions always pop up when you're trying to turn theory into a comfortable, physical habit. Let's go through a couple of the most common ones I hear from students.
No. Absolutely not. While it's normal to feel some light muscle fatigue in your forearm and fingers when you're starting out, any kind of sharp pain is a big red flag.
Wrist pain is almost always a sign of a bad angle. Your fretting wrist needs to stay mostly straight, not bent at a sharp, unnatural angle. If you feel pain, stop what you're doing right away.
Give your hand a break, shake it out, and take a hard look at your grip. Chances are you're either squeezing the neck way too hard or letting your wrist totally collapse. That pain is just your body telling you to fix your form before a real injury has a chance to develop. For other aches, our guide with tips for reducing fingertip pain when learning guitar is a huge help, too.
The core principles are exactly the same—a straight back, relaxed shoulders, and neutral hand positions are universal. But the size and shape of the guitar's body will definitely force some minor adjustments. A big, bulky dreadnought acoustic is going to feel a lot different sitting on your lap than a slim, solid-body electric.
The goal is always the same: balance the instrument so it stays put without your help, leaving your hands free to play. You might have to adjust where your picking arm rests to comfortably reach over a large acoustic body, but the fundamental mission of avoiding tension and keeping your wrists straight never, ever changes.
So yes, you might anchor your forearm a little differently on a jumbo acoustic than you would on a Stratocaster. The instrument is different, but the ergonomic rules are not.
Nailing these fundamentals is the absolute fastest way to make real progress. At TrueFire, our structured Learning Paths and multi-angle video lessons are all about building great habits from the very first day. See what a difference it makes with a TrueFire All Access Trial.
