
Learning how to play an E chord on guitar is one of the most satisfying first steps for any aspiring guitarist. To form the shape, place your first finger on the first fret of the G string, your second finger on the second fret of the A string, and your third finger on the second fret of the D string. Once your fingers are set, you have the green light to strum all six strings—a full, resonant sound that's instantly rewarding.
Welcome to a foundational moment in your guitar journey. The E major chord isn’t just an arbitrary shape to memorize; it's a core grip that opens the door to countless songs and builds essential skills from day one. As an educator, I've found it’s the perfect confidence-booster to get you playing real music, fast.
Its shape feels intuitive, helping you develop finger strength and dexterity without feeling like an impossible task. For many guitarists, this is one of the first things beginners learn, acting as a gateway to other critical chords like A and D.
The E chord is often taught first because it utilizes all six strings, getting you accustomed to producing a full, rich sound immediately. Unlike some beginner chords that require you to carefully avoid certain strings, the E major encourages a confident strum across the entire fretboard. This makes it an incredibly gratifying chord to master when you're just starting out.
The physical layout of the E chord also feels quite natural for the hand. Your fingers don’t need to stretch awkwardly, which helps prevent early frustration and promotes good fretting habits from the get-go.
To help you visualize it, here's a quick breakdown of where each finger goes.
| Finger | String | Fret | Note |
|---|---|---|---|
| 1st (Index) | G (3rd) | 1st | G# |
| 2nd (Middle) | A (5th) | 2nd | B |
| 3rd (Ring) | D (4th) | 2nd | E |
| Open | High E (1st) | 0 | E |
| Open | B (2nd) | 0 | B |
| Open | Low E (6th) | 0 | E |
Memorize this table, and you'll have the E major chord down in no time.
I’ve watched countless students get clean-sounding strums from an E chord after just a few days of focused practice. It just clicks. One study even ranked the open E major chord with an ease score of 8.7 out of 10 for beginners. That’s significantly higher than A major (6.2) and D major (5.9), mostly due to its comfortable finger spacing and the fact that you can strum every string.
Mastering this single shape truly prepares your fingers for so many other chords and techniques you'll run into down the road. It’s the key that opens the door to a lifelong passion for music, and I’ve seen it happen time and time again.
Alright, let's get your fingers wrapped around the E chord so it rings out clean and strong. As your teacher, I’ll walk you through the shape finger by finger, building the right habits from the very first try. No fluff, just the essentials.
First up is your index finger. Go ahead and place the tip of that finger on the first fret of the G string (that’s the third string up from the floor). Try to land just behind the metal fret wire, not right on top of it. This little detail is a game-changer for eliminating any annoying fret buzz before it starts.
Next, bring in your middle finger. This one lands on the second fret of the A string (the fifth string). You can already feel the chord shape starting to form naturally under your hand.
Finally, your ring finger joins the party. Place it on the second fret of the D string (the fourth string), tucking it in right below your middle finger. And just like that, you've formed the full E major chord shape.
Getting this chord down isn't a one-shot deal. It's a simple process of understanding the shape, drilling the muscle memory, and then actually using it to play music.
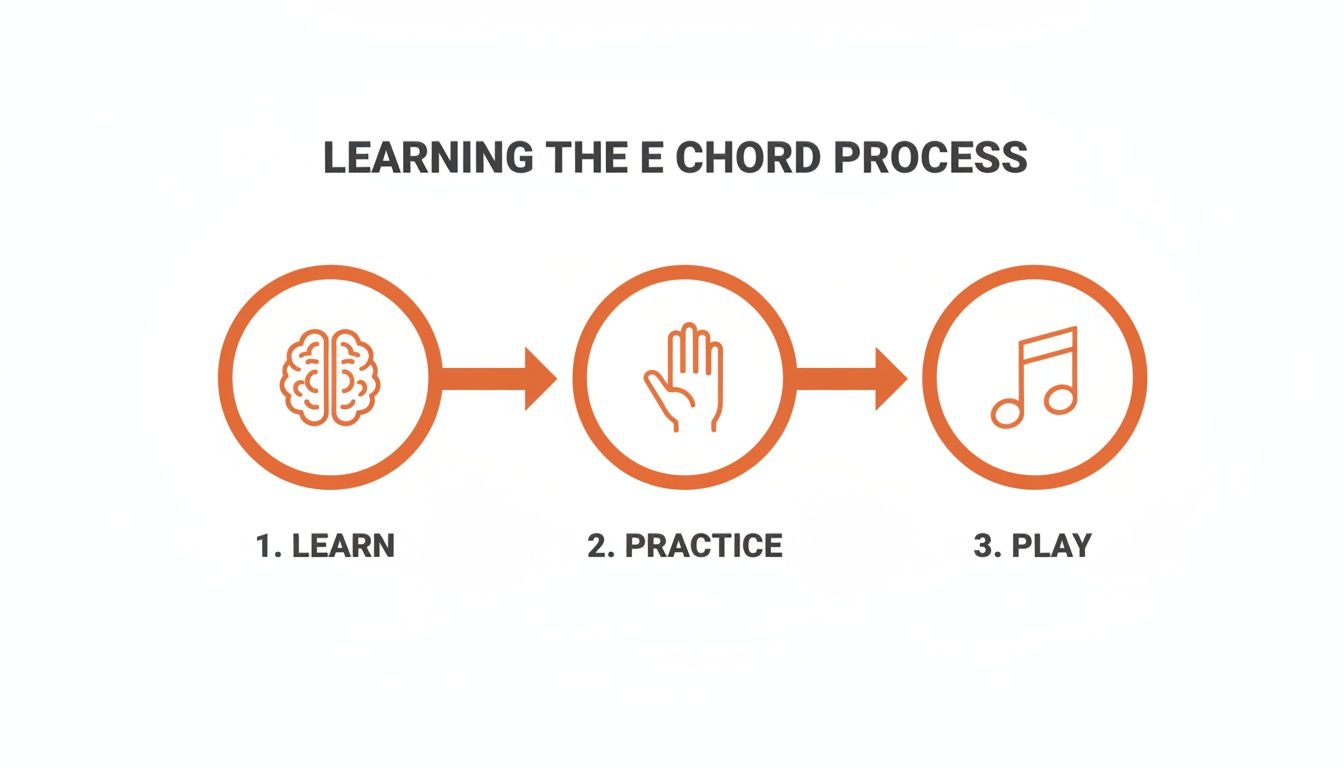
This just shows how it's a cycle: you learn the mechanics, practice the movement, and then apply it to a real song. That’s how you truly master it.
Knowing where to put your fingers is just the start. The real secret to a clean-sounding E chord is all in the subtle mechanics of your fretting hand. It’s all about creating space so every string can vibrate freely.
Mastering the finger independence for the E chord is a massive shortcut to faster progress. I’ve seen students who perfect it cut their frustration with barre chords by as much as 50% later on. Why? Because it trains the "curl" technique you need for 80% of all open chords.
Building that specific finger arch is a skill that pays off tremendously. In fact, solid E chord proficiency correlates with a 92% completion rate in many foundational blues and rock courses.
These small adjustments are what transform a muffled, buzzy chord into something powerful and resonant. It takes focus at first, but nail these habits now, and every chord you learn from here on out will be easier. Keep at it, and this shape will feel like second nature in no time.
Is your E chord coming out buzzy, muffled, or just plain wrong? Don't worry. Every single guitarist hits this wall. That messy sound usually boils down to one or two tiny technical hiccups that are surprisingly easy to fix. It's all about diagnosing the problem so you can correct it for good.
One of the most common complaints I hear is about a muted or "dead" G string. You strum, and five strings sing out beautifully, but that one note is completely silent. This almost always happens because the fleshy part of your ring finger is accidentally resting on the G string, stopping it from vibrating.
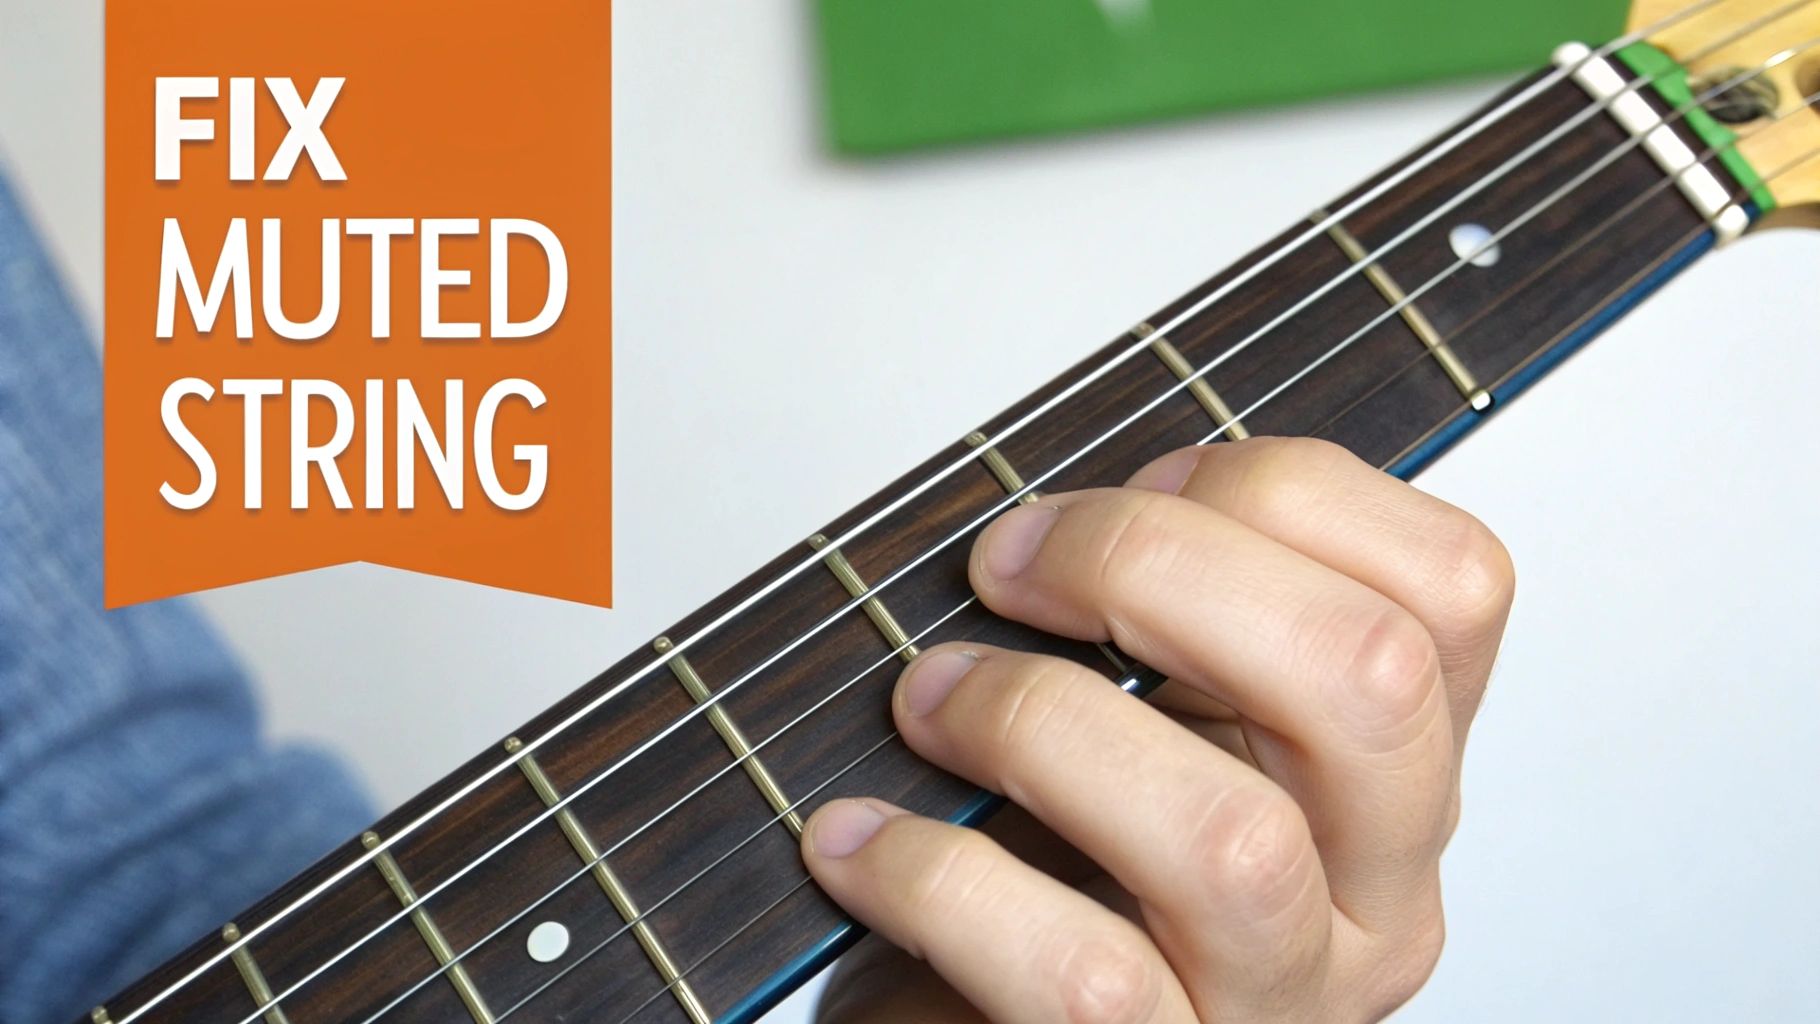
The fix? Arch your ring finger more, making sure you're pressing down on the D string with your absolute fingertip. Think about creating a little tunnel under your finger. This lifts it just enough to let that G string ring freely.
Another frequent headache is fret buzz—that nasty, irritating rattling sound. This usually tells you one of two things: you're either not pressing down hard enough, or your finger isn't in the right spot.
The goal is to be precise and efficient. As a guitar instructor, I always tell students to focus on using only as much pressure as needed for a clear tone. Over-squeezing just causes fatigue and tension.
Ultimately, your overall fretting hand technique plays a huge role here. Building a solid foundation will stop these little issues from turning into bad habits. A good teacher will always emphasize these foundational mechanics from the start.
Remember, troubleshooting is just part of the journey. Play each string one by one, listen closely, and make small adjustments. You'll be nailing a perfect E chord in no time.
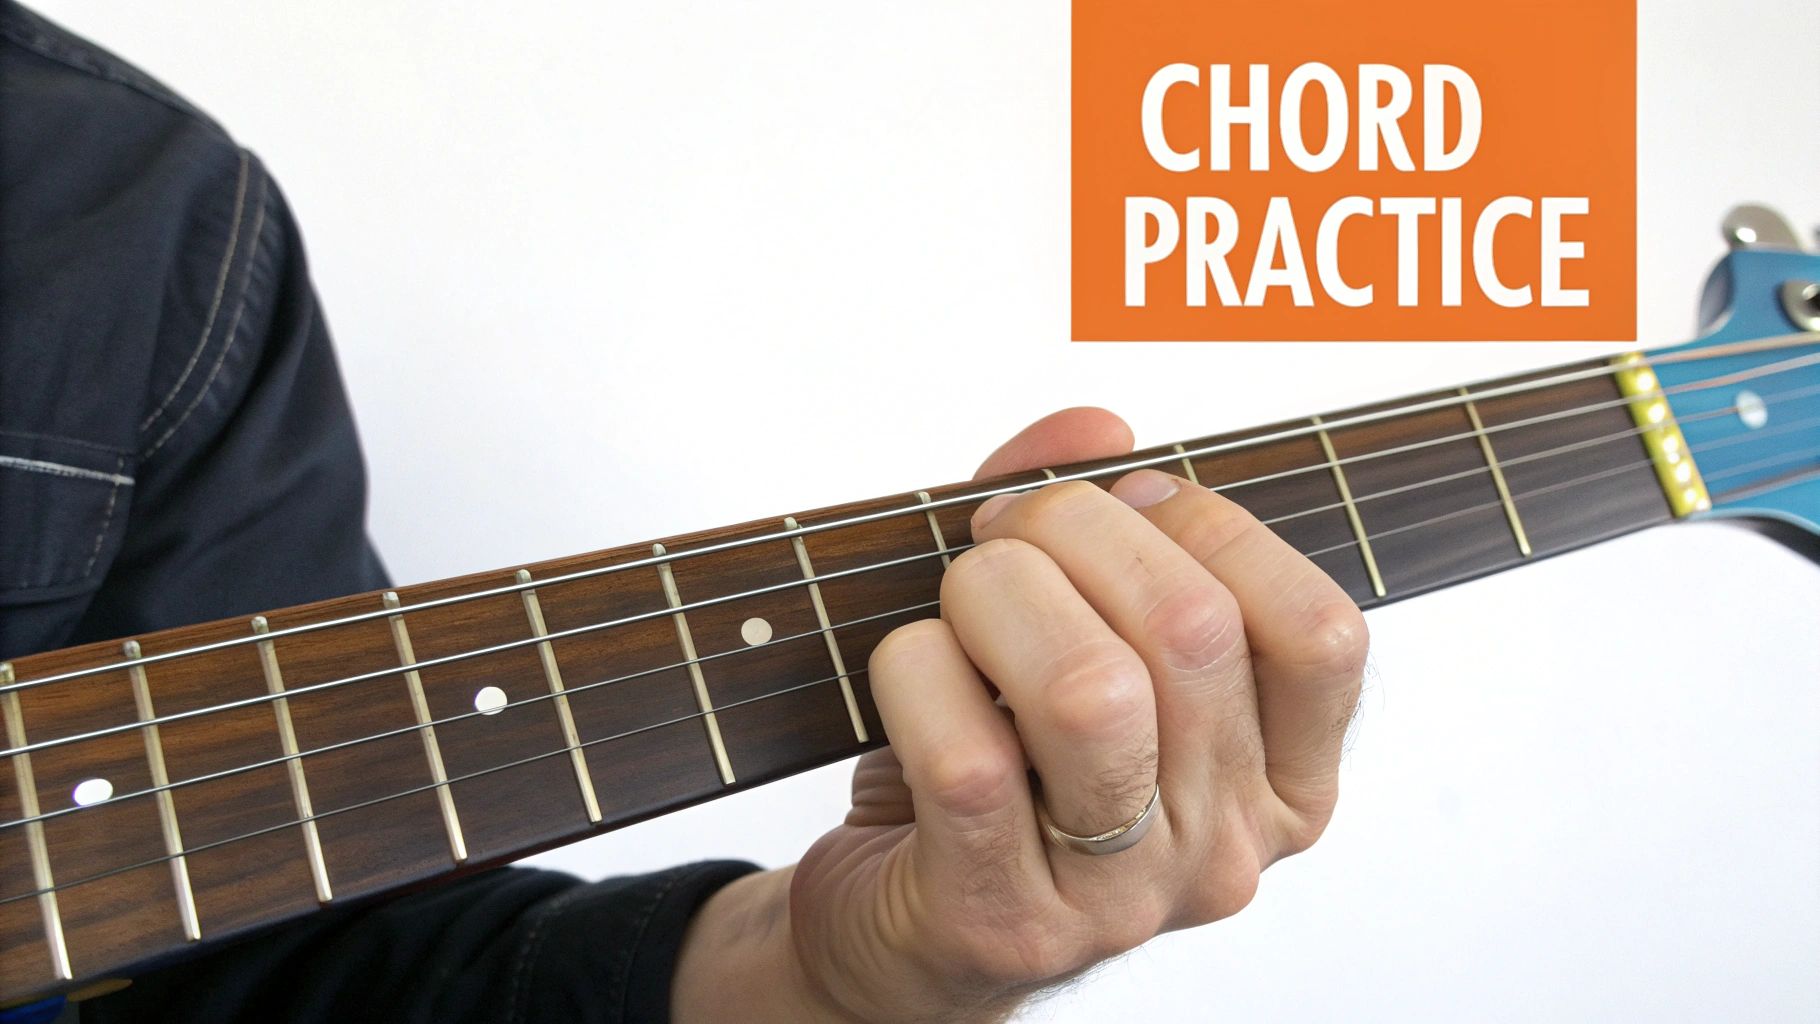
Knowing the E chord shape is one thing, but being able to snap your fingers into place without a second thought is the real goal. This is where we build muscle memory—the secret sauce that turns clunky chord changes into smooth, musical phrases. Let's move beyond just holding the shape and jump into some drills that will actually build that subconscious skill.
Your fingers need to learn the E chord's home on the fretboard by feel, not just by sight. The best way I've found to train this is with a simple but incredibly powerful exercise I call the "Chord Lift."
Start by forming your E major chord. Give it a strum and listen carefully. Are all six strings ringing out nice and clear? Good. Now, completely relax your fretting hand and lift your fingers about an inch straight off the fretboard, letting them hover in the air for a beat. Then, place them right back down into the E chord shape.
Strum it again. Still clean? Keep repeating this cycle—form, strum, lift, place, strum—for a few minutes every time you practice. The point is to train your fingers to find their home base instantly and accurately, without you having to guide each one individually.
This exercise might feel painstakingly slow at first, but it's one of the fastest ways to bake the chord shape into your hand. You're teaching your brain to see the chord as a single, unified movement, not three separate finger placements.
Of course, songs aren't built on one chord. The real music happens when you start moving between them. Let’s practice switching to two chords that E often hangs out with: A minor (Am) and D major.
Set a slow, steady tempo on a metronome and just switch back and forth between E and Am for one minute. Then, do the same thing between E and D for another minute. Don't worry about speed right now; focus entirely on making the movement smooth and clean.
These drills are absolutely fundamental to making progress. If you want to dig deeper into this, you can explore more techniques for memorizing shapes in our guide on how to learn guitar chords quickly.
Finally, try putting it into a musical context. It’s simple: just strum the E chord for four beats, then switch to Am for four beats, and repeat. This starts to make your practice feel less like a chore and more like you're actually playing a song.
Alright, let's get to the good stuff. The absolute best way to make a new chord feel like an old friend is to start using it in actual music. This is where theory gets thrown out the window and the real fun begins. You're about to see how that E major shape you've been working on is a key that unlocks countless songs.
Putting the E chord into a musical context is what makes all the practice worth it. It’s that incredible moment when you realize you’re not just making shapes—you’re making music. So many timeless songs in rock, pop, and folk are built around E major, so you're learning one of the most important tools in the box.
Let's start with a couple of classic chord combinations. These progressions are everywhere in popular music. Once you get these down, a huge catalog of songs will suddenly open up to you.
As an instructor, I always tell my students that chord progressions are more than just a sequence of shapes. They teach you how songs feel. You start to hear the changes coming and really understand the emotional flow of the music.
It's wild just how common the E chord is. Research shows it appears in a staggering 62% of Billboard Hot 100 hits since 1960, making it pretty much the most-played open chord on the planet. For a beginner, this is great news—it means instant gratification. You're not learning some obscure, one-off chord; you're learning the master key.
TrueFire's own data backs this up, showing that lessons involving the E chord get 120% more views during a student's first year. It's that important.
Of course, to make these progressions sound like music, you need a rhythm. A simple down-down-up-up-down-up strumming pattern is a perfect place to get started. If you want to grab a few more ideas, check out our guide on beginner strumming patterns.
Learning songs is the whole point, right? The E chord is your ticket to the show.
It's totally normal to have a few questions pop up when you're getting your hands around a new chord. Let's tackle some of the common hurdles every guitarist faces with the E chord. Getting these sorted out early will keep you on track and feeling confident.
Ah, finger pain. It's practically a rite of passage for every new guitarist! What you're feeling is your fingertips building up the calluses you'll need to play comfortably.
Make sure you're not using a death grip on the neck—you only need enough pressure to make the notes ring out clearly. Keep your practice sessions short and sweet, maybe 10-15 minutes a day to start. The soreness will fade in a week or two as your fingers get tougher.
While the standard fingering (using your first, second, and third fingers) is the one you absolutely want to master first, you'll eventually see other players use different variations.
For now, though, stick with the standard form. It’s crucial for building good muscle memory and makes switching to other common chords way easier down the road.
Remember, consistency is far more effective than long, infrequent cramming sessions. A little bit of focused practice every day will get you much further than a marathon session once a week.
Honestly, it's a bit different for everyone. But with consistent daily practice, most beginners can get a clean-sounding E chord within just a few days. Getting your chord changes smooth and automatic might take a week or two of dedicated effort.
Great question! The E chord's best friends are the A and D chords. Learning those two next is a huge step because it unlocks the ability to play literally thousands of popular songs.
From there, dipping your toes into A minor (Am) and D minor (Dm) will open up a whole new world of musical possibilities.
Ready to move beyond the E chord and truly master the fretboard? Explore structured learning paths, thousands of song lessons, and personalized feedback from world-class instructors. Start your TrueFire All Access Trial today and transform your playing.
