
So, what's the deal with arpeggios?
In the simplest terms, playing an arpeggio means you're playing the notes of a chord one by one instead of strumming them all at once. Take a basic A minor chord. Instead of hitting all the strings together, you'd pick each note individually—A, E, A, C, E. That simple shift in thinking creates a flowing, melodic phrase.
This one idea is the secret bridge between playing basic chords and crafting solos that actually mean something.
Ever felt like you're just running up and down scale patterns, wondering how the pros make their solos sound so perfectly connected to the chords flying by? Arpeggios are the answer. They aren't just a technical drill; they're the language of harmony itself, spoken on your guitar.
When you play an arpeggio, you're literally outlining the sound of a specific chord. This makes whatever you're playing a perfect, melodic match for what's happening in the music at that exact moment.
That's the big difference between scales and arpeggios. A scale gives you a whole palette of "safe" notes that generally work over a key, but an arpeggio lets you target the exact notes that define the chord of the moment. It's surgical.
Look, everything in music comes back to a few core ideas, and for arpeggios, it all starts with the triad. A triad is just a simple, three-note chord. Getting a handle on the two most important types—major and minor—is your first big step as a musician.
Getting these basic major and minor triad shapes down all over the neck isn't just a suggestion—it's non-negotiable. They are the absolute building blocks for the more complex 7th-chord arpeggios you hear in everything from jazz and fusion to modern rock.
To get you started, here's a quick cheat sheet for the most fundamental triad arpeggios, all based around an 'A' root.
| Arpeggio Type | Formula | Example Notes (A Root) | Common Application |
|---|---|---|---|
| Major | 1, 3, 5 | A, C#, E | Rock, Pop, Country, Blues |
| Minor | 1, b3, 5 | A, C, E | Blues, Rock, Metal, Jazz |
Think of this table as your starting point. These two shapes are the foundation you'll build everything else on.
The real magic of learning how to play guitar arpeggios is finally breaking free from those generic, one-size-fits-all licks. You can stop playing the same old pentatonic pattern over an entire chord progression and start "chasing the changes."
What does that mean? It means your solo will intelligently weave through the harmony, highlighting the unique color of each chord as it passes.
This approach completely transforms how you see the fretboard. It stops being a confusing collection of random notes and becomes a crystal-clear map of the harmony—a map you can navigate with total confidence and purpose.
This kind of melodic targeting is what separates the good guitarists from the truly great ones. For a deeper dive, our guide on why arpeggios are so crucial for guitarists really unpacks this idea.
By burning arpeggio shapes into your muscle memory, you train your hands and your ears to hear the connections between chords. It's a game-changer that unlocks a whole new level of musical expression.
Knowing what arpeggios are is one thing, but finding them on the fretboard is where the real work—and fun—begins. This is where we take the theory and turn it into tangible shapes your fingers can learn, remember, and fly through. We're moving beyond simple triads and diving into the core sounds of modern music.
Think of it this way: a chord can be played all at once with a strum, or you can play its notes one by one. That's an arpeggio.
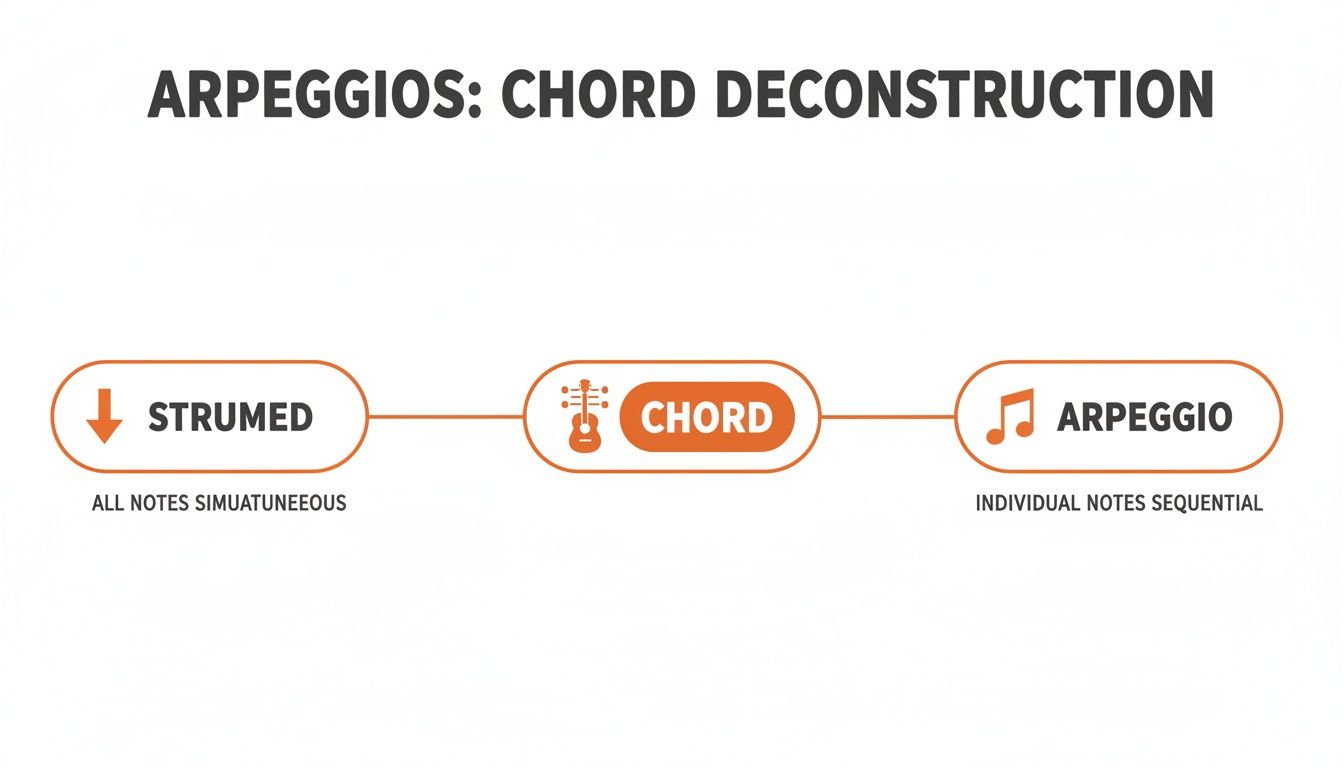
They aren't some separate, mystical concept. Arpeggios are just a more melodic way to outline the same harmony you're already playing with chords.
For this guide, we'll zero in on the three most important seventh-chord arpeggios: Major 7th, Minor 7th, and Dominant 7th. These are the true workhorses you hear in countless rock, blues, and jazz tunes. Our goal is to map them across several octaves, anchoring them to the root notes on the 6th and 5th strings—the way most of us navigate the neck.
Let's get familiar with the distinct flavors of these arpeggios. Each one has a unique sound and job, and getting that sound in your ear is half the battle. Knowing their formulas is the other half, helping you connect the shapes to the theory.
Commit these formulas to memory. Seriously. It's what will eventually allow you to build these sounds on the fly, even if you blank on a specific shape. You'll start seeing the fretboard not as a collection of patterns, but as a grid of intervals.
A huge mistake I see players make is only learning one-octave arpeggio shapes. They're a decent starting point, but they trap you in tiny boxes on the neck. To really unlock the fretboard, you need multi-octave shapes that let your musical ideas flow freely across the strings.
The most practical way to learn arpeggios is by organizing them around root notes on your two thickest strings: the 6th (low E) and 5th (A). This system gives you two main starting points for any arpeggio in any key, anywhere on the neck. If you can find the root note, you can instantly bring up the right shape.
For example, if you need a G Major 7th arpeggio, you could start on the G note at the 3rd fret of the 6th string. Or, you could find the G on the 10th fret of the 5th string and use that shape instead. Having both options gives you incredible flexibility.
As you start working through these shapes, pay close attention to your fingering. Use the most efficient, comfortable fingerings you can. It might feel slow now, but this initial investment in clean technique will pay off massively when you start trying to play them fast. For a deeper dive into these fundamentals, it's worth mastering the essential major triad shapes, which are the building blocks for these more complex arpeggios.
The end game here isn't just memorizing a bunch of isolated shapes. It's about seeing how they all connect, forming one giant, seamless pattern across the entire neck for each arpeggio type.
A fantastic way to practice this is by moving between different shapes of the same arpeggio. Try this: play an A Minor 7th arpeggio rooted on the 6th string (5th fret). Play it up and down a few times. Then, without stopping, slide up to the next A Minor 7th shape you can find, which would be rooted on the 5th string (12th fret).
This exercise forces you to break out of that "box" mentality and see the fretboard as one continuous melodic map. Your solos will become more fluid, and you'll be able to create long, flowing lines that aren't stuck in one position. It's this skill that truly separates the amateurs from the pros.
Getting arpeggio shapes under your fingers is a huge win, but that's only half the battle. The clean, professional sound you're chasing comes directly from your picking hand. A messy picking hand will make even the most perfect fretting technique sound sloppy and undefined.
To really nail how to play guitar arpeggios, your picking hand needs to be versatile enough to handle different musical situations. We're going to dig into the three essential techniques that form the bedrock of great arpeggio playing: alternate picking for precision, sweep picking for speed, and hybrid picking for total flexibility.
Each technique brings a unique texture to the table and solves a different set of playing challenges. Getting all three down will give you a complete toolkit to tackle any arpeggio that comes your way.
Alternate picking—that strict down-up-down-up motion—is the foundation of clean, articulate guitar playing. The big challenge when applying it to arpeggios is crossing strings smoothly without your pick getting hung up or creating extra noise. The name of the game is making your pick motion as economical as possible.
A lot of players make the mistake of using huge, inefficient arm movements. Instead, try to generate the motion from your wrist and fingers. Think small, controlled, and precise.
A simple three-string A minor arpeggio is a great place to start. Put on a metronome at a slow tempo and focus entirely on the feeling of your pick gliding smoothly across the strings.
Once that feels comfortable, start expanding to multi-octave shapes. Working on alternate picking for arpeggios builds incredible coordination and timing that will bleed over into every other part of your playing.
Sweep picking is what most people think of when they hear lightning-fast arpeggio runs. The idea is simple: instead of picking each note one by one, you use a single, continuous downstroke for ascending arpeggios or an upstroke for descending ones, letting the pick "sweep" across the strings.
But the real secret to a clean sweep isn't speed—it's synchronization and muting. Your fretting hand has to lift off each note right as the next one is played. If it doesn't, the notes will bleed together and sound like a sloppy, strummed chord.
So many guitarists rush into trying to play sweeps fast and build terrible habits. The single most important part of sweep picking is practicing it painfully slowly with a metronome. You have to train your hands to be perfectly in sync before you even think about adding speed.
Here's how to build a solid foundation from the ground up:
Start with a basic three-string G major arpeggio. Play it with one fluid downstroke, focusing on lifting each fretted finger the instant you move to the next string. Then, reverse it with a single upstroke. It's going to feel robotic at first, but this is how you build the control needed for those face-melting solos.
Hybrid picking is where you use both your pick and your fingers (usually the middle and ring fingers of your picking hand) to play notes. This technique is a complete game-changer for arpeggios with wide string skips, which can feel clumsy with just a pick. It's a staple for country, jazz, and fusion players.
Imagine you need to play a low root note and then jump two or three strings higher for the next note in the arpeggio. With standard picking, that's a big, inefficient movement. With hybrid picking, it's effortless.
A great way to get started is by practicing simple octave patterns. For example, play an A on the 5th fret of the low E string with your pick, and at the same time, pluck the A on the 7th fret of the D string with your middle finger. You can unlock a ton of creative possibilities by learning more about combining pick and finger techniques for different right-hand patterns.
This technique not only makes wide intervals easier but also adds a cool sonic texture. The notes plucked by your fingers tend to have a warmer, rounder attack compared to the sharper bite of the pick.
Deciding which technique to use can feel tricky at first, as each has its own vibe and purpose.
| Technique | Best For | Pros | Cons |
|---|---|---|---|
| Alternate Picking | Rhythmic clarity, even-sounding notes, and building a solid timing foundation. | Extremely precise and rhythmically tight. Great for moderate tempos and building coordination. | Can be inefficient for very fast passages or wide string skips. |
| Sweep Picking | Blazing-fast arpeggio runs, fluid and legato-like sounds. | Unmatched speed potential. Creates a smooth, flowing sound perfect for shred. | Requires perfect hand synchronization. Can sound messy if not executed cleanly. |
| Hybrid Picking | Wide string skips, complex melodic lines, and adding textural variety. | Makes difficult string jumps easy. Blends the attack of a pick with the warmth of fingers. | Can take time to develop finger independence and strength. |
Ultimately, each of these techniques has its place. Alternate picking builds your rhythmic foundation, sweep picking gives you incredible speed, and hybrid picking offers melodic freedom. Don't just pick one; work on all three to become a truly versatile arpeggio player who's ready for anything.
Knowing the arpeggio shapes and picking techniques is a massive step forward. But let's be real—to truly own them, you need a smart practice routine. I'm talking about the kind of practice that gets arpeggios under your fingers so they come out in a solo without you even thinking about it.
Aimless noodling just won't get you there. What you need is a blueprint for deliberate practice that delivers real, measurable results.
The goal isn't just memorizing patterns; it's about internalizing their sound and feel until they become a natural part of your musical vocabulary. A solid routine always balances three key areas: nailing the shapes, polishing your technique, and—most importantly—using them to make actual music.
What's the difference between practicing for an hour and actually getting better? Focus. Targeted, deliberate practice will always beat unstructured playing, and the results come much faster.
For arpeggios, just 10–20 minutes of focused work each day can completely transform your coordination and clean execution. I've seen students break through technical plateaus in just 3–6 months with this approach—a process that can easily take a year or more of just messing around.
A great routine isn't about grinding for hours. It's about making every minute count. For more ideas on maximizing your time, check out these 5 smart practice tips for guitar players.
Here's a simple but incredibly effective daily routine you can steal and adapt. Grab your metronome and set it to a crawl—around 60 BPM. Flawless execution is the name of the game, not speed.
This focused 10-minute block, done consistently, will build an unshakeable foundation.
The metronome is not your enemy; it's your most honest teacher. It reveals every hesitation and rhythmic flaw. Learning to play arpeggios cleanly and in time with a click is the single most important step toward making them sound professional and musical.
Technical drills are essential, but they're only half the story. The real magic happens when you start using these arpeggios in a musical context. This is the step that turns a mechanical exercise into authentic improvisation.
Practicing over backing tracks is non-negotiable for this. A backing track provides the harmonic context that gives arpeggios their purpose. Without it, you're just playing patterns in a vacuum.
Here's how to make it musical:
This process trains your brain to connect a specific sound (the chord) with a specific shape on the fretboard (the arpeggio). That connection is what ultimately allows you to improvise freely and melodically over any chord progression you encounter. This is where all the hard work pays off, and you finally start sounding like you're making music, not just running exercises.
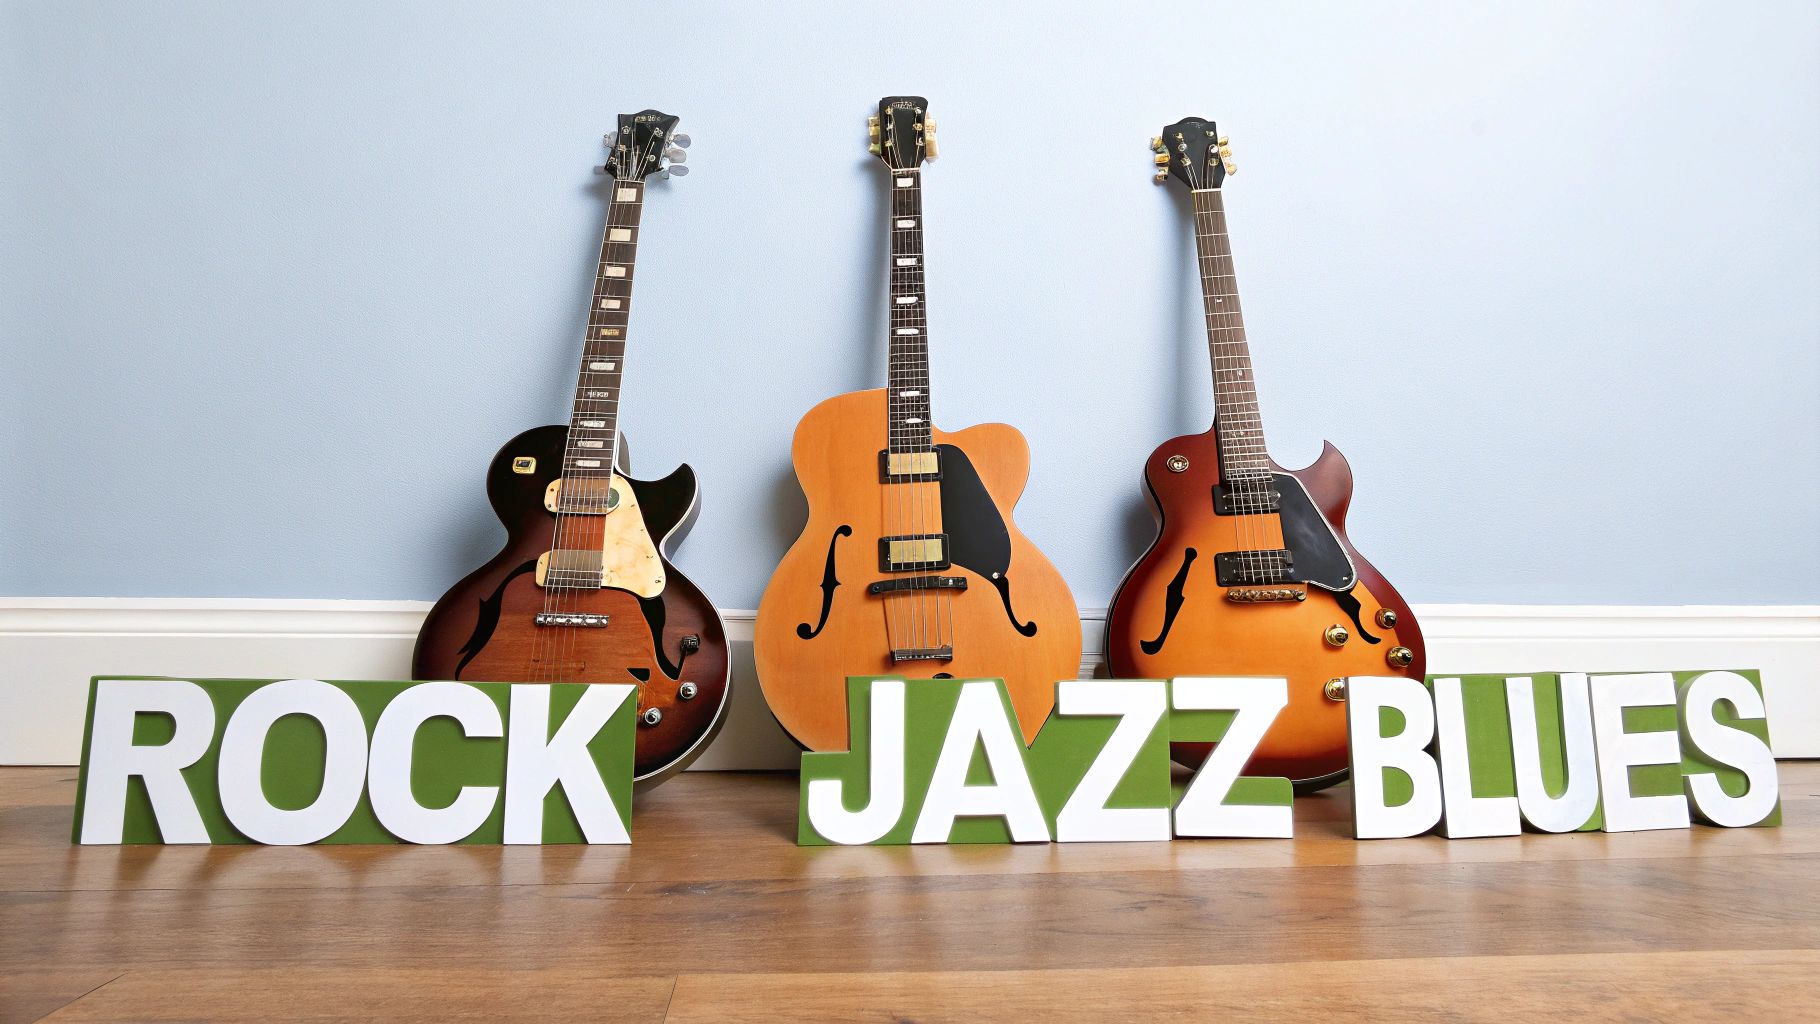
Alright, you've put in the work, getting the shapes under your fingers and cleaning up your picking. Now for the really cool part: making actual music with them. Arpeggios are like a universal language, but they definitely have a different accent depending on the genre. This is where we bridge the gap between those patterns on paper and the sounds you hear on your favorite records.
Whether you're aiming to shred a neoclassical solo, weave through tricky jazz changes, or just add some extra class to your blues licks, arpeggios are your ticket in. We're about to see how the very same notes can be used to say completely different things in different musical styles.
In the world of rock and metal, arpeggios often mean one thing: pure, unadulterated speed. That sweep picking technique we've been working on? That's the engine that drives those face-melting solos from legends like Yngwie Malmsteen, Jason Becker, and Synyster Gates.
Here, arpeggios are all about creating a huge, dramatic cascade of notes that sounds almost orchestral. A classic move is to take a simple chord progression—say, Am-G-C-F—and just tear through the matching arpeggio for each chord. This makes your solo sound massive and perfectly locked in with the harmony.
For example, when the band hits that Am chord, you could unleash a two-octave A minor arpeggio with a slick five-string sweep. As the chord changes to G, you shift to your G major arpeggio shape. It's a direct, powerful way to make a solo that doesn't just sit on top of the music, but becomes part of it. If you want to go deeper down this rabbit hole, you can learn to craft your own rock scales and arpeggios with our free soloing lessons.
Jazz is a completely different animal. While rock uses arpeggios for velocity and impact, jazz guitarists use them for harmonic storytelling and melodic precision. The goal isn't just to play fast—it's to elegantly outline the sophisticated chord changes that are the heart of the genre.
The ii-V-I progression is the bread and butter of jazz, and 7th chord arpeggios are the perfect tool to navigate it. For a ii-V-I in the key of C (Dm7 - G7 - Cmaj7), a seasoned jazz player will almost instinctively use:
This is what they call "playing the changes," and it's the core of great jazz improvisation. By hitting the specific notes of each chord as it passes, your solo becomes a coherent melodic journey that flows with the harmony, instead of just noodling over it.
Blues is all about raw feel and expression, and for most of us, the pentatonic scale is home base. But weaving arpeggios into your blues playing is what separates the good players from the truly great ones. It adds a layer of sophistication, letting you target key chord tones inside your trusty pentatonic licks.
Let's say you're soloing over a standard 12-bar blues in A. When the progression moves to the IV chord (D7), instead of just sticking with your A minor pentatonic box, try weaving in notes from a D7 arpeggio (D, F#, A, C). That F# note—the major 3rd of the D7 chord—isn't in the A minor pentatonic scale. Hitting it right when that D7 chord lands makes your solo sound incredibly soulful and smart.
This isn't about ditching your blues vocabulary; it's about upgrading it. Think of arpeggios as your "money notes"—the specific tones that nail the sound of the chord you're playing over at that exact moment.
You've made it through the roadmap—from the nuts and bolts of arpeggio theory to getting them under your fingers. Think of this as your foundation for connecting the dots between chords and melody.
The real journey, of course, is taking these shapes and ideas from rote memorization and turning them into musical phrases that feel like you. That only happens with consistent, smart practice. Use this guide to get you started, but always, always let your ear be the final judge. The fun part begins when you start breaking the "rules" and making these sounds your own.
Arpeggios aren't just a technical exercise; they're a language. The more you use them, the more fluent you become, and the easier it is to play the exact lines you're hearing in your head.
The shapes and techniques we've covered are the grammar, but your creativity is what tells the story. Keep your practice focused, listen to how each note sounds against the underlying chords, and never stop exploring what's possible on the fretboard.
If you want to keep the momentum going with structured video lessons from some of the best players out there, I can't recommend a TrueFire All Access free trial enough. It's an incredible resource packed with courses, jam tracks, and tools that will help you take your next steps.
As you start working arpeggios into your playing, a few common questions always seem to pop up. Let's clear the air on some of the big ones that most guitar players puzzle over.
Think of a scale as your entire box of crayons for a specific key. The A minor pentatonic scale, for instance, gives you a whole set of "safe" notes that will sound good over a song in A minor. It's a broad palette.
An arpeggio is way more focused. It's only the notes of a single chord. So, if the scale is all your available colors, an arpeggio is like picking out the exact three or four crayons you need to perfectly color one specific part of the picture. Using arpeggios is what lets your solos lock in with the chord changes, creating that sophisticated, pro-level sound where your lines follow the harmony.
Honestly, this varies from player to player, but here's a realistic timeline. If you put in a focused 15-20 minutes every single day, most guitarists can get a clean, usable three-string sweep happening within a few weeks. The absolute key is to nail the clean technique at a snail's pace before you even think about speed.
Now, for those big, impressive five or six-string sweeps you hear from the pros? That's a much longer game, often taking several months to a year of dedicated work to get them smooth and fast.
The single biggest mistake you can make is rushing. It only bakes in bad habits like sloppy hand synchronization and unwanted string noise—and trust me, those are a nightmare to unlearn later. Slow and clean is the only way to win this race.
You can definitely memorize arpeggio shapes without a lick of theory, just like you could memorize a phrase in a language you don't understand. You can repeat it, but you can't use it. Knowing some basic theory is what lets you actually speak the language of music with arpeggios.
Understanding that a Dominant 7th arpeggio is the perfect tool to play over a Dominant 7th chord is what turns a random shape into a powerful improvisational weapon. Theory gives you the "why" behind the "what," which is what gives your playing real musical purpose.
Ready to stop guessing and start accelerating your progress with world-class instructors? TrueFire has a massive library of video lessons, jam tracks, and learning tools to guide you. Start your journey today with a TrueFire All Access free trial. It's the best next step you can take for your playing.
