
If you want to play rock, punk, or metal, power chords are non-negotiable. They are the absolute bedrock of that massive, driving sound. And the best part? You only need one or two fingers to fret the two crucial notes: the root and the fifth.
Before we even touch the fretboard, let's get into why power chords are the secret weapon for so many guitarists. They're built differently than the major and minor chords you might have learned. A standard chord uses three notes, but a power chord—often called a "5" chord—strips it down to the bare essentials. Just two.
This minimalist formula is the key. When you kick on a distortion or overdrive pedal, this simple two-note shape delivers a thick, clear, and aggressive tone. Try that with a full major or minor chord, and that third interval turns the whole thing into a muddy, undefined mess.
As a guitar instructor, I've seen this concept create "aha!" moments for thousands of students. Grasping the 'why' behind the sound makes the 'how' click into place much faster. A power chord isn't just a random shape; it's a specific tool designed for a specific job.
To really see the difference, let's break down the anatomy of these chords.
This quick comparison shows exactly what notes are in each chord type and why power chords handle distortion so well.
| Chord Type | Included Notes (Intervals) | Best Use Case |
|---|---|---|
| Power Chord (5 Chord) | Root + Perfect Fifth | High-gain rock, punk, metal |
| Major Chord | Root + Major Third + Perfect Fifth | Clean tones, pop, blues, folk |
| Minor Chord | Root + Minor Third + Perfect Fifth | Clean tones, creating sad/tense moods |
See that? Major and minor chords have that "third" interval, which adds emotional color (happy or sad). Power chords ditch it entirely, leaving a powerful, ambiguous sound that loves to be amplified and distorted.
The power chord really exploded onto the scene in 1958 with Link Wray's iconic track, "Rumble." Wray famously poked holes in his speaker cones to get a raw, distorted sound that finally gave the power chord a home. Before that, it was mostly a theoretical thing, even considered poor form in classical music.
Distortion was the game-changer. When a simple two-note power chord gets pushed through an overdriven amp, it creates a cascade of harmonic overtones that thicken the sound. It became the perfect tool for the job.
So, what are these two magic notes? They're the root and the fifth interval. Understanding this simple relationship is the key to unlocking the entire fretboard.
Getting a handle on how to find these intervals will change how you see the guitar neck. If you want to dive deeper into the theory, you can learn more about guitar intervals here.
Mastering this core concept gives every chord you play a clear purpose. If you're ready to build on this foundation with structured lessons from world-class instructors, you can start a TrueFire All Access Trial.
Alright, let's get our hands on the fretboard. The best thing about power chords is how simple and efficient they are. You really only need to learn two foundational shapes to unlock just about any power chord you can think of, anywhere on the neck.
Think of these shapes as movable templates. Once you get the muscle memory down, you can slide them all over the fretboard to play dozens of different chords without ever changing your finger positions. This is the "aha!" moment I see with so many students—the instant they realize the entire fretboard just opened up for them.
We'll break down the two essential forms: the one with the root on the 6th string and the other with the root on the 5th string.
This is the most common power chord shape and the perfect place to start. It uses the thickest string, the low E, as its root note. Let’s build a G5 power chord together.
Strum just those two strings. You just played a G5 power chord! It’s that simple. For an even thicker, beefier sound, you can add your pinky finger to the 5th fret of the D string (the 4th string). That note is another G, just an octave higher.
The second shape is basically the same hand position, just shifted over one set of strings. This time, our root note will be on the A string. Let's build a C5 power chord.
Just like before, you can thicken it up by adding your pinky to the 5th fret of the G string (the 3rd string). Make sure you only strum the strings you're fretting to get that clean, powerful C5 chord.
Pro Tip: Try to keep your fretting hand relaxed but firm, almost like you're making a "claw" shape. As you move between chords, maintain this hand position to make your transitions faster and more efficient. Don't press so hard that your hand cramps, but make sure every note rings out clearly without any buzzing.
Adding gain to a three-note major chord creates a muddy, dissonant sound. But the simple two-note power chord stays clear and punchy. The principles behind this are closely related to how three-string triads are constructed, which is a great next step in your theory journey if you're curious.
Getting these two movable shapes into your muscle memory is your ticket to playing thousands of rock and punk songs. If you're ready to dive deeper with hands-on lessons, a TrueFire All Access Trial will give you the tools and guidance to really nail them.
Here's a secret that separates the rookies from the pros: a great power chord is as much about the notes you don't play as the ones you do. Once you turn up the gain, any unwanted string noise or buzzing from open strings can instantly turn a killer riff into a sloppy mess. Learning to control that noise is the key to a tight, professional sound.
This is where the art of muting comes in. It’s an active technique, a coordinated effort between your fretting and picking hands to silence any strings that aren't part of the chord you're playing. With a bit of practice, it'll become second nature.
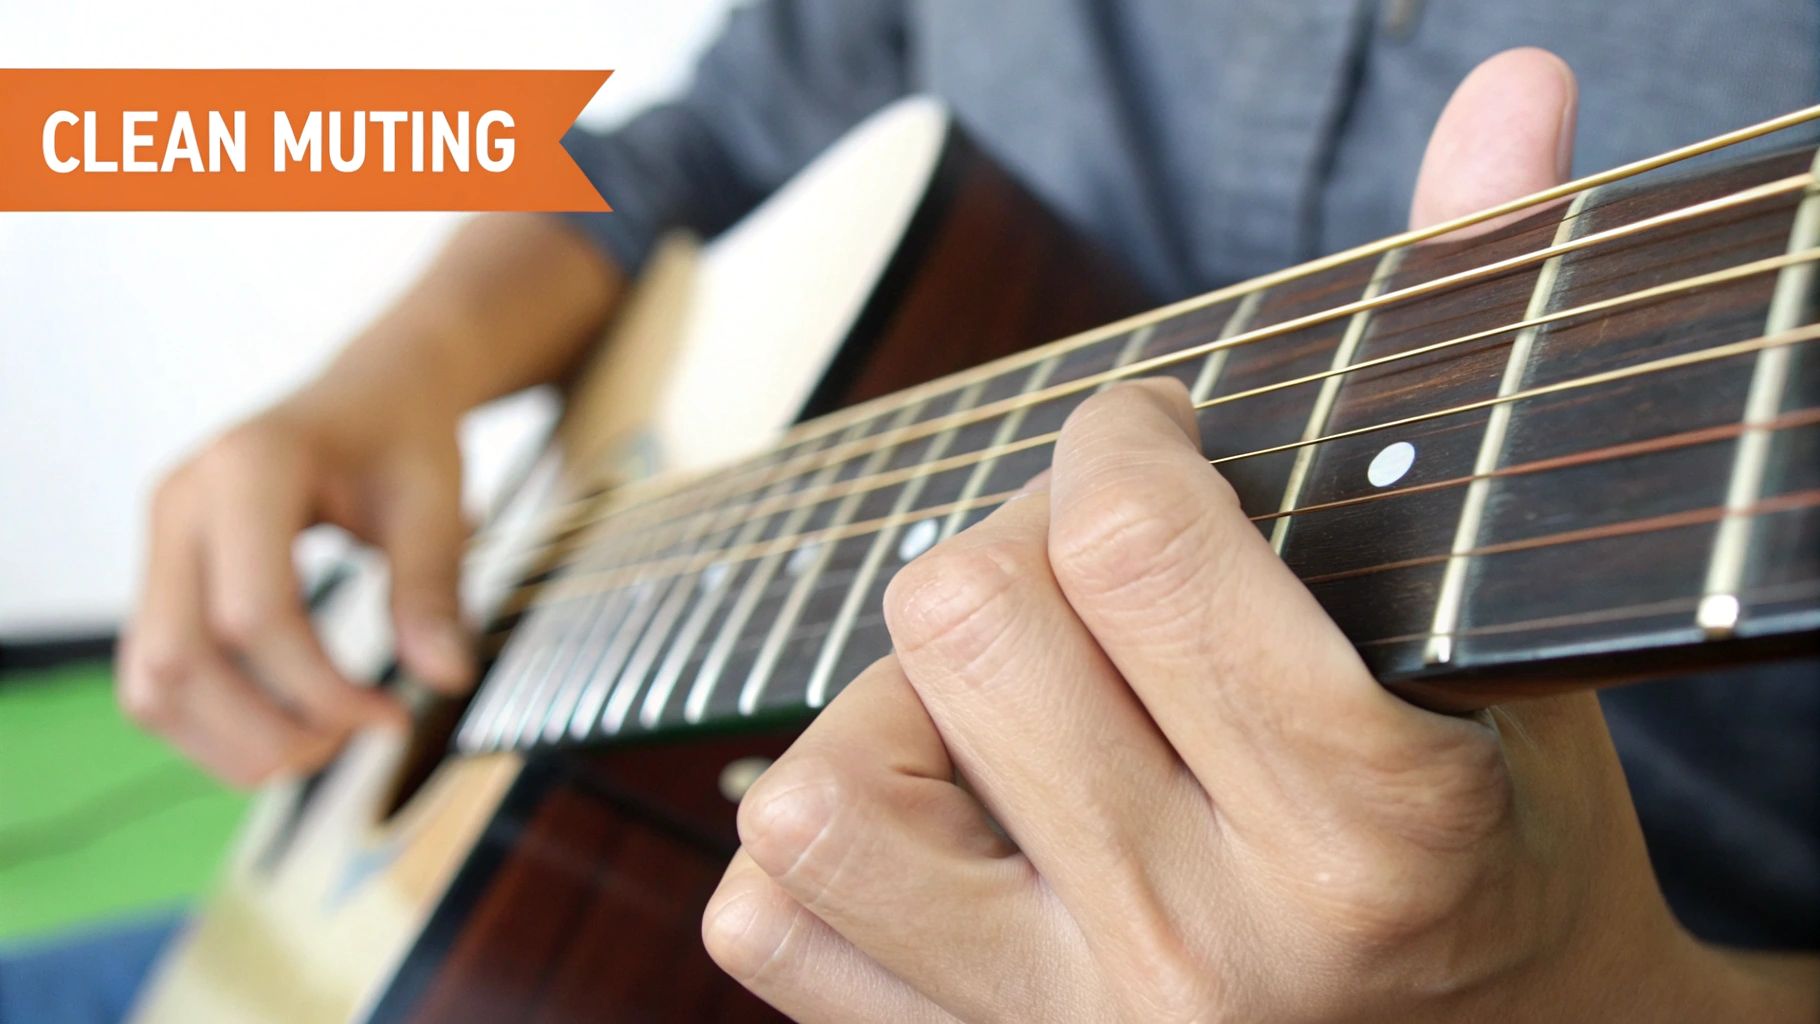
Your fretting hand has to pull double duty. While your fingertips are busy pressing down the notes of the power chord, the rest of your hand is on cleanup, keeping the other strings quiet. Your best tool for the job is the fleshy underside of your index finger.
Let's try a G5 power chord on the 6th string (index on the 3rd fret, ring on the 5th). As your index finger frets that G, gently roll it back just enough so its side lightly touches and mutes the 5th, 4th, 3rd, 2nd, and 1st strings. You're not pressing them down, just resting on them enough to stop any vibration.
Key Takeaway: Your fretting hand's job isn't just to play the right notes—it's to actively silence the wrong ones. This is a subtle but absolutely crucial technique for clean, high-gain guitar playing.
Your picking hand also plays a critical part, especially for silencing any strings thicker than your root note. This is where palm muting comes into play. Imagine you're playing a C5 power chord with the root on the 5th (A) string. That low 6th (E) string is just sitting there, waiting to ring out and muddy up your chord.
To stop it, rest the fleshy side of your picking hand's palm very lightly on the thicker strings, right where they meet the bridge. This dampens them without changing their pitch, keeping them quiet while you strum the C5. This technique is essential for getting that tight, percussive "chug" sound you hear all over rock and metal.
To make these techniques automatic, you have to drill them into your muscle memory. Try these exercises:
Consistent practice will make muting feel like a natural part of playing. It's what will give your power chords the clean, punchy, and professional sound they deserve. To go even deeper, you can find guided lessons on this in a TrueFire All Access Trial.
Knowing the individual power chord shapes is like learning the alphabet; connecting them smoothly is what lets you form words—or in our case, killer riffs. The real magic happens when you can move between chords quickly and cleanly. That's the key to making your playing groove instead of sounding choppy and robotic.
This is all about building muscle memory. We're going to drill down on practical, repeatable exercises that train your fingers to find their next home on the fretboard without thinking, whether it’s a small slide or a big jump across strings. It takes a bit of patience, but it's a skill anyone can nail.

The secret to clean chord changes is to start slow. Painfully slow, if you have to. A metronome is your best friend here. Set it to a crawl, something like 60 beats per minute (BPM), and lock in on landing each change perfectly on the beat.
My single biggest tip for students here is to keep your hand in the 'claw' shape as you move. Don't let your fingers go flat between chords. By holding the shape, your hand only has to worry about getting to the next spot, not completely re-forming the chord every single time.
Once you're getting the feel for those individual moves, it's time to chain them together in a real musical context. A classic rock progression is perfect for this because it forces you to use both slides and jumps.
Let’s try this one: A5 – F5 – C5 – G5.
Play each chord for a full measure (four beats) and just loop the whole thing. Really concentrate on making the jump from F5 to C5, and then from G5 back to A5, as clean as you can. Don't even think about speeding up until you can play it flawlessly at a slow tempo.
Building that solid foundation is everything. If you want more ways to work on your technique, check out this guide on 3 easy tricks for building speed and stamina for some great additional exercises.
Consistent, focused practice is what gets you there. If you're ready to dive into thousands of other exercises and song lessons to really kick your progress into high gear, check out the TrueFire All Access Trial.
Alright, this is the moment we've been working towards. You've put in the reps, memorized the shapes, and started to get that muting technique locked in. Now it's time to connect all that hard work to the actual songs that probably made you want to play guitar in the first place.
This is where you prove to yourself that you've got the tools to play the music that moves you. Let's dig into a few legendary riffs built almost entirely on the power chord skills we've just covered.
You can't talk about power chords without talking about "Smoke on the Water." It might just be the most recognizable guitar riff on the planet, and it's the perfect place to start. It’s slow, it’s simple, and it uses just a few power chords played on the A and D strings.
The progression is a straightforward G5–A5–C5. Because it all happens on the same two strings, it's a fantastic exercise for getting your transitions clean and smooth. Pay close attention to the rhythm and the little pauses between the chord pairs—that's where the magic happens. This riff is the ultimate proof that you don't need a million notes to write something iconic.
Fast forward to the '90s, and you've got Kurt Cobain's riff from "Smells Like Teen Spirit," which is basically a masterclass in power chord dynamics. The main verse riff is just four chords, all played with that root-on-the-6th-string shape you've been practicing.
The progression is F5 – Bb5 – G#5 – C#5.
The real key to nailing this riff is the "quiet-loud" dynamic. You want to play it softly during the verses and then really dig in and attack the strings for that explosive chorus. This is where your muting technique becomes absolutely essential for keeping everything tight and controlled.
Power chords are the sonic DNA of decades of influential music. The techniques you're learning were the foundation for entire genres, from hard rock in the '70s to the punk and grunge explosions of the '90s. The core skills have remained the same; only the attitude and application have changed.
If you're ready for something with a bit more speed, check out Green Day's "Basket Case." This tune is a serious workout for your chord-changing speed, forcing you to jump between root-on-6th and root-on-5th string shapes constantly. It's the perfect example of how power chords can create a driving, relentless rhythm.
The chords move fast, which means you have to think one step ahead, anticipating the next change before you get there. This song is the final exam for everything we've covered—clean fretting, precise muting, and quick, fluid transitions between shapes.
These riffs aren't just collections of notes; they represent huge moments in guitar history. Throughout the 1970s and 1980s, power chords became the cornerstone of rock and metal, with bands like Led Zeppelin and Metallica using them to build their signature sounds. By the '90s, bands like Nirvana and Green Day brought them to a new generation, proving their timeless power.
Feeling inspired by these iconic sounds? You might be interested in exploring our list of the 7 greatest guitar riffs of all time to find your next challenge. The TrueFire All Access Trial has detailed lessons for these and thousands more.
You've just put a ton of essential information under your belt. Seriously, you now know what power chords are, why they're the absolute backbone of rock and punk, and you've got the two most critical movable shapes locked down. More importantly, you know how to get them sounding clean and professional with proper muting—a skill many guitarists skip over.
The path forward is all about making this stuff second nature. It's about consistency. You want to get to the point where your fingers just know where to go, and your muting happens on autopilot without you even thinking about it.
Take it from someone who has seen countless students have this "aha!" moment: nailing fundamentals like this is what truly unlocks the fretboard. Clean power chords are the gateway to playing fluid, powerful riffs. And fluid riffs? That's the first step to writing your own killer songs.
To make sure all this hard work sticks, you have to weave it into your everyday playing. Don't just keep these techniques quarantined in their little exercise boxes. Let them out!
The real magic happens when you stop thinking so much about the mechanics and just start feeling the music. Consistent practice is the bridge that takes you from consciously placing your fingers to subconsciously ripping through a riff.
Learning power chords isn't just a single skill; it's a massive step forward in your journey. Think about it: the fretting-hand strength, muting accuracy, and fretboard awareness you've just developed are the building blocks for so many advanced techniques.
You've basically earned your ticket to the next level of guitar playing. You're now ready to start tackling more complex riffs, pushing your speed, and even exploring new styles. The whole game is about constantly pushing your comfort zone, just a little bit at a time.
If you're fired up to build on this solid foundation and see what's next, I can't recommend enough exploring a more structured learning path with world-class instructors. Having a clear roadmap can make all the difference between feeling stuck and feeling unstoppable.
Take your guitar skills to the next level with TrueFire. Start a free TrueFire All Access Trial to unlock thousands of lessons, interactive jam tracks, and powerful learning tools designed to accelerate your progress. Learn more and begin your trial at https://truefire.com.
