
To tune a guitar by ear, you don't need perfect pitch. You just need one reliable reference note. From there, you tune the rest of the strings relative to that first one.
It's a process of matching the pitch of a fretted note on one string to the sound of the next open string. As a musician, you learn to listen for a tell-tale "wobbling" sound—we call this "beating"—when the pitches are out of sync. You then adjust the tuning peg until the two tones ring out clean and clear, as one. This is a game-changing skill that will transform your relationship with the instrument.
Long before pocket-sized electronic tuners, musicians had to rely on a much more personal tool: their own ears. Learning how to tune your guitar this way isn't just an old-school party trick; it's a foundational skill that builds a deep, intuitive connection between you, your guitar, and the music you make.
When you rely solely on a digital display, you're only seeing if you're in tune. When you listen, you feel it. That kind of active listening sharpens your overall musicianship in ways a clip-on tuner never could.
The process of training your ear does more than just get your strings to the right pitch. It actively develops your sense of relative pitch—the ability to recognize the distance, or interval, between notes. This is absolutely critical for any musician who's serious about getting better.
Here's what you stand to gain by ditching the screen:
Tuning by ear forces you to stop looking and start listening. It's the first real step from simply playing notes to truly understanding the relationships between them. That's the heart of music, right there.
Let's be real for a second. Developing a sharp musical ear is a journey, not a race. At first, it might feel slow and frustrating. You'll question if you're turning the peg the right way or if the notes are really matched. That's a normal part of the process.
The goal isn't instant perfection. It's about gradual improvement. Every time you practice, you're strengthening the connection between what you hear and what your hands do. To get a better handle on this, you can learn more about how to listen and what to listen for as a musician. This skill will serve you for your entire musical life, making you a more attentive, reactive, and connected guitarist.
This technique is the bread and butter for countless guitarists just learning to tune by ear. Seriously, this is where most of us start. It's reliable, it's easy to remember, and it's the perfect launchpad for your ear-training journey. The whole idea is simple: use one string as a reference to tune the next one, creating a domino effect of in-tune strings.
First things first, you need a single, solid reference note for your low E string (the thickest one, also known as the 6th string). Don't overthink it. You can grab this from a piano, a tuning fork, another instrument that's already in tune, or even a pitch pipe app on your phone. Just get that one string sounding right.
Okay, once your low E string is good to go, you're ready to tune the rest of the guitar relative to it. This is where the magic happens.
Press down firmly on the 5th fret of your low E string. That note is an 'A'. Now, pluck that fretted note and immediately pluck the open A string (the 5th string) right after it. Let them both ring out.
Listen closely. Hear that "wobble" or that pulsating, "wah-wah-wah" sound? That's called beating. It's the sound of two slightly different frequencies clashing, and your mission is to make it disappear.
Make tiny, patient adjustments and keep plucking both notes. As you dial it in and the pitches get closer, the beating will slow down until it completely vanishes. When all you hear is one smooth, unified sound, you've nailed it. That's your cue that the strings are perfectly in tune with each other.
This whole process is a fundamental cycle: you listen, you play, and you make the connection.
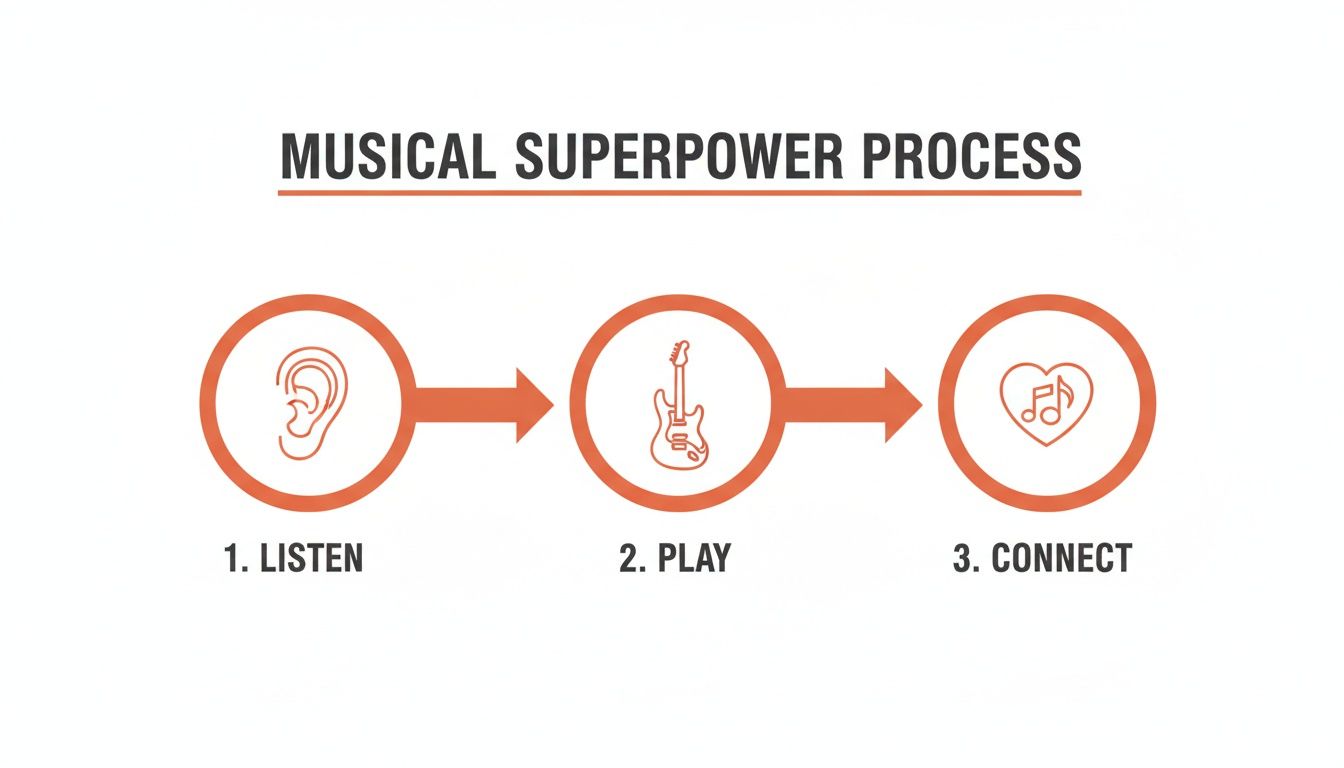
This simple flow is the very core of musicianship. You hear a sound, you reproduce it on your instrument, and you build that crucial, intuitive link between your ears and your fingers.
From here, you just rinse and repeat down the fretboard, using the string you just tuned as the new reference for the next one.
It's a straightforward chain reaction. To make it crystal clear, here's how it works string by string.
| Tune This Open String... | ...Using This Fretted Note as Reference |
|---|---|
| A String (5th) | 5th Fret of the Low E String (6th) |
| D String (4th) | 5th Fret of the A String (5th) |
| G String (3rd) | 5th Fret of the D String (4th) |
| B String (2nd) | 4th Fret of the G String (3rd) |
| High E String (1st) | 5th Fret of the B String (2nd) |
Notice the one oddball in the mix? When you get to the B string, you have to use the 4th fret of the G string, not the 5th. This is because the interval between the G and B strings is a major third, while all the others are perfect fourths. It's just a little quirk of standard tuning you have to remember.
By following this method, you're not just tuning your guitar—you're actively training your ear to recognize the sound of specific musical intervals. This is a massive step in your development as a musician. If you want to get into the nitty-gritty, you can learn more about intervals like 4ths and 5ths in our guide.
The best advice I can give is to trust your ears. Don't be afraid to make tiny adjustments, going a little sharp, then a little flat, until that beating sound is completely gone. This isn't just a mechanical process; it's a deep listening exercise that pays off big time.
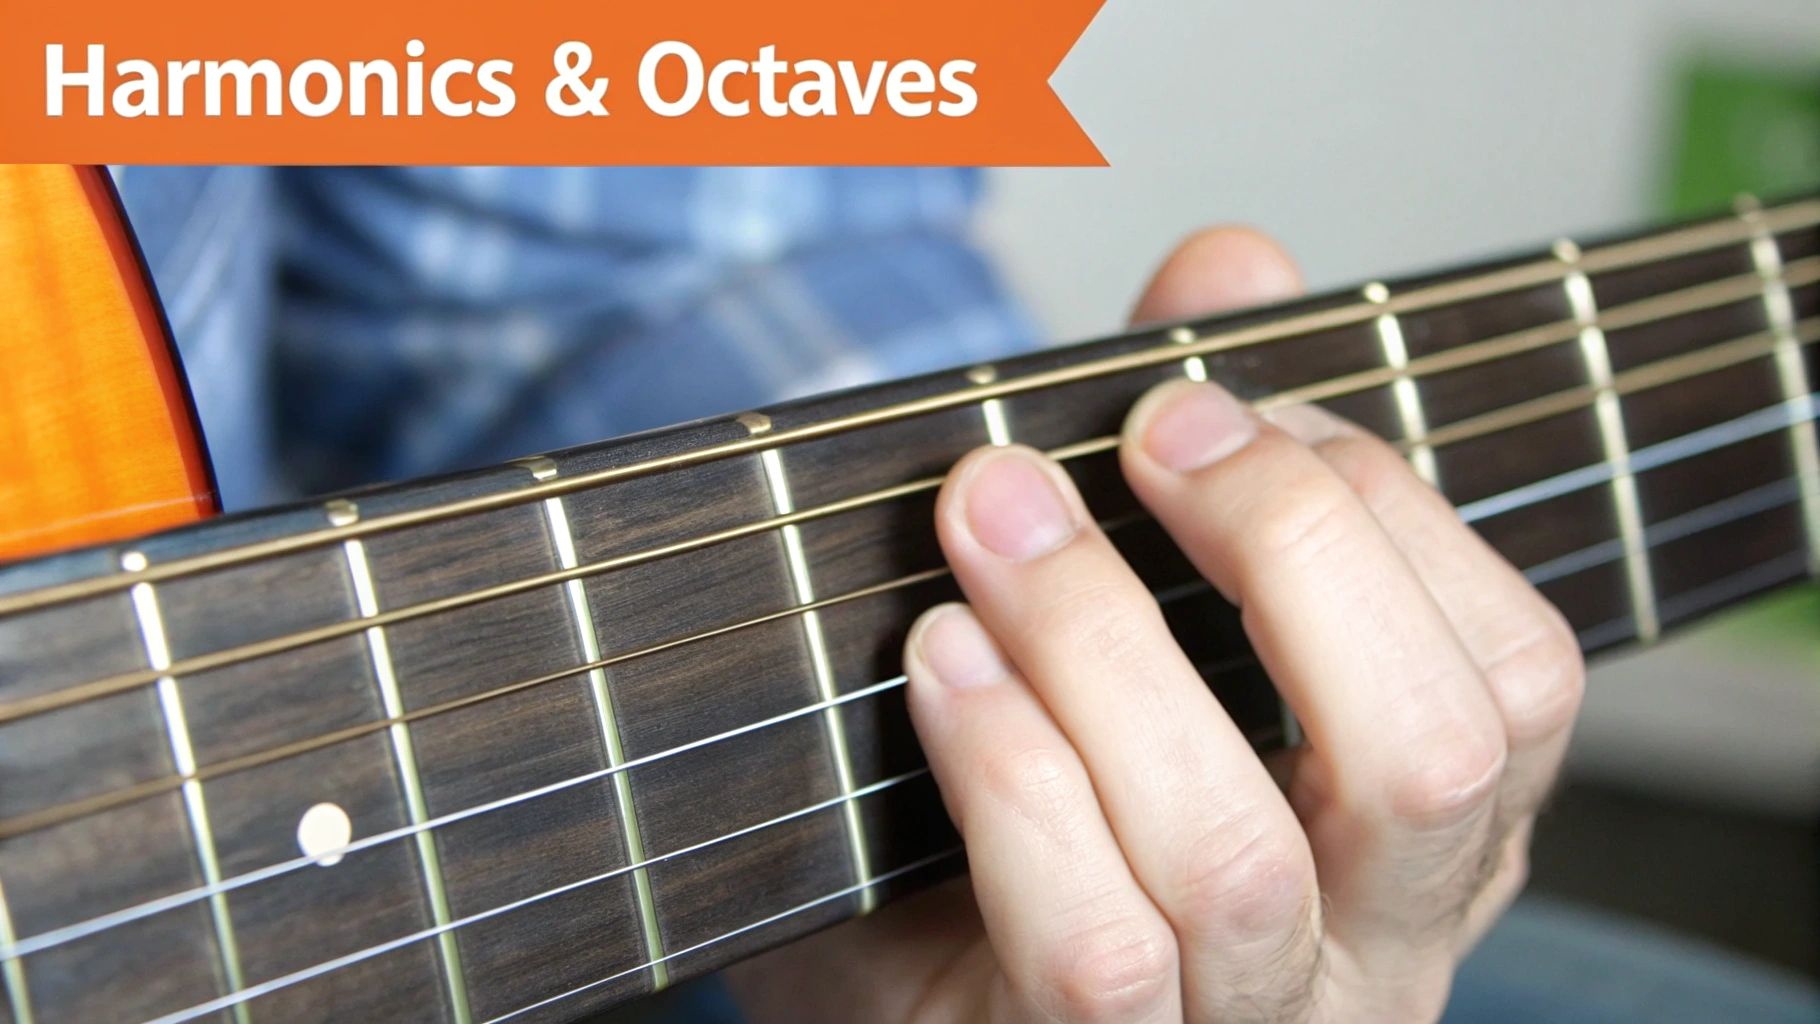
Once you're getting the hang of the fifth-fret method, you're ready to bring some more refined techniques into the mix. Using harmonics and octaves is more than just another way to tune; it often gives you a more precise and musical result. It's a great way to train your ear to hear purer intervals and fantastic for double-checking your work.
Think of it this way: the fifth-fret method gets you into the right neighborhood. Harmonics and octaves help you find the exact address. They are both excellent ways to learn how to tune your guitar by ear with much greater accuracy.
Harmonics are those beautiful, bell-like chimes you can get by lightly touching a string directly over a fret, without actually pressing down. This is an incredibly useful trick for tuning because it lets two notes ring out clearly and sustain longer, giving your ear more time to hunt down that tell-tale wobble.
The most common way to do this is by matching the harmonic at the 5th fret of a lower string with the harmonic at the 7th fret of the next higher string. They produce the exact same note.
Here's how you can try it:
The real trick to playing a clean harmonic is the touch. It should be whisper-light, just enough to dampen the string's fundamental tone without pushing it to the fretboard. Pull your finger away the instant you pluck the string to let it ring out.
For a deeper dive into the physics and technique, you can explore our detailed guide on playing guitar harmonics.
The octave method is my personal favorite for a final check-up. It's a fantastic way to verify your tuning across the entire fretboard, making sure everything is musically coherent. An octave is just the same note at a higher or lower pitch, and it's an interval our ears find incredibly easy to lock onto.
In fact, studies show that perfect octave intervals are among the easiest for the human ear to identify, with recognition accuracy rates exceeding 95% even for novice players with just a little training.
Here's a quick way to check your low E and D strings using an octave:
Let both notes ring out. They should sound like the same note singing in perfect harmony. If you hear any weird dissonance or beating, one of your strings is still a bit off. You can use this principle all over the neck to compare notes and really dial in your tuning with confidence.
Ready to take your skills to the next level? A TrueFire All Access Trial gives you access to thousands of lessons on ear training, music theory, and more from world-class instructors.
Related: Brad Carlton's Guitar Lab: Ear Training, Vol. 1
Tuning by ear is a skill, plain and simple. Just like learning a new chord or nailing a tricky scale, it's built through consistent, focused practice. Think of what follows as your personal ear-training gym.
The goal isn't hours of grueling work. It's about short, daily exercises that build your pitch recognition and create a kind of "muscle memory" for your ears. Tucking these drills into your daily warm-up can make a huge difference in a surprisingly short amount of time.
Consistency, not intensity, is the name of the game here.
This exercise is your starting point for connecting what you hear with what you play. It's a simple call-and-response routine you can do with a piano, a keyboard app on your phone, or even an online tone generator.
Doing this actively trains your brain to translate an external sound into a physical action on the fretboard. It's a core skill for any musician who wants to jam with others or figure out songs by ear.
The goal isn't to guess the note name ('That's a B!'). It's to develop the ability to replicate a pitch you hear. This is the foundation of playing by ear, transcribing music, and jamming confidently.
Once you're comfortable matching single pitches, it's time to zero in on the fine-tuning process. This drill hones your ability to hear and eliminate the "beating" sound between two slightly out-of-tune notes.
This kind of focused practice makes you incredibly sensitive to the subtle dissonances that tell you the guitar is out of tune. For more ways to develop these listening skills, check out these two simple techniques to improve your musical ear from our experts.
These exercises are your path to tuning independence. Ready to dive deeper into musicianship? A TrueFire All Access Trial unlocks over 80,000 video lessons to help you learn, practice, and play.
Even with a great ear, you'll hit those moments. You know the one. You've tuned every string, you strum a big open G chord, and... something is just painfully, horribly wrong. Don't sweat it; this happens to all of us. Learning to troubleshoot these gremlins is just as important as learning to tune in the first place.
More often than not, the problem isn't your ear. It's usually a mechanical issue with the guitar itself or a shaky foundation from your very first note. Pinpointing these common culprits will save you a world of frustration and get you back to playing.
When your tuning feels like a lost cause, it's time to put on your detective hat. Before you start second-guessing your hearing, run through this checklist of usual suspects that can make tuning by ear a nightmare.
When everything sounds 'off' despite your best efforts, your first suspect should always be your initial reference pitch. If that note was wrong, the entire house of cards comes tumbling down.
Let's get one thing straight: using an electronic tuner isn't cheating, and it doesn't mean you've failed at ear training. Tuners are just tools, and a smart musician knows when to use the right tool for the job. Your ear and your tuner are a team, not rivals.
Think of a tuner as your trusty sidekick for specific scenarios:
There are tons of great digital options out there, including some fantastic online guitar tuners that get the job done. Using them strategically will only support your ear training journey, not hold it back.
Ready to deepen your musicianship and tackle even more advanced topics? A TrueFire All Access Trial gives you unlimited access to thousands of lessons from world-class instructors.
Developing a killer musical ear is a journey, not a destination, and you don't have to go it alone. Consistent, focused practice is what turns this skill from a frustrating chore into something that feels like second nature. Think of learning how to tune a guitar by ear as more than just a technical skill—it's your ticket to a much deeper connection with your instrument.
Here at TrueFire, we've got a massive library of courses built specifically to help you bridge that gap between your ears and your fingers. We're talking dedicated lessons on ear training and music theory from world-class, GRAMMY-winning instructors who have been exactly where you are now.
Our interactive tools and structured Learning Paths are designed to get you up to speed fast. They're built to give you the confidence to tune up anywhere, anytime, without ever needing to look at a screen. You'll quickly move from just following mechanical steps to intuitively hearing the right pitches.
The real goal here is to close the gap between the music you hear in your head and the sounds you can actually make with your hands. Ear training is the foundation of that bridge. It's what turns you from someone who just plays the guitar into a true artist.
Ready to start building this essential skill today? We invite you to jump into our lessons. We've got everything from beginner drills to seriously advanced concepts that will sharpen your listening and make you a more confident, well-rounded guitarist.
Take the next step in your musical journey with a free 14-day TrueFire All Access trial and unlock over 85,000 lessons to help you learn, practice, and play.
Let's tackle some of the questions that always pop up when guitarists start learning to tune by ear.
There's no magic number, but with a bit of daily practice, most players start to feel confident and can tune pretty reliably within a few weeks. The real breakthrough comes when you train your ear to hear that subtle "beating" or "wobble" between two notes that are slightly out of tune. Once you can hear that, you're golden.
The fifth fret method is hands-down the best place to start. It's a simple, repeatable pattern that really drills in the core concept of relative tuning without getting too complicated. You're just matching one string to the next, which is a perfect entry point.
This is a big one. True clinical tone deafness (amusia) is incredibly rare. What most people call "tone-deaf" is really just an untrained ear.
Instead of trying to identify specific notes by name, focus on the physical sound of the notes interacting. Your goal is to make that "wobble" sound disappear. Almost anyone can learn to hear that physical interference and adjust the string until it smooths out into one solid pitch.
Ready to dive deeper and really get your ear in shape? TrueFire has thousands of lessons from world-class instructors that can guide you. Start your journey with a TrueFire All Access Trial today.
